Custom Cabinetry: Electrical upgrades that our clients love!

What’s the point in having custom cabinetry if your cabinets are just like everyone else’s? We work with the top manufacturers and designers in the industry to stay up-to-date on the latest and greatest features we can provide to our customers to make their ordinary project extraordinary.

Hafele Loox Strip Lighting

power grommet

power grommet

Really good lighting is one of things that most people don’t think very much about. As long as you can see well enough, no big deal, right? Wrong. Excellent lighting makes a huge difference in terms of quality of life. It reduces stress and highlights your favorite features in your project. Accent lighting can accentuate shadow lines and give your cabinetry more depth and weight. The Loox system from Hafele is the best. Not only does it include more configurations that any other system, but it allows for wall-switching, remote control, dimming, color temperate selection, and includes a sleek aluminum track that can be recessed into panels with a diffuser lens so that individual LED’s all blend into a solid, consistent bar of ambient light.

LeGrand integrated Outlets

We are required to have outlets every 6’ in residential construction, but that doesn’t always play nicely with the other design features of a millwork package. LeGrand offers several innovating products that address this issue including attractive power strips and recessed outlet blocks in attractive finishes that make receptacles a feature rather than an eyesore.

Power Grommets

photo, design, and installation by @williamjamescarpentry (via instagram)

photo, design, and installation by @williamjamescarpentry (via instagram)

We include these in every office we build now. Traditionally desks include a removable plug that allows cables to pass through to monitors, keyboards, etc. While Bluetooth technology has largely eliminated wires for many items, it’s just not possible for everything. We started using these powered grommets to allow our clients to plug in laptops, phone chargers, and other electronics without having to fumble below their desks to plug in. They simply drop into a drilled hole and plug into the wall, so no electrician required.

Wireless Charging for cell phones

Many modern cell phones can be charged wirelessly. We can recess these wireless charging pads into any of our worktops to create a charging spot in your space that blends in seamlessly with its surroundings.

Docking Drawer

Out of sight, out of mind is best. That’s why we like these docking drawer outlets so much! It’s a kit that allows an electrician to hard-wire an outlet into the back of a drawer safely, with a support rod kit that folds in and out to support the wire. Keep your electronics plugged in but hidden away in a drawer. The only drawback is the 5” minimum space requirement in the back of the drawer opening, but the benefits greatly outweigh the drawbacks.

Hafele Loox Strip Lighting

Hafele Loox Strip Lighting

Servo-Drive Drawers and trash pull-outs

Docking Drawer

Docking Drawer

Have you ever cringed as you opened your trash drawer with dirty hands, knowing that you were just spreading the germs around? Blum makes a servo-drive kit for trash pull-outs that allows the drawer to open with a little bump from your hip or foot, eliminating that cross-contamination issue. Watch it in action!

Walk-in Closet for a Denver Square

There’s a fine line we must walk when working in a historic home. We try to be sensitive to needs of the current resident while still respecting the heritage of the property. Owning a historic home is almost more like being a steward of a cultural asset. Working in these homes, we have a duty to serve the client as well as the home and community.

We were approached to design a walk-in closet for an 1880’s Denver Square in Denver’s Baker Historic District. The original woodwork was largely intact and never painted. The pocket doors, mantles, staircase were all original. The original mouldings were still in place, if missing in a few places. This had the potential to be a fantastic build.

The most appropriate option for a home of this era would be frame and panel vertical partitions, stained and french polished or varnished. This would be an incredibly expensive process to execute, and probably wasn’t going to create a proportional amount of value for the client. We devised a plan to create a painted closet that still respected the original design elements of the home by using an oak veneered plywood and applying shadow-box mouldings to the panels where they were adjacent to a door to help tie the room together.

Red Oak plywood, when painted, retains its cathedral grain texture and adds more visual interest that something like birch or beech. It’s more durable than MDF and lighter weight, which saves our backs working up a steep staircase on the second floor.

All the vertical panels were prepared off site. We edge banded both sides of each panel, line bored them for shelf pins, and pre-drilled the tops and bottoms for confirmat screws, fasteners which are designed to be disassembled and reassembled without compromising strength. Shelves were cut to rough sizes and final fitting was done on site with a track saw with a HEPA vacuum attached. For a traditional inset cabinet look, we used stock melamine cabinets, but wrapped them in Oak Plywood flush to the drawer fronts, and mitered into a full height panel along the back of the island. This created the appearance of a custom cabinet while keeping costs manageable. Finally, a plywood top with hardwood edges, stained and clear-coated, looks similar to a solid wood top without breaking the bank.

Painted Cabinets: Levels of Perfection

We generally think of painted finishes as being more economical than stained or clear-coated finishes, but when it comes to cabinetry, this is largely a misconception. Would you believe that a painted finish is actually more labor intensive than a stained or clear finish?

Painting MDF: the pros and cons

When we use a panel material for decorative surfaces surrounding cabinetry, those panels are most often made from MDF, a composite panel formed using wood pulp, binders, and other resins under pressure. It is extremely flat and consistent, making it ideal for decorative panel applications. However, it has a few drawbacks.

It’s heavy This means if it’s hinged it may require additional hinges to carry the load. It is also more labor intensive to work with due to its high density.

It’s fairly fragile. A corner in solid wood can take a direct blow of considerable force without sustaining much damage at all. MDF? Not so much. To achieve similar durability, it requires gluing hardwood edging onto the panel, which creates extra steps, the risk for a glue line that will show through a finish, and additional material cost.

The fibers swell with moisture. When we use water-based finishes over MDF or when the material is exposed to water directly such as through flooding saturation or high humidity, the fibers swell and pull apart from the binders slightly. When they dry out, the fibers are push out of their dry position still, but there are no binders holding them together, creating a rough, fuzzy appearance. This can be counteracted by sealing with an oil-based primer, treating the edges with drywall compound or sizing (thinned down wood glue), or by using a marine-grade MDF such as Extira, rated for exterior usage. These solutions all work great, but it means more labor and more cost. With oil-based primers especially, the fumes are hazardous and not the best to use in occupied interiors for instance.

Basically, for a painted finish to cost less than a clear or stained finish you need one or both of these conditions to be true: undervalued / exploited labor of economically-disadvantaged workers such a apprentices or immigrants, or a surface quality that will not satisfy the requirements of a true cabinet-grade finish, such a what you would put on a wall with a roller. More on this later.

Stain-Grade Expense: an outdated misconception

The idea of clear-coated or stained wood products being so much more expensive than painted products is outdated. Thirty years ago, labor was less expensive. Carpenters and finishers were in abundance. Today, that’s just not the case. As a shrinking labor pool struggles to keep up with a growing demand for skilled labor, prices increase in response to scarcity.

Where material costs used to be more substantial in comparison with labor, now spending more on material to save labor is an easy decision. This has led to the rise of luxury pre-finished surfaces, an increased number of laminate products on the market, more varieties of veneered wood panels on the market, and a golden age of lumber milling. Even as our abundance of forestry products is at an all-time low, the technology of sheet goods production and supply chain and logistics has led to very affordable pre-finished or “stain grade” materials, especially when considered through the lens of labor hours.

Fine Paint Finishes: What is a Cabinet-Grade Finish?

A paint finish suitable for cabinetry has more in common with your car’s paint job than your house’s. While it’s possible to apply a cabinet-grade finish with a fine foam roller and a lot of sanding in between coats, most commonly these finishes are sprayed with a HVLP spray system, High Volume Low Pressure. These systems achieve something called atomization whereby the finish is split up into tiny droplets that can be deposited on the surface uniformly and at a size where their surface tension is overcome by their desire to chemically bond with adjacent particles and lay down or flatten. These droplets do something called cross-linking and form surface tension across the entire layer of the paint film, forming a flat, uniform coating on the piece. This is only scratching the surface of a much broader subject, but suffice it to say, cabinet painting is much different from rolling Home Depot latex paint onto your textured drywall at home.

This page on PPG’s web site is aimed at the automotive industry but is a great list of what can go wrong with a paint job, causes, and solutions.

Conclusions

In short, painted finishes seem straightforward: apply coatings, let them dry. That couldn’t be much further from the truth! If you want a quality coating, the good news is you’re already doing business with the right company. We do limited in-house finishing and know when to subcontract out to the pros for larger projects and challenging coatings.

"Our cabinets are too high and the crown won't fit!" I fix that.

A talented DIY’er called me this spring after having installed their new kitchen cabinets. They did a fantastic job, but the planner dropped the ball! The refrigerator cabinet and pantry cabinets set the height of all the upper cabinets and they were too tall to allow for the crown moulding and refrigerator. This left an unsightly 2-3” gap between the top cabinets and ceiling. To make matters worse, this was right at the beginning of COVID-19 quarantine and ordering a new shipment from China just wasn’t a realistic option.

So what’s the fix? Other contractors looked at the job and wanted to lower all the cabinets, and replace the refrigerator cabinet and pantry cabinets. That would have meant several thousand dollars, a lot of disruption, weeks to months wait time, and living in a construction zone while they waited for the replacements to come. I had a better idea: custom trim. I have a sneaking suspicion that any of life’s problems can be fixed with custom trim, and this was no exception.

First, i scribe fit flat pine panels between the top of the cabinets and the ceiling. This took some doing since the ceiling was out of level 1” from on side to the other with a few humps to keep things exciting. Next, I designed a custom profile that would be attached directly to the ceiling rather than the tops of the cabinets. This created the appearance of a crown moulding and finished out the transition beautifully.

But, remember, quarantine? I had to limit on-site time as much as possible, but I used those scribed pine pieces like a template and carefully pre-assembled all the miters in my shop. Then, I brought the assembled trim pieces to my finisher and he sprayed everything after assembly and mixed me up some color-matched caulk so that it was really just a matter of nailing and gluing the trim in place and caulking the seams and nail holes. It went off without a hitch and I think the results speak for themselves!

So when I saw we solve carpentry problems, this is just one of hundreds of examples that we’ve solved over the years and an example of why your search for the best finish carpentry company in the greater Denver area is over.

Lowering Your Cabinets: 10 things to consider before taking the plunge

When you’re changing out the flooring in your home, one of the best upgrades you can do is making all of the flooring one height, without transitions. It’s a really sleek look that makes a big difference in the aesthetics of your home. I had an issue come up recently on a kitchen remodel where my scope of work was narrow, only replacing the doors and drawer fronts of existing cabinets, but the homeowner was replacing the kitchen flooring at the same time and self-contracting all the work. I wanted to be sure they had considered all of these issues that can be a problem with lowering the flooring in your existing kitchen.

Cabinetry

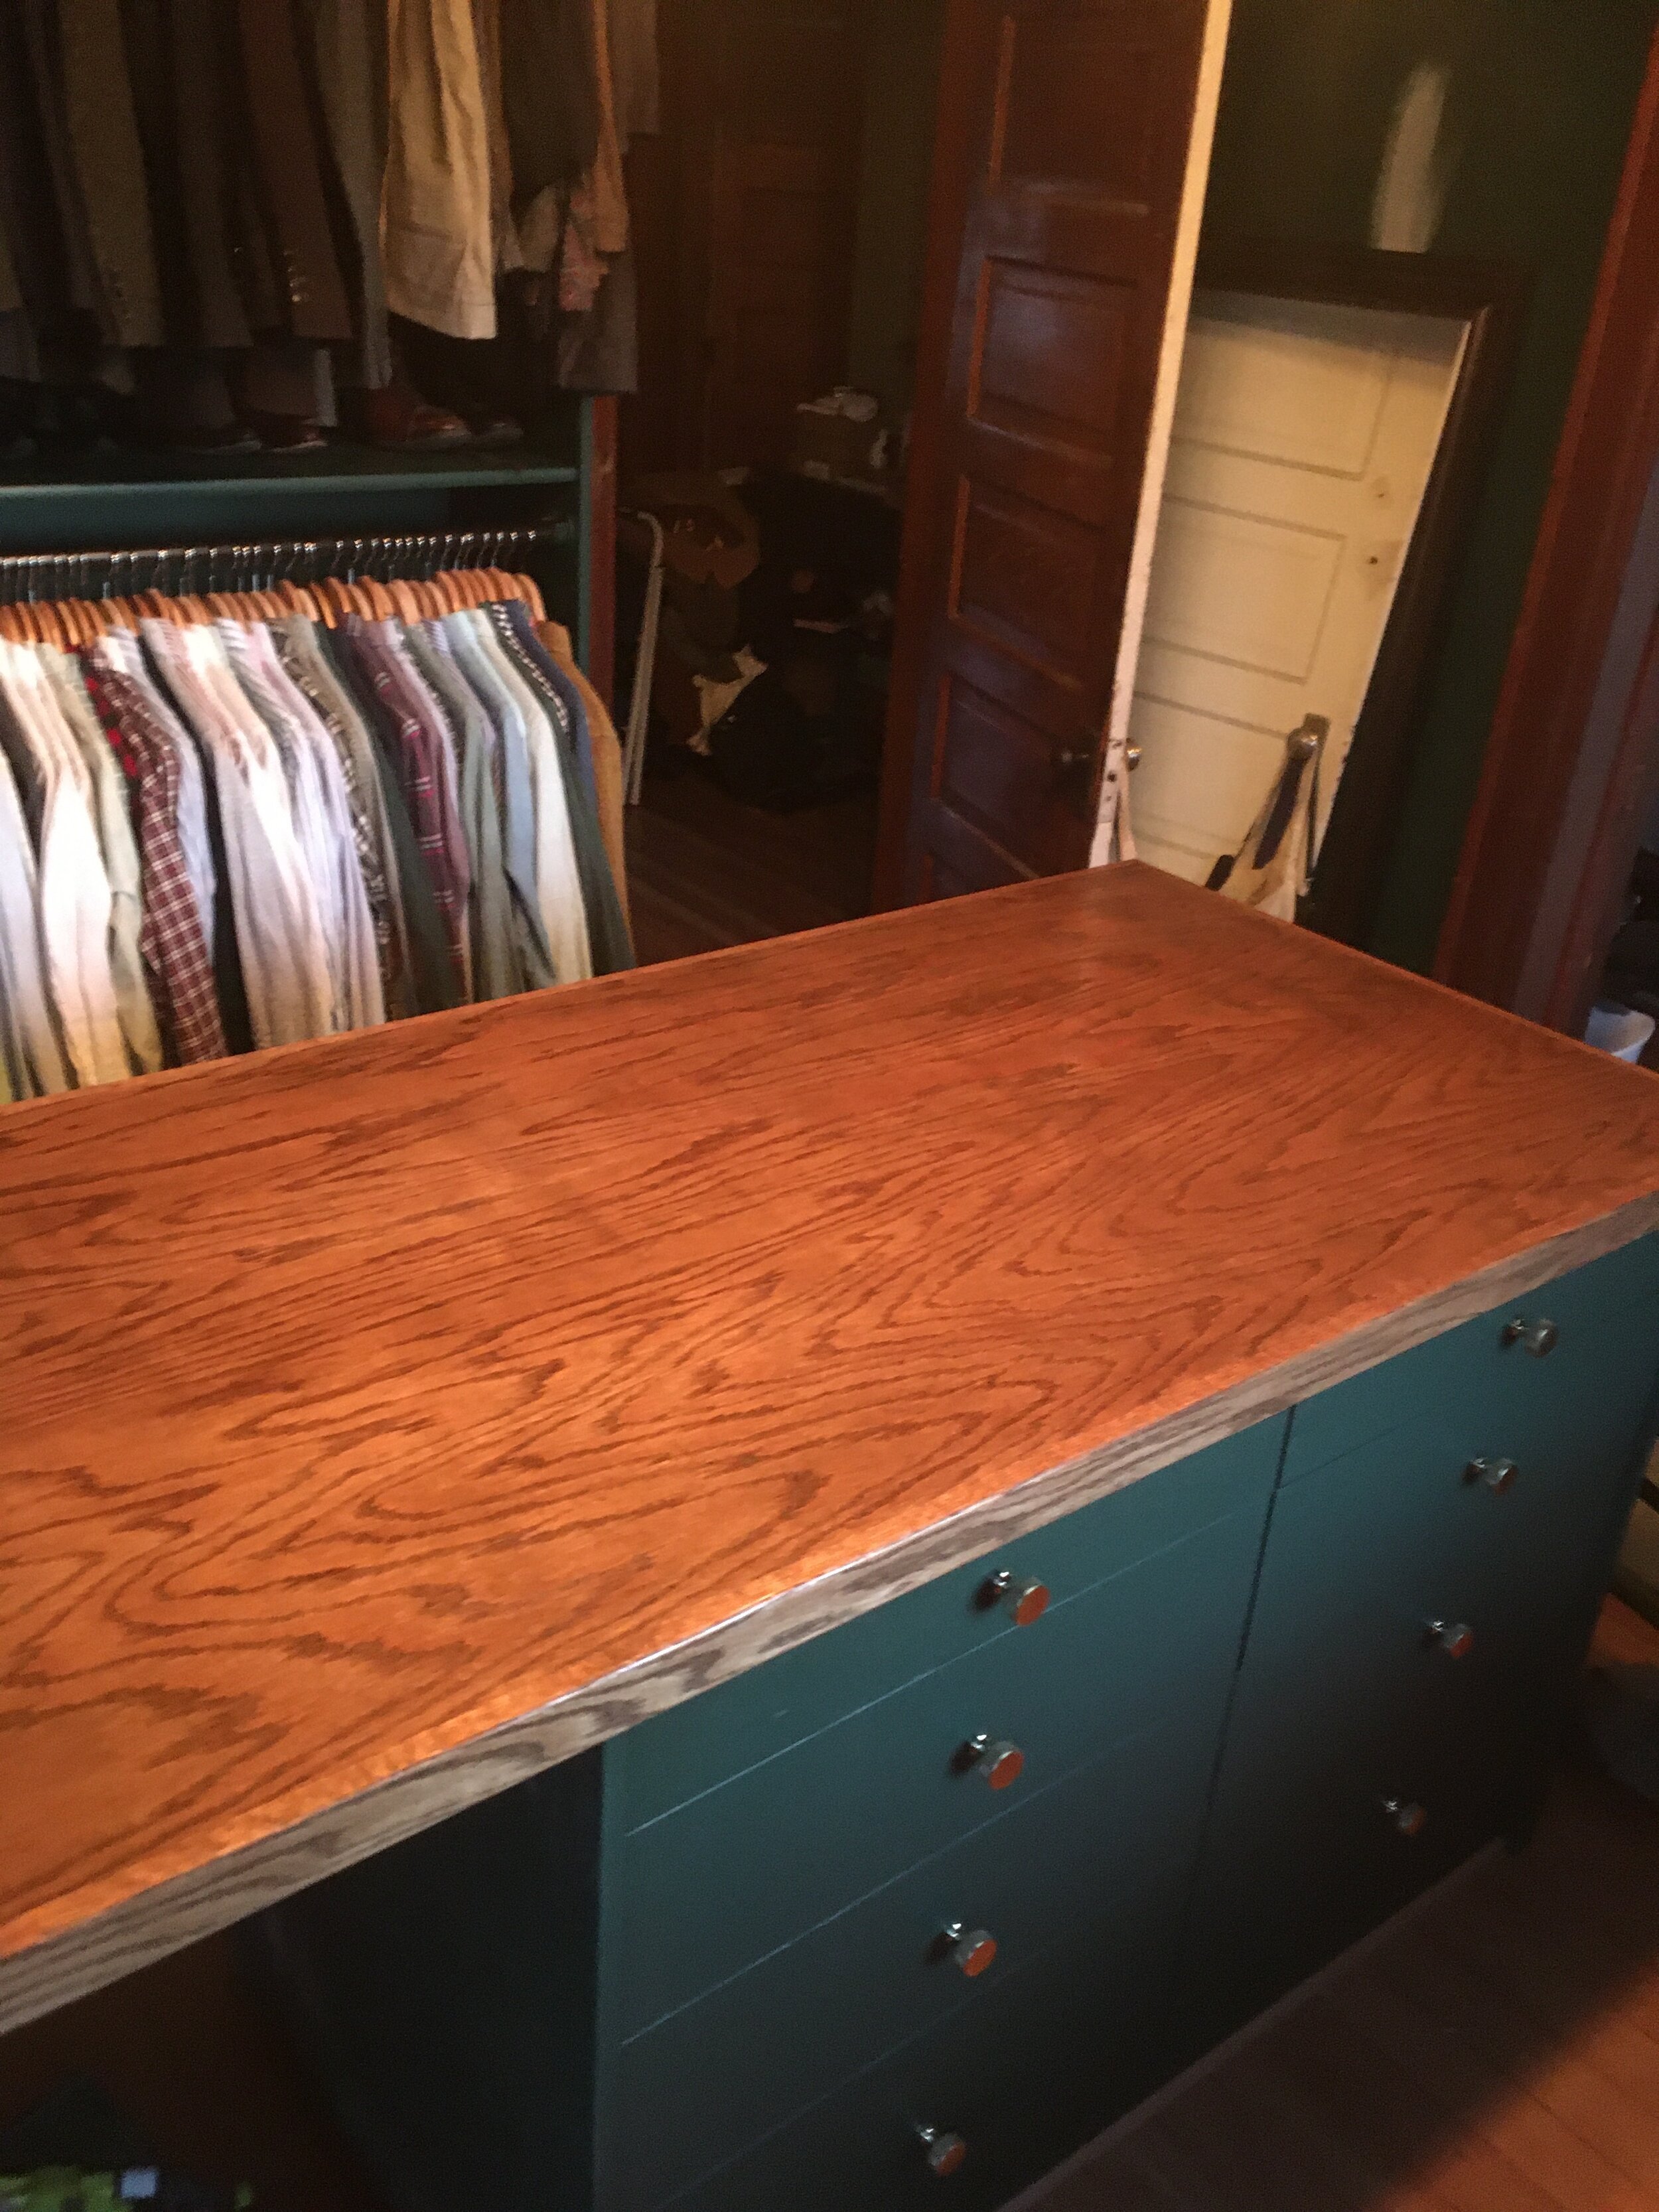
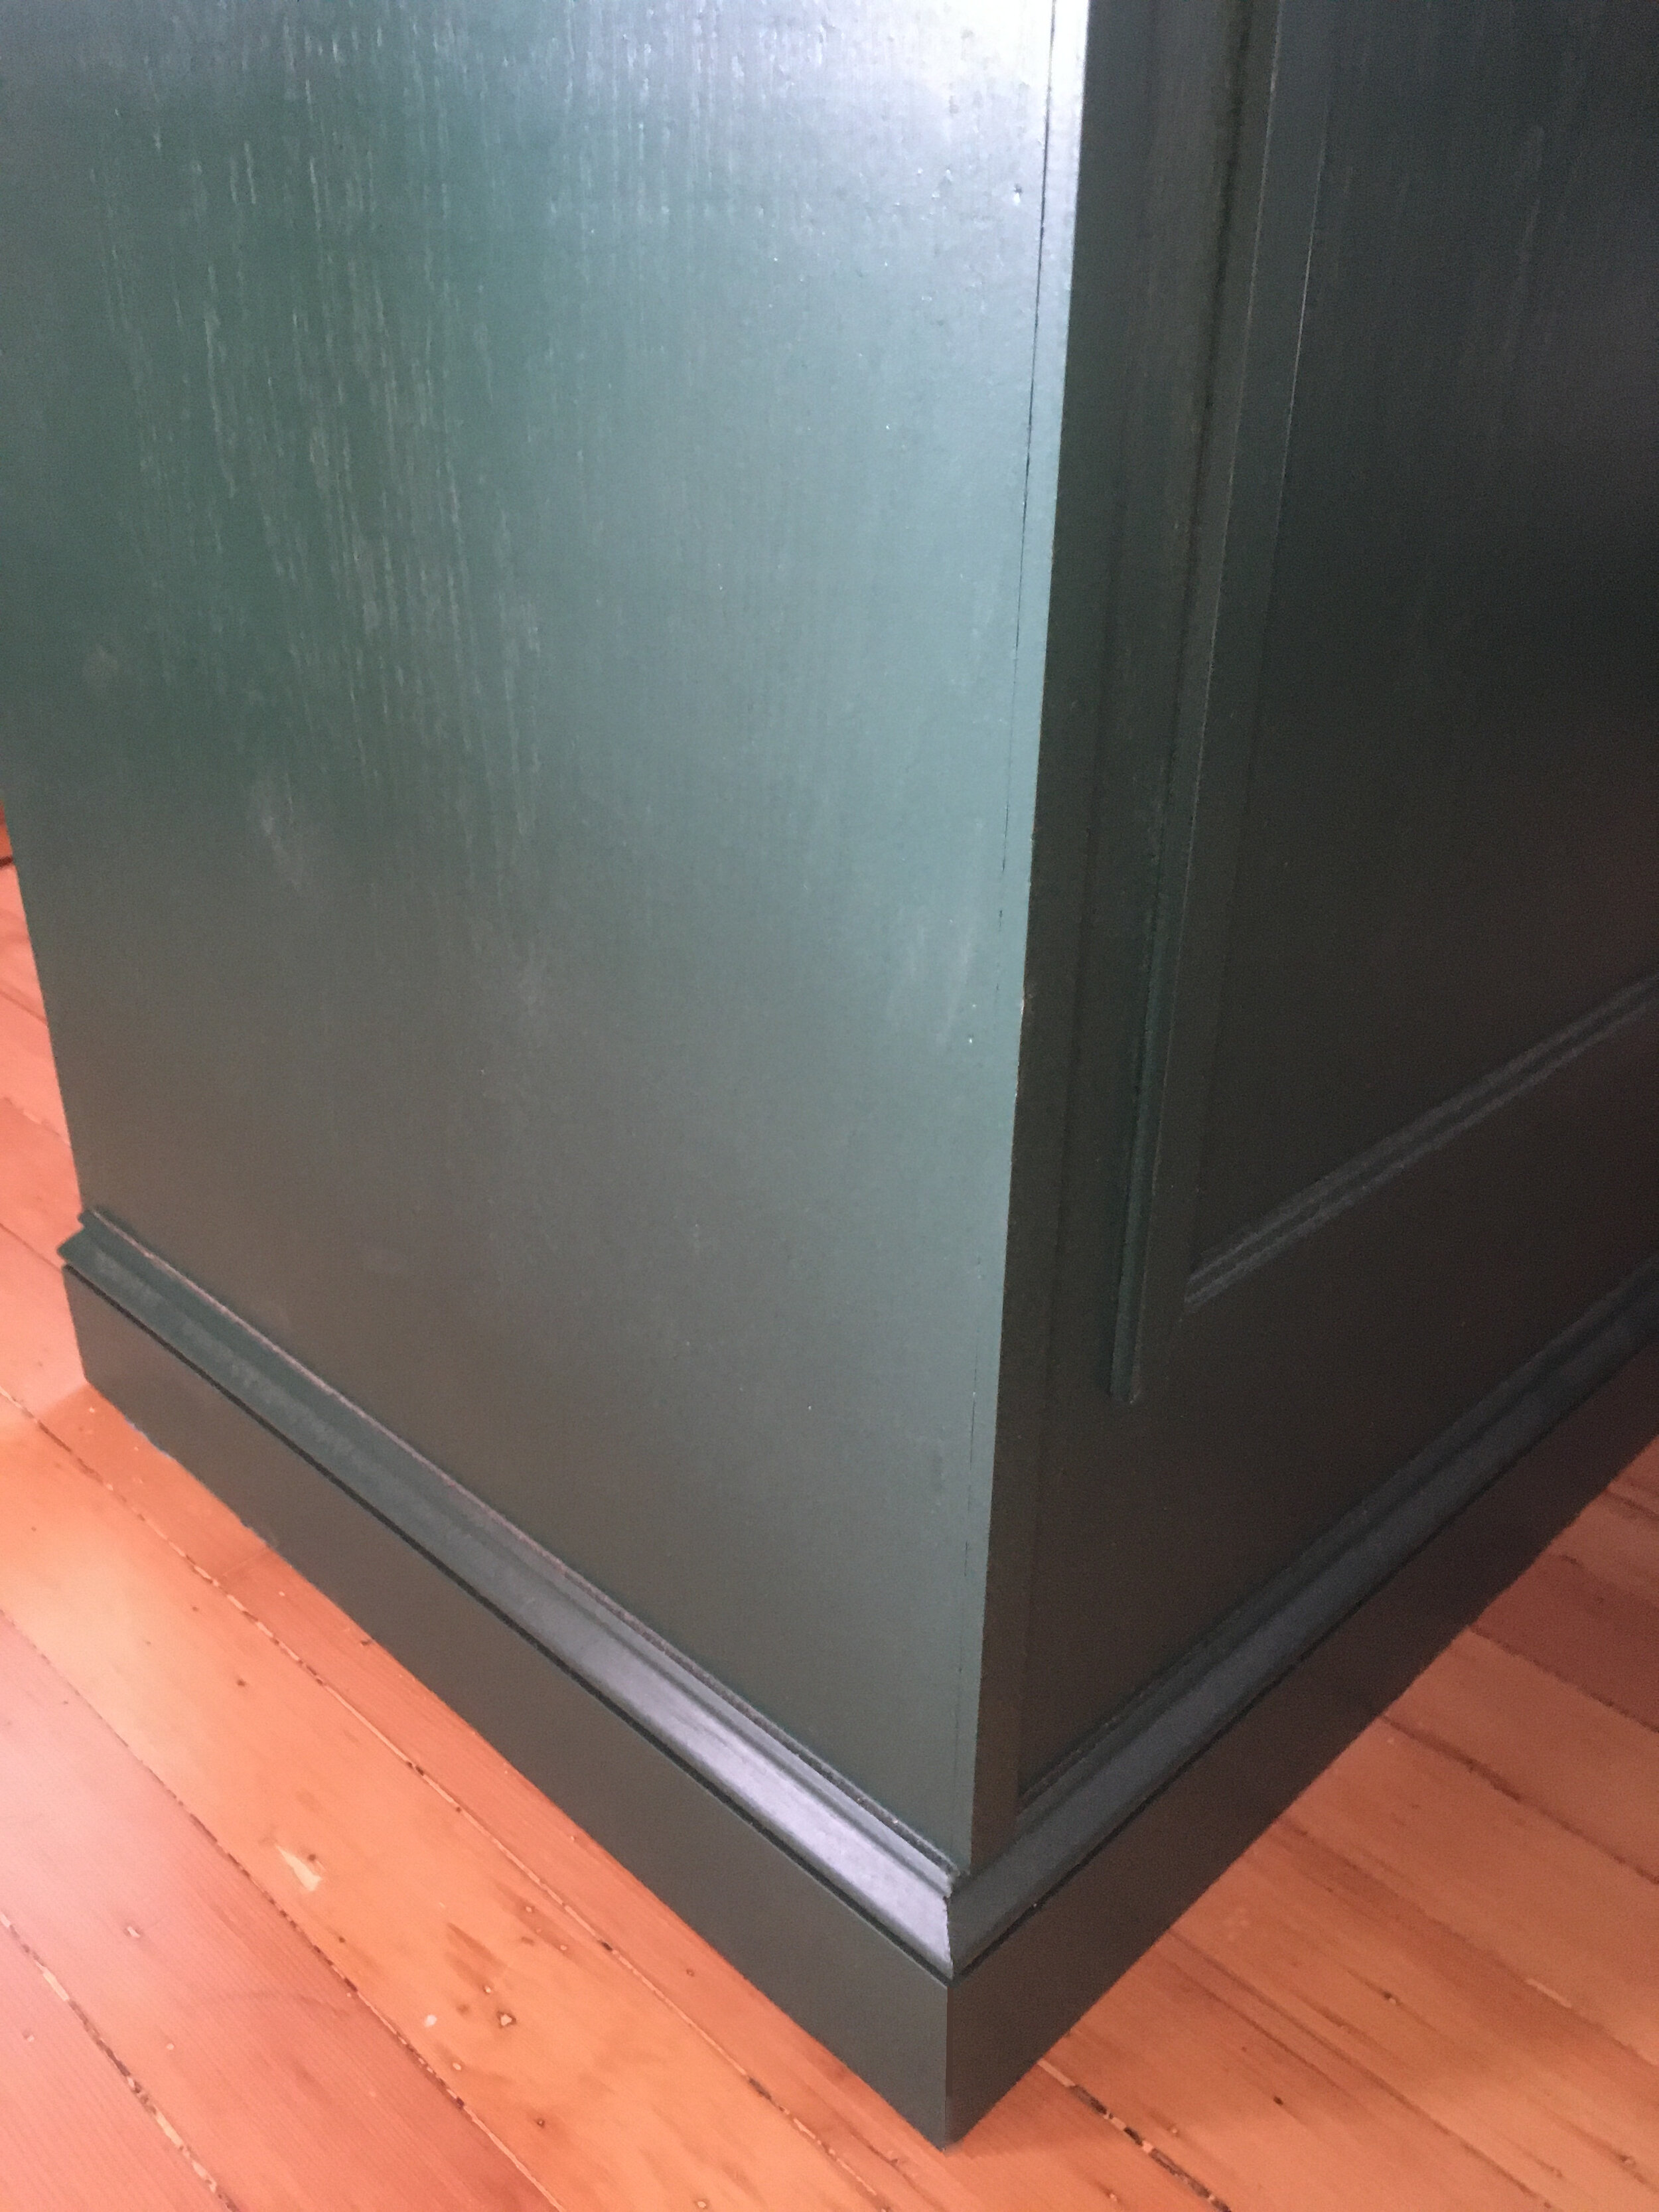
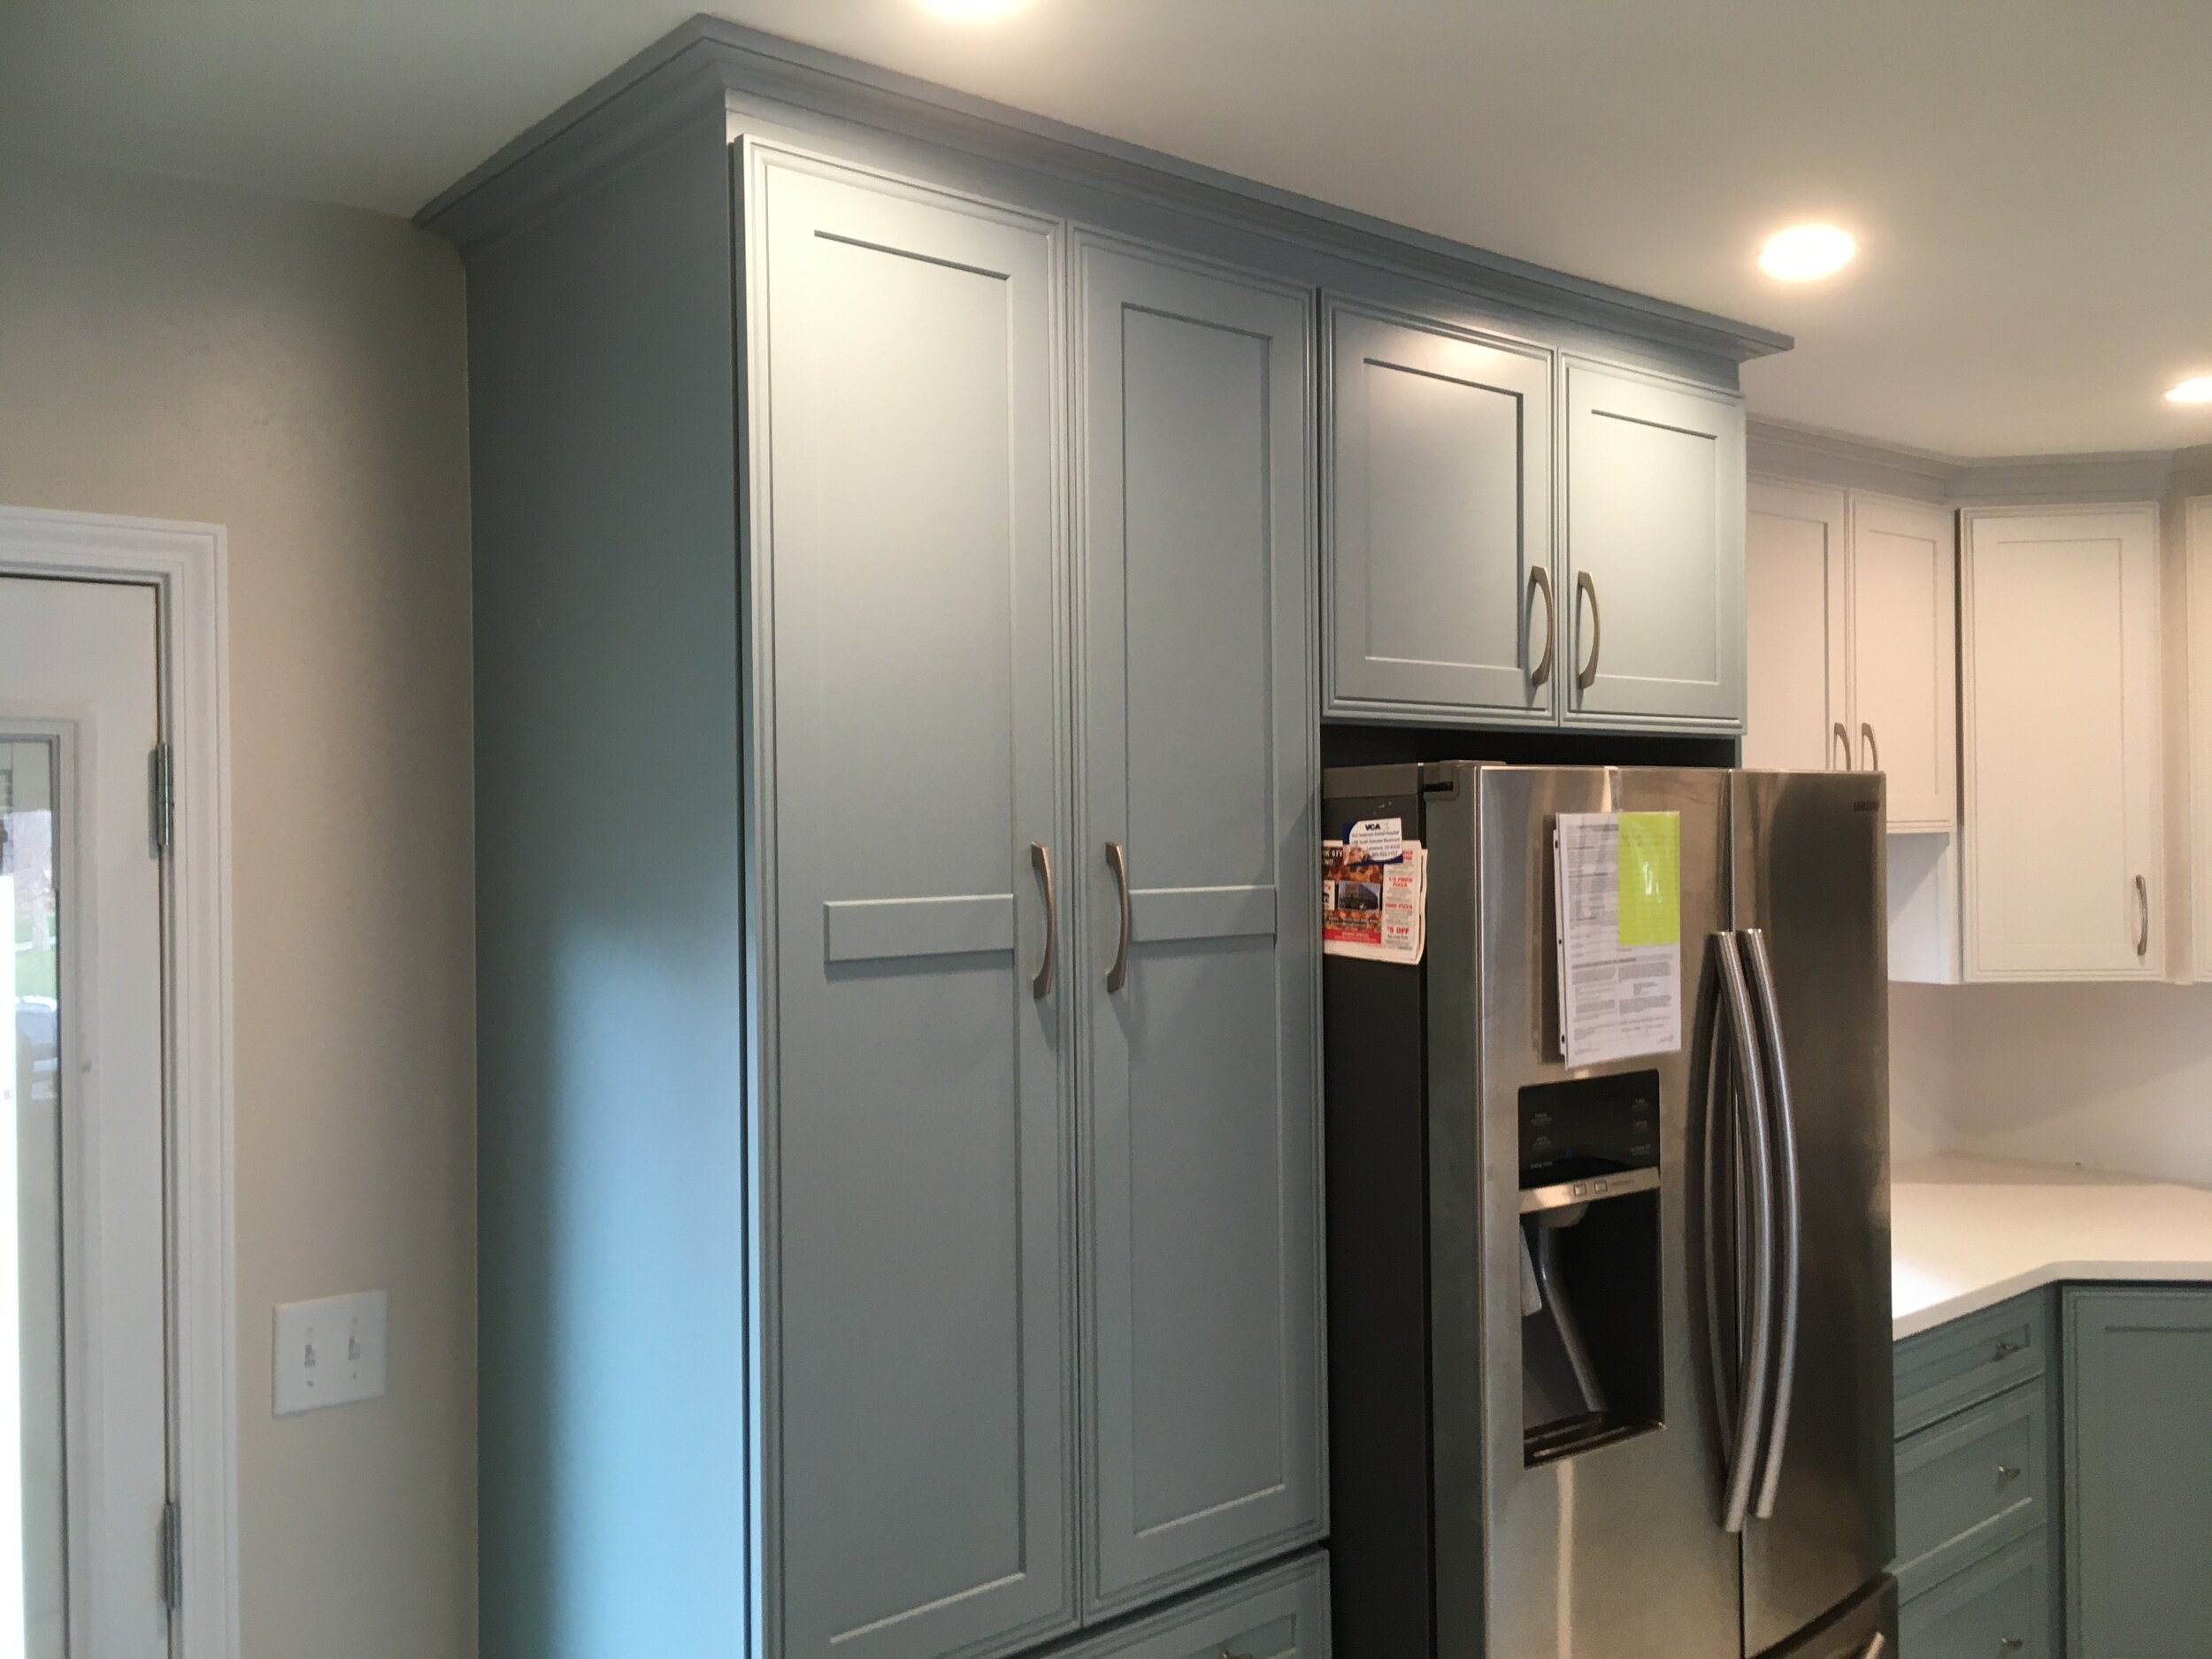
To change the flooring height in an existing kitchen essentially means re-installing the cabinets. The original flooring almost always laps under the cabinetry and the cabinets rest directly on the flooring generally with some fine adjustment with shims—tapered wooden pieces for positioning cabinets. The cabinets are set level from left to right and front to back and sit on top of a wooden box called a “ladder base” or a “toe kick” or in some newer European-style kitchens, on metal or plastic adjustable legs called “leg levelers” such as these made by Hafele. That box may need to be removed and cut down, then the cabinets set back on top of it ideally. Alternatively, the flooring can be cut out flush with the cabinet ladder base or legs and a taller toe kick added in front, but that means that the toe kick will be out of proportion to the cabinetry.

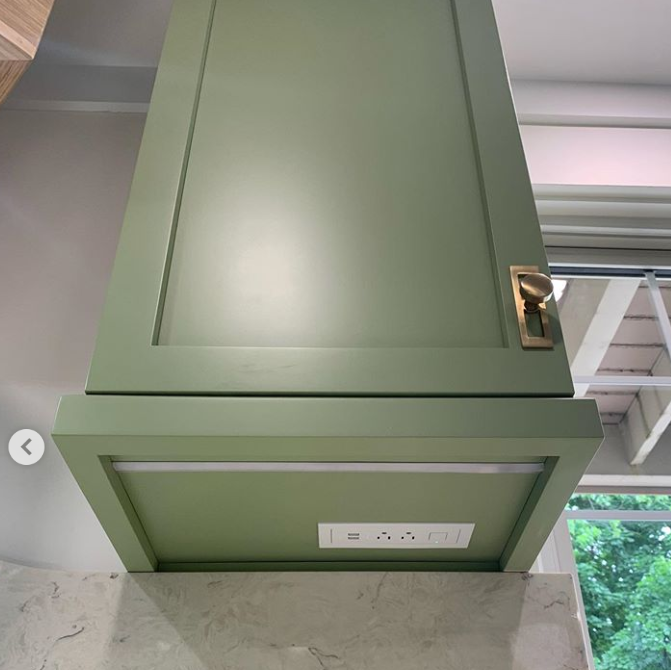
If you’re planning for cabinet end panels, and you should be because they look great, standard height end panels won’t work; they’re designed for a cabinet that is 34.5” off the ground (30” cabinet box plus 4.5” toe kick). An alternative would be wrapping the toe kick around the side of the cabinet and holding the panel up flush with the bottom of the cabinet, but it’s not as contemporary in my opinion.

Refrigerator panels, full depth floor-to-ceiling panels on either side of the refrigerator are used to transition between 24” deep refrigerator cabinets and 12-15” deep wall cabinets. When the flooring and the cabinets drop 1”, the panels do too. This means a gap at the top and replacement is recommended.

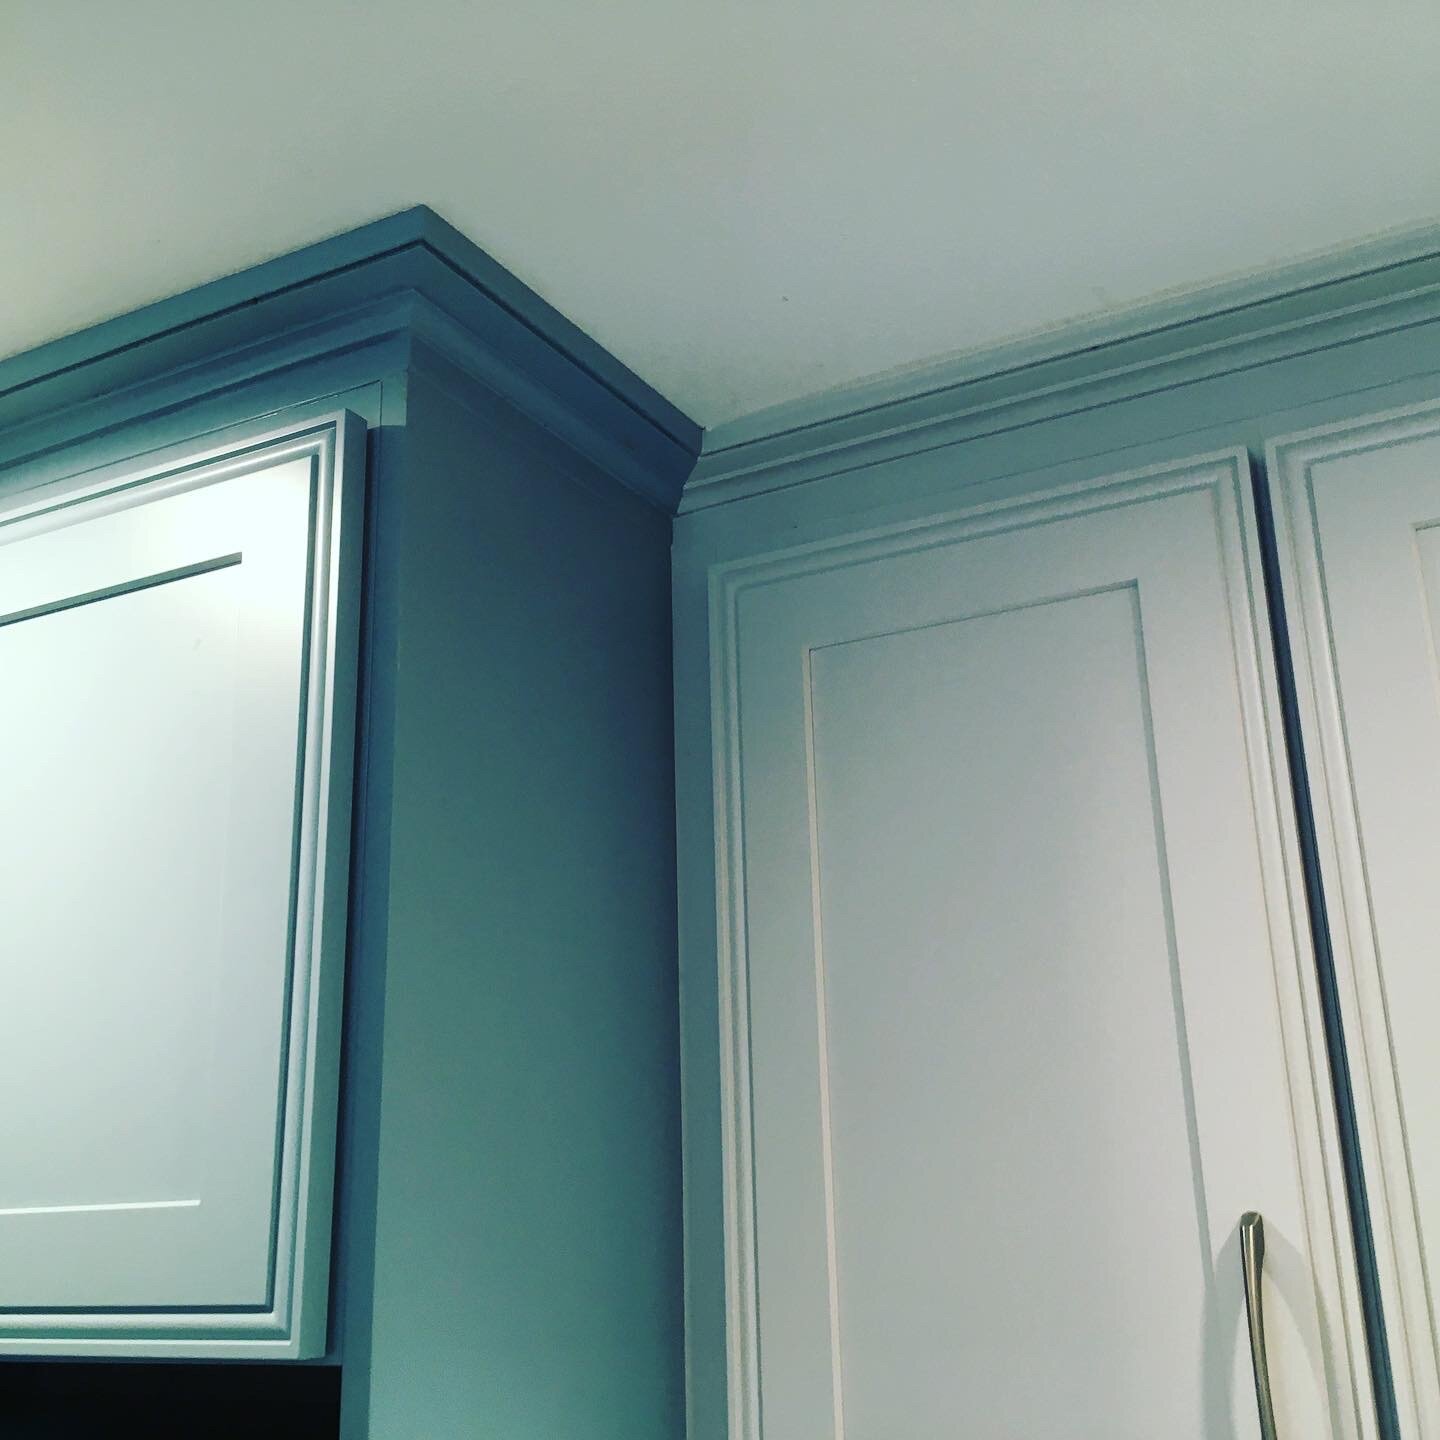
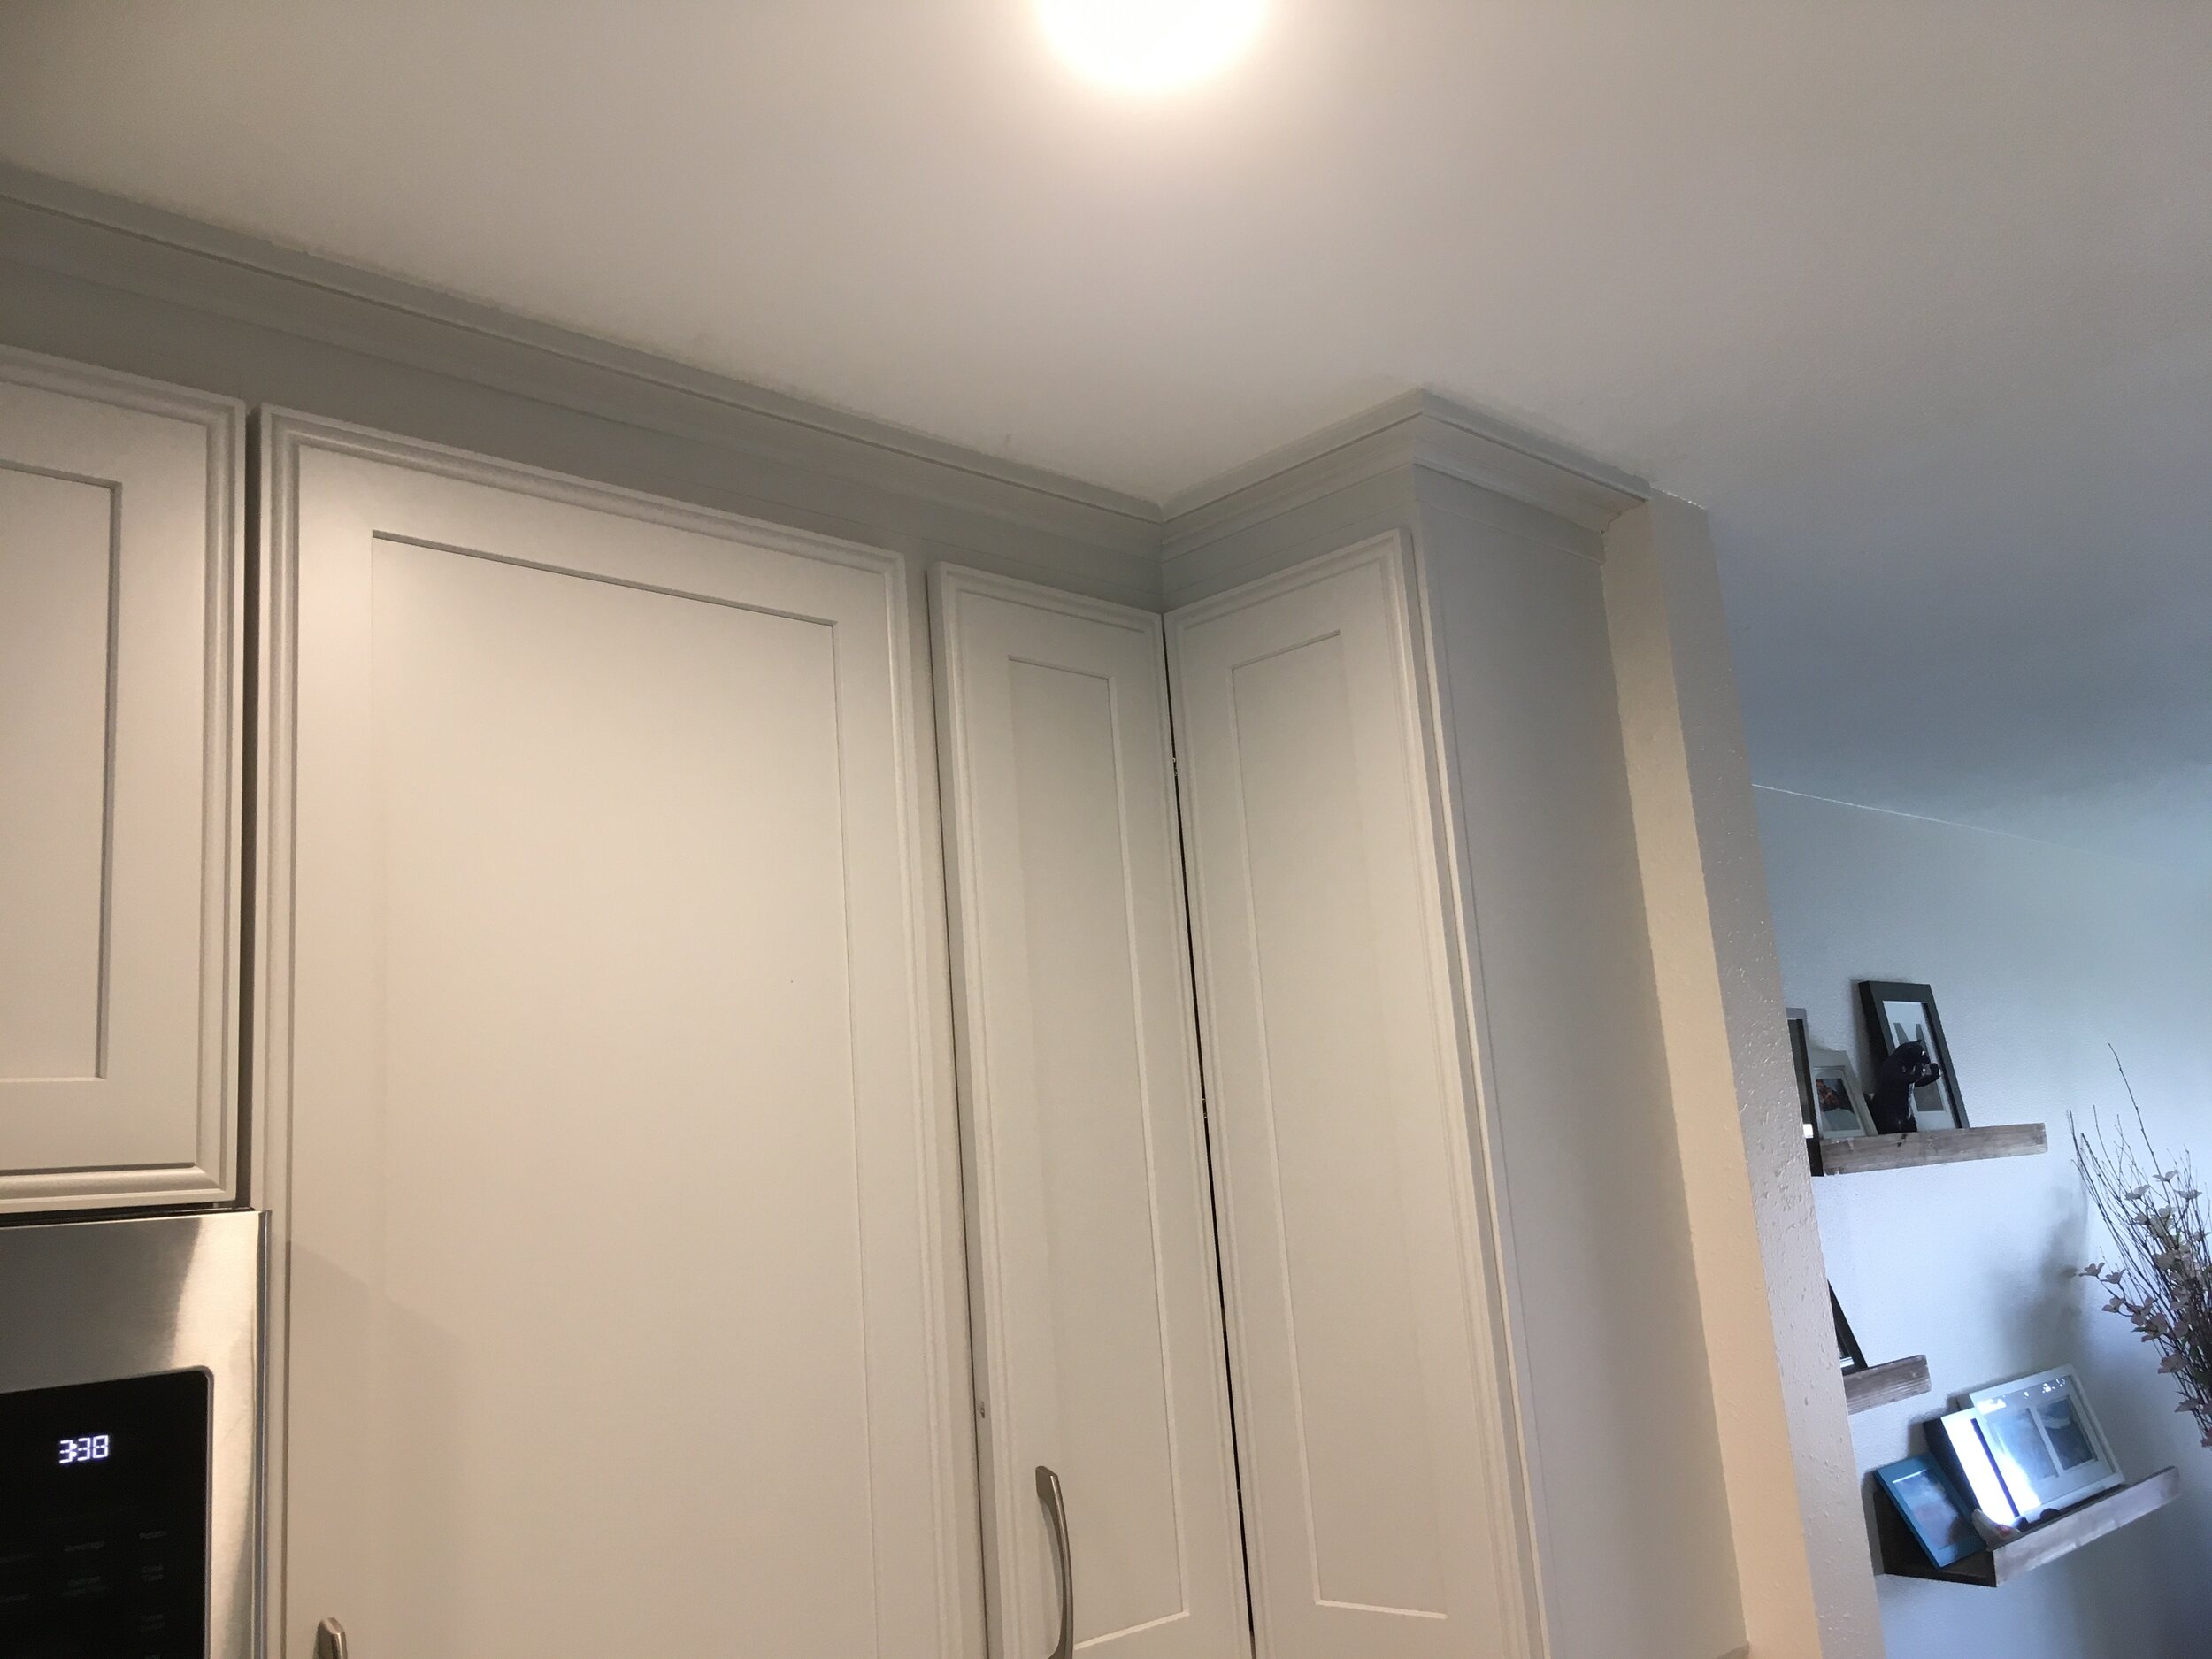
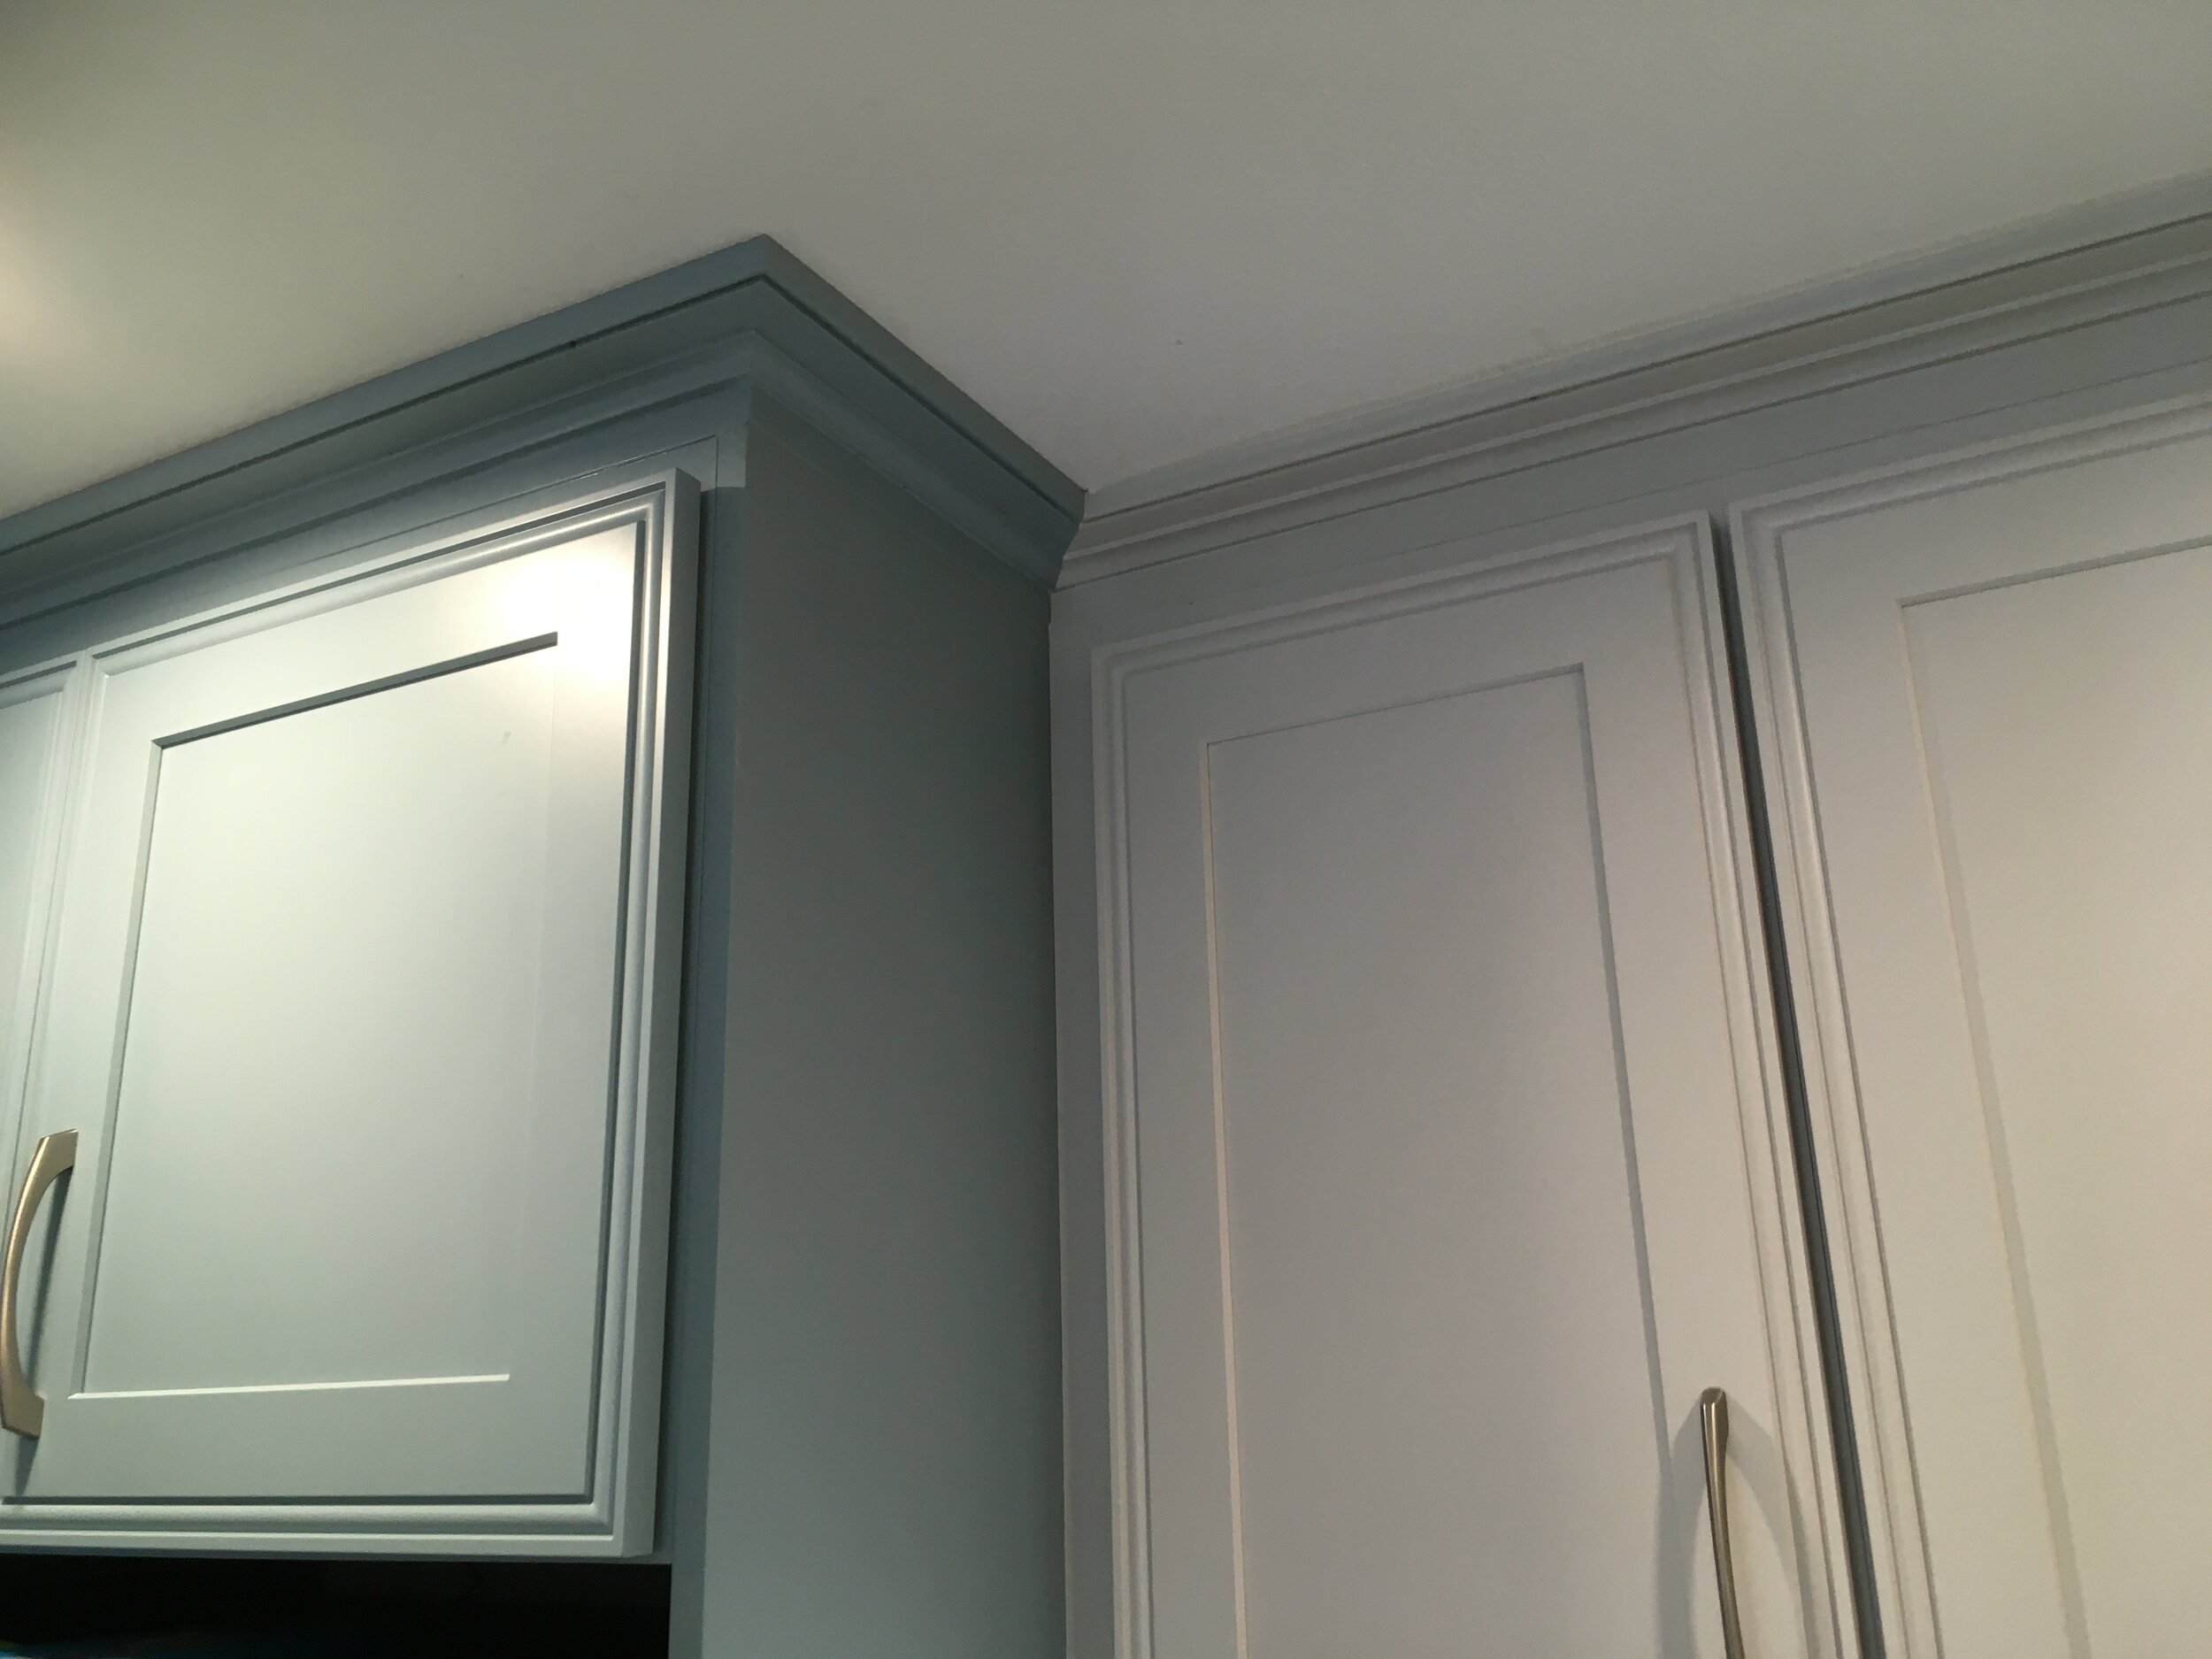
Full-height cabinets such as pantry or broom closet cabinets are often designed so that their door heights line up with everything else in the kitchen. If you drop the pantry cabinets 1”, and you have crown moulding on top or the cabinets are tight to the ceiling, there will be a gap to deal with and your upper doors won’t line up with the rest of the upper cabinets! Luckily this isn’t an issue on every kitchen, but with many kitchens, it needs to be considered.

Counter tops

- The counter tops are attached to the wall and the cabinets, so dropping just the cabinet height is not possible without removing the counter tops. Unfortunately the counter tops are permanent attached generally with a heavy duty adhesive. It’s possible to cut the adhesive in back and between the tops and cabinets, but you run a high risk of damaging one of both of the items.  

If there’s a backsplash, the spacing of the tiles won’t work out anymore. You’ll either have a short course all along the counter top height or replace the backsplash entirely. That adds more expense, time, mess, and another trade potentially if the rest of the house isn’t getting tile.

We had initially planned to cap the counter tops with a 1/2” veneer of quartz to minimize down time, expense, and damages since the client was currently living in the condo. With lowering the floor height though, it would probably be best to remove the counter tops completely. The existing flooring is 3/4” tongue and groove oak, plus whatever underlayment is there. If you remove the flooring and install new veneers over the existing tops, it adds another 1/2". That’s 1-1/4” variance before the new flooring is added. If that’s a thin vinyl plank or even a thinner tile, it would be best to replace the counter tops to avoid having a large step-down between the cook top and counters. The dishwasher would have to be raised as well, or there would be a large gap between the dishwasher and counter top.

Plumbing

The Sink

The sink drain height is set by the cabinet height, so dropping the sink cabinet means re-plumbing the drain line. it may be as simple as cutting down the drain pipes, but if the P-traps are in the way, may be more of a pain.

If you have rigid copper supply lines, it could mean re-plumbing the supply lines, but most are flexible with enough slack. 

Often the kitchen is vented with an air-admittance valve (AAV) that is tucked up under the sink. It may be too high to drop the sink down a bit without cutting the vent line down.

The Dishwasher

The drain line for the dishwasher is drilled through the sink cabinet at a specific height to allow for an air lock which keeps the water line from dry venting sewer gas into the drain, so it would mean re-plumbing that drain line 1" higher.

The Refrigerator

Sometimes, I’ve seen supply lines for the refrigerator’s ice maker run through the flooring. A 1/4” line can be tucked into a groove in the underside of 3/4” flooring and secured in place. Is it a good idea? NO! But people do it. There’s a chance that in dealing with a slab on grade kitchen, you may have to relocate this line and trench it into the concrete slab or re-route it through the walls or cabinet.

Appliances: 

Speaking of dishwashers, the dishwasher and range should be raised an inch ideally and left alone using plastic shims if the adjustable feet aren't long enough. It's important to lay the flooring under the dishwasher so that the dishwasher isn't pinned into the opening, which makes removal a huge ordeal down the road. The refrigerator also drop 1”, so the existing fillers between the refrigerator cabinet and the refrigerator will be an inch short and, as mentioned above, side panels on either side of the refrigerator are sitting on top of the flooring directly and will need to be replaced, since dropping them would make them too short at the top!

Flooring

Right now the kitchen that prompted this article had tongue and groove oak flooring. That's pretty tolerant of height variations in the concrete floor. Under the floors, the subfloor is what we call "slab on grade" but these concrete floors are poured to different tolerances depending upon floor covering. When the original builder is planning to install carpet, linoleum, or another variance tolerant flooring product, they don't worry as much about floating out the concrete to be perfectly flat and that means less labor.

Sometimes, with tile or vinyl plank, variations on the floor height can cause lipping in tile where one tile sits higher or lower than an adjacent tile or cause hollow spots under laminate flooring that can damage the flooring and cause it to bow and crack over time. You get some areas that sound hollow as you walk over them with hard-soled shoes, and you can hear boards move and creak as you walk sometimes.

Best practice is to use self-leveler over these areas if it's necessary to make a consistently flat concrete surface to apply the flooring or grind down the high spots. Your flooring installer won't know if that's necessary until the flooring is removed and could be an added expense that you didn’t budget for. Some installers want to skip this step and it can mean a sub-par flooring install. It could be flat enough that an underlayment will flatten things enough to be fine, or some areas could need grinding down if there are high spots.

I’ve seen an installer have to replace the flooring and ground down high spots after the fact, but that fine abrasive dust can be really problematic. In once case a thin layer of this abrasive dust settled into the expensive undermount soft-closing drawer slides and made them malfunction prematurely due to dust sticking to the fine layer of grease inside the mechanisms. This dust settled onto the high gloss acrylic laminate door and drawer fronts too, and when the flooring contractor went to wipe down the cabinets at the end, they put thousands of tiny scratched into the laminate! The kitchen was a total loss at only 3 months old and the replacement parts cost nearly $20,000.

Conclusion

So, yes, you can drop your flooring height in an existing kitchen, but nothing in a remodel happens in a vacuum! That's where a good contractor earns their keep, weighing the pros and cons, managing the subcontractors and workflow, and making these tough decisions in the client’s best interest without burdening them the nitpicky details.

Have questions about your upcoming remodel and want to run through the workflow? Use our contact for to reach out.

Door Repair: a few common problems and their solutions

Entry doors are expensive and are often fitted to the exact door opening, making replacement more challenging. Especially when it comes to older and specialty doors, repair makes a lot of sense. We perform all types of door repairs. Here are a couple that we regularly encounter.

Door Anatomy Lesson

The anatomy of a traditional 6-panel door, source: https://brownstonecyclone.com/

The anatomy of a traditional 6-panel door, source: https://brownstonecyclone.com/

An entry door is usually constructed with cope and stick joinery, meaning that the profiled portions of the door that resemble mouldings, are cut into the structural members of the door. When the mouldings are cut into the edges of the door, they’re known as sticking.

The structural members, the stiles (vertical parts) and rails (horizontal parts) are fitted to each other with a mortise and tenon joint. These joints are intended to be permanent and usually last for hundreds of years. In between the stiles and rails are floating panels, meaning that the panels are not glued in place, allowing the door to expand and contract without cracking the panels. The panels are generally a glue-up of alternating grained pine or similar. These panels are “raised” or cut with a tapering edge profile around their perimeter. This allows them to fit into a “dado” or groove around the inside perimeter of the door. This is commonly referred to as frame and panel construction and is one of the foundations of traditional woodwork.

Panel Damage

cracked panel (via pinterest)

cracked panel (via pinterest)

We see two main types of damage on these types of doors—one caused by overzealous painting and another cause by forced entry. Sometimes a well-intentioned painter goes the extra mile and caulks the panel to the sticking so that there’s no gap. It looks great for a while, but it causes issues within 1-5 years. What this does is binds the panels to the sticking and can actually cause the panel to be pulled apart, ripped clean in two! This usually means cutting the caulk and scraping the entire panel with a card scraper then gluing and closing the joint back together and re-painting.

panel kicked in by firemen during a rescue operation

panel kicked in by firemen during a rescue operation

We also sometimes see firemen force their way in through a door panel since it’s the thinnest part of the door. This usually means complete replacement of the panel and one side of sticking. This is a fairly complicated repair. It requires gluing up a panel, raising the panel, milling new sticking, removing the remnants of the old sticking, gluing the new panel moulding in place, sanding, priming, painting, etc. That’s over a half day repair without paint. But, when the alternative is replacing the original entry door, it makes sense.

Jamb Issues

The door slab itself is only as good as its jamb. I see more issues with jambs that doors! Here are a few of the main ones:

The lock set doesn’t strike at the strike plate

Many of the neighborhoods we work in such as Park Hill, Mayfair, University Hills, and Cory-Merrill, were built in the 1920’s-1940’s. These homes often originally had mortise locks, a lock style that is essentially a metal box full of levers and springs that’s buried several inches inside the door. Modern locksets are barrel-style or cylindrical. When homeowners want to keep the original door but use a modern lock, it usually means filling the old mortise and re-boring.

Door is repaired and ready for sanding and paint

Door is repaired and ready for sanding and paint

There are few finer points to a repair like this. First, it’s important to match the species of wood and moisture content ideally. I salvage old growth pine from old doors to use to fill these mortises because its density and moisture content will be nearly identical to the original. That means it will move with the door at the same rate throughout the seasons and will take paint beautifully and never flash through. I cut a long-grain block to fill the mortise, epoxy it in place and plane it flush when the epoxy cures.

For the face bores, this is where I see most guys mess up because they don’t pay attention to grain orientation. You have to cut a face-grain plug from the same species rather than jamming an end-grain dowel into the hole and cutting it off. End grain doesn’t take finish or glue in the same way as face grain and it’s also a pain to plane flush. By paying attention to grain orientation, you can make a perfect repair that will look factory fresh!

Joinery Failure

It’s rare, but sometimes the actual joinery of a door fails. This is usually due to a number of factors going wrong all at once. When this happens, if it’s a stock door that can be replaced with something off-the-shelf, it makes sense to scrap the old door and replace it. When it’s something unique though, we an repair it with some time and effort.

the crest rail and stile were pulling apart

the crest rail and stile were pulling apart

We fixed a gate this year that had failed completely due to improper joinery. The builder used dowels to join the stiles and rails, which is fine, but the dowels were under-sized, only 1/4” dowels for this 1-1/2” thick gate! They used standard wood glue which is not waterproof. They also oriented the grain of the wood in such as way as to allow the door’s natural expansion and contraction to force the joints apart by placing the crest rail on top of the stiles, rather than in between them. The final problem I found was they they hadn’t pre-finished the floating panels, so the portions that were dadoed into the door were exposed to the elements and when the panel shrunk during the winter, there was a light-colored border of unfinished wood exposed to the winter elements. It was a perfect storm, so to speak, for weather damage.

The repaired gate, ready for many more years of service

The repaired gate, ready for many more years of service

We disassembled the gate completely and sawed off the old dowels, replacing them with 1/2” dowels, 4 inches long. Everything was reassembled with a polyurethane adhesive which is weatherproof and super strong. Next, the floating panels were pre-finished around the perimeter to prevent further damage. While we couldn’t re-construct the crest rail, we added long timber-lock lags hidden under a tapered face-grain plug. The end result was a gap-free door ready for several more years of service.

Replacing an old lock with a newer style

This door had a mortise lock 4 hours earlier. We filled the old lockset and installed this new baldwin entry lock

This door had a mortise lock 4 hours earlier. We filled the old lockset and installed this new baldwin entry lock

This is one of the most common gripes with locksets in general. The plate where the lock wants to latch is either too high, too low, to far inside, or too far outside. Sometimes it’s as easy as adjusting the latch adjuster, a tab on the inside of the strike plate, with a flat bladed screwdriver. Other times, it means tightening a hinge screw into either the door or the jamb (the door is sagging), or moving the strike plate position. I use what’s called a “witness mark” to locate the strike, by blackening the latch with graphite and rubbing it against the jamb. The old position can be patched with a wooden block known as a “dutchman”, planed flat, then the strike can be re-mortised and bored.

Sometimes, the issue is weatherstripping. This is actually a good problem to have, since your weatherstripping needs to be compressed to do its job. Depending on the type of weatherstripping you have, it could require more than a gentle nudge to get the door to latch. This can mean fine-tuning the strike or swapping the weatherstripping for a thinner variant. We use top-quality silicone weatherstripping from Conservation Technologies on our projects, or traditional V-bronze.

Are your doors in a jam and in need of some love? Are you unhung doors in need of a jamb? Are you sweeps binding, strikes missing, hinges creaking, stiles outdated? We’re your Denver door repair experts.

Budget-Friendly Alternatives to All New Cabinets

With the cost of living rising rapidly in Colorado, record low inventory in the entry-level market for first time homebuyers, wages that have remained stagnant since the 70’s, a generation of new adults that are hobbled by student loan debt, and a shortage of skilled labor, coupled with an incessant stream of luxury lifestyles and interiors in our social media feeds, how on earth are our clients supposed to afford the services of skilled tradespeople?

Traditionally, cabinet showrooms have offered a rule of thumb for kitchen remodels, that they should be somewhere around 10% of the home’s market value. That’s a $50,000 kitchen in a $500,000 house. That said, in the Denver Metro area, $500,000 doesn’t go as far as it used to. That’s leading to homeowners taking on a significant mortgage payment just to get into a home that needs a lot of work to fit a modern lifestyle and design aesthetic.

New Doors and Drawer Fronts

If a whole new kitchen isn’t in the cards for you right now, there are other options. In some cases, the existing cabinets aren’t in bad shape. Simply changing out the doors and drawer fronts can give the kitchen a completely new look. We offer replacement doors and drawer fronts in hundreds of different surface finishes and materials. This approach has a few big advantages over a full remodel

  • It’s fast! We’re in and out of your home in days, instead of weeks

  • It’s affordable. Our doors and drawer fronts start in the $50 range

  • We can still upgrade some things, like adding soft-closers to your doors and drawers

  • We can retrofit new drawer boxes into your existing cabinets, complete with soft-closing, hidden, full-extension drawer slides.

Refinishing Your Solid Wood Cabinets

We work with some of the top cabinet finishers in town to plan and execute your refinishing project with professional results. Our team sets up a mobile spray booth and sprays your doors and drawer fronts with a factory-grade finish. Trim and panels remain in place and are hand painted in place.

Wrapping Appliances in Durable Vinyl

Commercial interiors are remodeled all the time, and downtime costs serious money for many operations. 3M has been working with commercial construction companies to come up with novel solutions for refreshing finished surfaces without full replacement. My favorite of these is a film called Di-Noc. It’s a space-age contact film that covers smooth surfaces in an attractive and durable coating. I like it for refrigerators, dishwashers, microwaves, and other smooth surfaces that need a face-lift but still work well. This is a great option for homeowners that have a chrome dishwasher in an all black kitchen for instance, or a black refrigerator and all white cabinets. I’ve seen many high-end appliances given away because they don’t match the new cabinets, and that’s simply unnecessary these days.

Want to hear more about these options? Get in touch :)

The classical order

Proportions matter! Choosing the proper moldings for your project can make the difference between a project that feels right or one where “something’s not quite right.” While they’re open to interpretation, there are rules regarding how we use mouldings, which profiles we choose, what sizes of each, and the layers that we use to build them up. There are about a dozen different interpretations of the classical order from architecture texts over the last couple of centuries, but a few things stand out as constants.

There are a few books that I would recommend if you’re interested in moulding design and proportions. I’ll update the article as time allows to expand this list, but I would start with C. Howard Walker’s The Theory of Mouldings (Linked for your convenience)

To hit the high points on moulding profiles and proportions quickly, there are a few rules

  • The higher the ceilings, the larger the mouldings (and their projections)

  • Don’t repeat mouldings! Motifs, but never the same moulding in the same proportion.

  • The types of mouldings, their placement, and proportion to one another are derived from the classical order which was rooted in a moulding’s structural nature!

  • Columns taper at the top

  • Crown mouldings were originally structural to distribute the weight of the beams above

  • Profiled edges weren’t just ornamental; they actually reduced wear and increased longevity

  • Fluting and reeding are actually derived from bundled reeds that served as pillars in early structures

  • Eaves, sills, gable roofs, they all are intended to direct water away from the structure’s foundation

When you start looking for mouldings that are out of proportion, you’ll see them everywhere! But, rest assured, we don’t lead you astray. A that’s why we’ll never recommend a 12” crown moulding for your 8’ ceilings.

Stress: Are you ready to remodel?

Remodeling is among the most stressful choices we can make in life. Before beginning a remodeling project, I encourage my clients to do a stress self-evaluation known as the Holmes-Rahe Life Stress Inventory. This tool compiles the number of stressors in your current situation and calculates a score that quantifies your stress level.

Development

In 1967, psychiatrists Thomas Holmes and Richard Rahe examined the medical records of over 5,000 medical patients as a way to determine whether stressful events might cause illnesses. Patients were asked to tally a list of 43 life events based on a relative score. A positive correlation of 0.118 was found between their life events and their illnesses.

Their results were published as the Social Readjustment Rating Scale (SRRS),known more commonly as the Holmes and Rahe Stress Scale. Subsequent validation has supported the links between stress and illness.

Supporting research

Rahe carried out a study in 1970 testing the validity of the stress scale as a predictor of illness.[3] The scale was given to 2,500 US sailors and they were asked to rate scores of 'life events' over the previous six months. Over the next six months, detailed records were kept of the sailors' health. There was a +0.118 correlation between stress scale scores and illness, which was sufficient to support the hypothesis of a link between life events and illness.[4]

In conjunction with the Cornell medical index assessing, the stress scale correlated with visits to medical dispensaries, and the H&R stress scale's scores also correlated independently with individuals dropping out of stressful underwater demolitions training due to medical problems. The scale was also assessed against different populations within the United States (with AfricanMexican and White American groups). The scale was also tested cross-culturally, comparing Japanese and Malaysian groups with American populations.

Adults

The sum of the life change units of the applicable events in the past year of an individual's life gives a rough estimate of how stress affects health.

source: Wikipedia

Score of 300+: Do not attempt a remodeling project

Score of 150-299: Consider remodeling, if you have a good support system and a concrete plan.

Score <150: Let’s make it happen!

Scoring under 300 and ready to get started? Request a quote!

Progress: Cabinetry operations expanding

I never set out to start building custom cabinetry. I had worked previously as an installer for companies that handled all the sales process. What I thought I understood about the front-end business of cabinetry sales was completely off-base. It wasn’t until I was working as a self-employed kitchen installer and designer that I learned what the cabinet showroom experience was really like and why it wasn’t a good fit for many of my clients. To even be able to get my hands on quality cabinets to install for my customers, I had to re-imagine the cabinet-buying experience.

The Showroom Experience: The Consumer

Buying cabinets for the past several decades actually works quite a bit like buying a new car. The consumer enters a showroom belonging to a cabinet dealer. There are many different models with a ton of different options available. There are add-ons that seem like they’re probably a good idea, but it’s really anyone’s guess if you don’t deal with cabinetry every day. Some may be great value-added features, such as soft-closing hinges. Others are more akin to the clear-coating of a car’s undercarriage, or an extended warranty from a car dealership. Are they really worth the investment? Will they really make a proportionate impact on the client’s daily life? They’re being pitched by a person, whom despite the commitment to quality and best intentions, is several steps removed from any actual cabinet-making or installation.

The Other Customer: The Builder

Purchasing cabinetry directly as a contractor for a client’s project is fairly similar, but a little less refined. The mark-up is still massive. Forget wholesale pricing, but you may be allowed a 10% margin to mark up to the end user. It’s like trying to buy a new sedan; you must become a dealer, there are a limited number of these opportunities available, and they all require a substantial investment and overhead. After digging deeper into this business, it became clear that there was a massive mark-up in cabinetry due to the high overhead business model that dealers are operating under, to cover overhead that funds services that most clients simply don’t care about.

Do we really need a showroom?

Most of my customers were able to narrow down their options from sample finishes or photographs and mock-ups for the cabinet fronts and layout. While it’s nice to have options, most of my customers already had an idea of what basic color, door style, and layout they were after. By drawing up a good 3D model and providing sample doors and specifying the hardware that I knew was the best fit for their needs, they were able to choose cabinetry that they would love for decades to come at a price that a working family could afford. If the client would prefer to walk around their potential kitchen project, we can even make that happen now using virtual reality technology!

It’s all pretty much white, shaker, and frameless anyway.

The kitchens I’m installing these days are almost all white, shaker-style cabinets with edge-banded, frameless cabinet boxes. If they’re not white they’re probably grey, or walnut, or rift-sawn white oak. A few maple. A few hickory. A few ebony-stained maple or alder. There are outliers, but rarely do I install anything more adventurous than navy blue or inset the doors and drawer fronts into a face frame.

If that’s what a client is after, why on earth do they need to pay a premium to walk through a showroom filled with cherry, knotty alder, high gloss red, tempered glass and aluminum tambour doors? And should those white shaker cabinet consumers be paying the same mark-up for the easiest-to-build 5-piece door one can possibly make? I don’t think so.

Buying Direct

There are direct-to-consumer cabinetry lines that come ready-to-assembled, colloquially referred to as “RTA” cabinets. These lines range from OK to excellent, but require more labor to install due to assembly, and they’re really only as good as their installer is able to make them. Since the cabinet’s joinery is only as good as its installation, and only a square as the assembler makes it, labor costs are higher than most other lines. We’ve tried a number of different companies providing ready to assemble cabinetry. Some of it’s great, and some of it’s junk. All of it is still coming at a substantial mark-up. That limits our ability to compete with direct pricing, and our labor bids may raise eyebrows. With the errors that some of these companies make, sometimes we end up re-making some or all of the cabinetry anyhow to hit our promised delivery dates. That seems a bit like madness if you ask me.

Manufacturing in house

The next option though is even crazier. It would mean a substantial capital investment, probably from a third party. It requires industrial real estate, industrial machinery, skilled employees, a team to handle logistics/delivery, an installation team, a sales and design team, and a showroom of some sort. This would probably mean partnering with other established showrooms to eventually become dealers. Then we’re just cogs in the machine we started to reform. We would be processing sheet goods and hardwood lumber into cabinetry. Finishing, assembling, packaging, and delivering cabinetry. Most shops don’t make their own doors though. Did you know that? Most don’t build their own drawer boxes either! We would be building the carcass in a shop, installing other companies’ doors and drawers, and selling it as a complete package.

After investing in this type of operation, the return on investment takes years to recoup. Giving away equity in the company to investors would over-rule the leadership of the firm and limit our options to pivot as the industry changes. Re-tooling to get ahead of new trends is extraordinarily expensive. Selling used equipment bought new means taking a substantial hit on re-sale price, 50% at least, but often 10 cents on the dollar for some items. Running used equipment, especially temperamental items like edge-banders and CNCs can mean down time for specialty parts and repairs that can be extremely costly, both in direct costs and in indirect costs such as production delays. That just sounds insane if you ask me.

Building on Site

Carpentry tooling has improved so much, and spray finishing equipment and water-based finishes have improved so much in the past few years, that it’s possible now to produce shop-quality cabinetry built and finished on site. Custom sizes aren’t an issue; they ‘re cut to fit the space. Denting and scuffing finishes during shipment isn’t an issue; the finishes are applied by professionals after all the cabinetry is built an installed. Touch-ups are a breeze.

Lead times for the actual build process are longer than a factory cabinet. Doors, drawers, drawer fronts, and finished panels are ordered after cabinet is built and installed, so a perfect fit requires less planning and is less error-prone, but takes longer to become a finished product. The good part is that countertops can be installed once the cabinet boxes are built and installed. That means the sink can be plumbed, appliances can go in, and the dishes can be washed somewhere other than the bathtub! In reality, the lead time is the same or shorter than any other cabinet company, but you get your boxes installed while the rest of the parts are in production.

A New Way to Build.

What we’re exploring now is a RTA/site-built hybrid using new technology that allows us to “knock down” the cabinets after they’re assembled and check for fit and finish, then re-assemble them quickly on-site and install them. We have trade partners in Denver and regional operations that can provide door and drawer fronts that rival what any larger manufacturer can provide. We can build closet systems very efficiently for a price that rivals any of the big national companies operating in town. And we can do all this while providing custom sized products that will fit any tight space without special order waits or special order prices.

So, in short, we’re listening to our customers to innovate and meet their needs in novel, efficient, cost-effective ways by leveraging a revolutionary supply chain and cutting edge machinery. The first big push will be our closet system, Elytra. Available in paint-ready versions for new construction and DIYers, as well as all-laminate versions that are turn-key ready from install day, with the finishing touches installed 2-4 weeks later. You really should give us a shot if you’re after quality without the showroom experience.

I mean, let’s be honest…wouldn’t you rather have a Colorado Closet?