

Handrails over winder treads
/Handrails are always a bit of a challenge, but some of the quirks of winder treads in particular can present some challenges. This is especially true when the railing is more angular and contemporary. First, probably best to clarify a few terms in this jargon-heavy subject.
Winder treads are a stacked triangular treads used to turn a corner when space is at a premium. They are a method of eliminating a landing while maintaining code-required rise and run distances. The rise and run are measured at the “walk line” on all stairs, but it becomes of particular significance on winder and circular stairs because the spacings are not compliant at all points on the stair.
The Walk Line is the line that a person naturally travels while ascending or descending the stair and not trying to be cute about it. That’s 12” from the narrow side of a winder tread all the way up.
The rake angle is the pitch of the stair, the angle at which the stairs rise in relation to the horizon. Most stair builders make a pitch block to assist them in laying out handrails, especially challenging ones.
A blind tread butts into a wall. It may be a short wall at the rake angle that the balusters attach to, or it may be a full-height wall. An open tread or exposed tread ends in space, so the tread and riser ends are exposed, and in all but the crudest of executions, are capped with a skirt board and nosing returns so that no end grain is exposed.
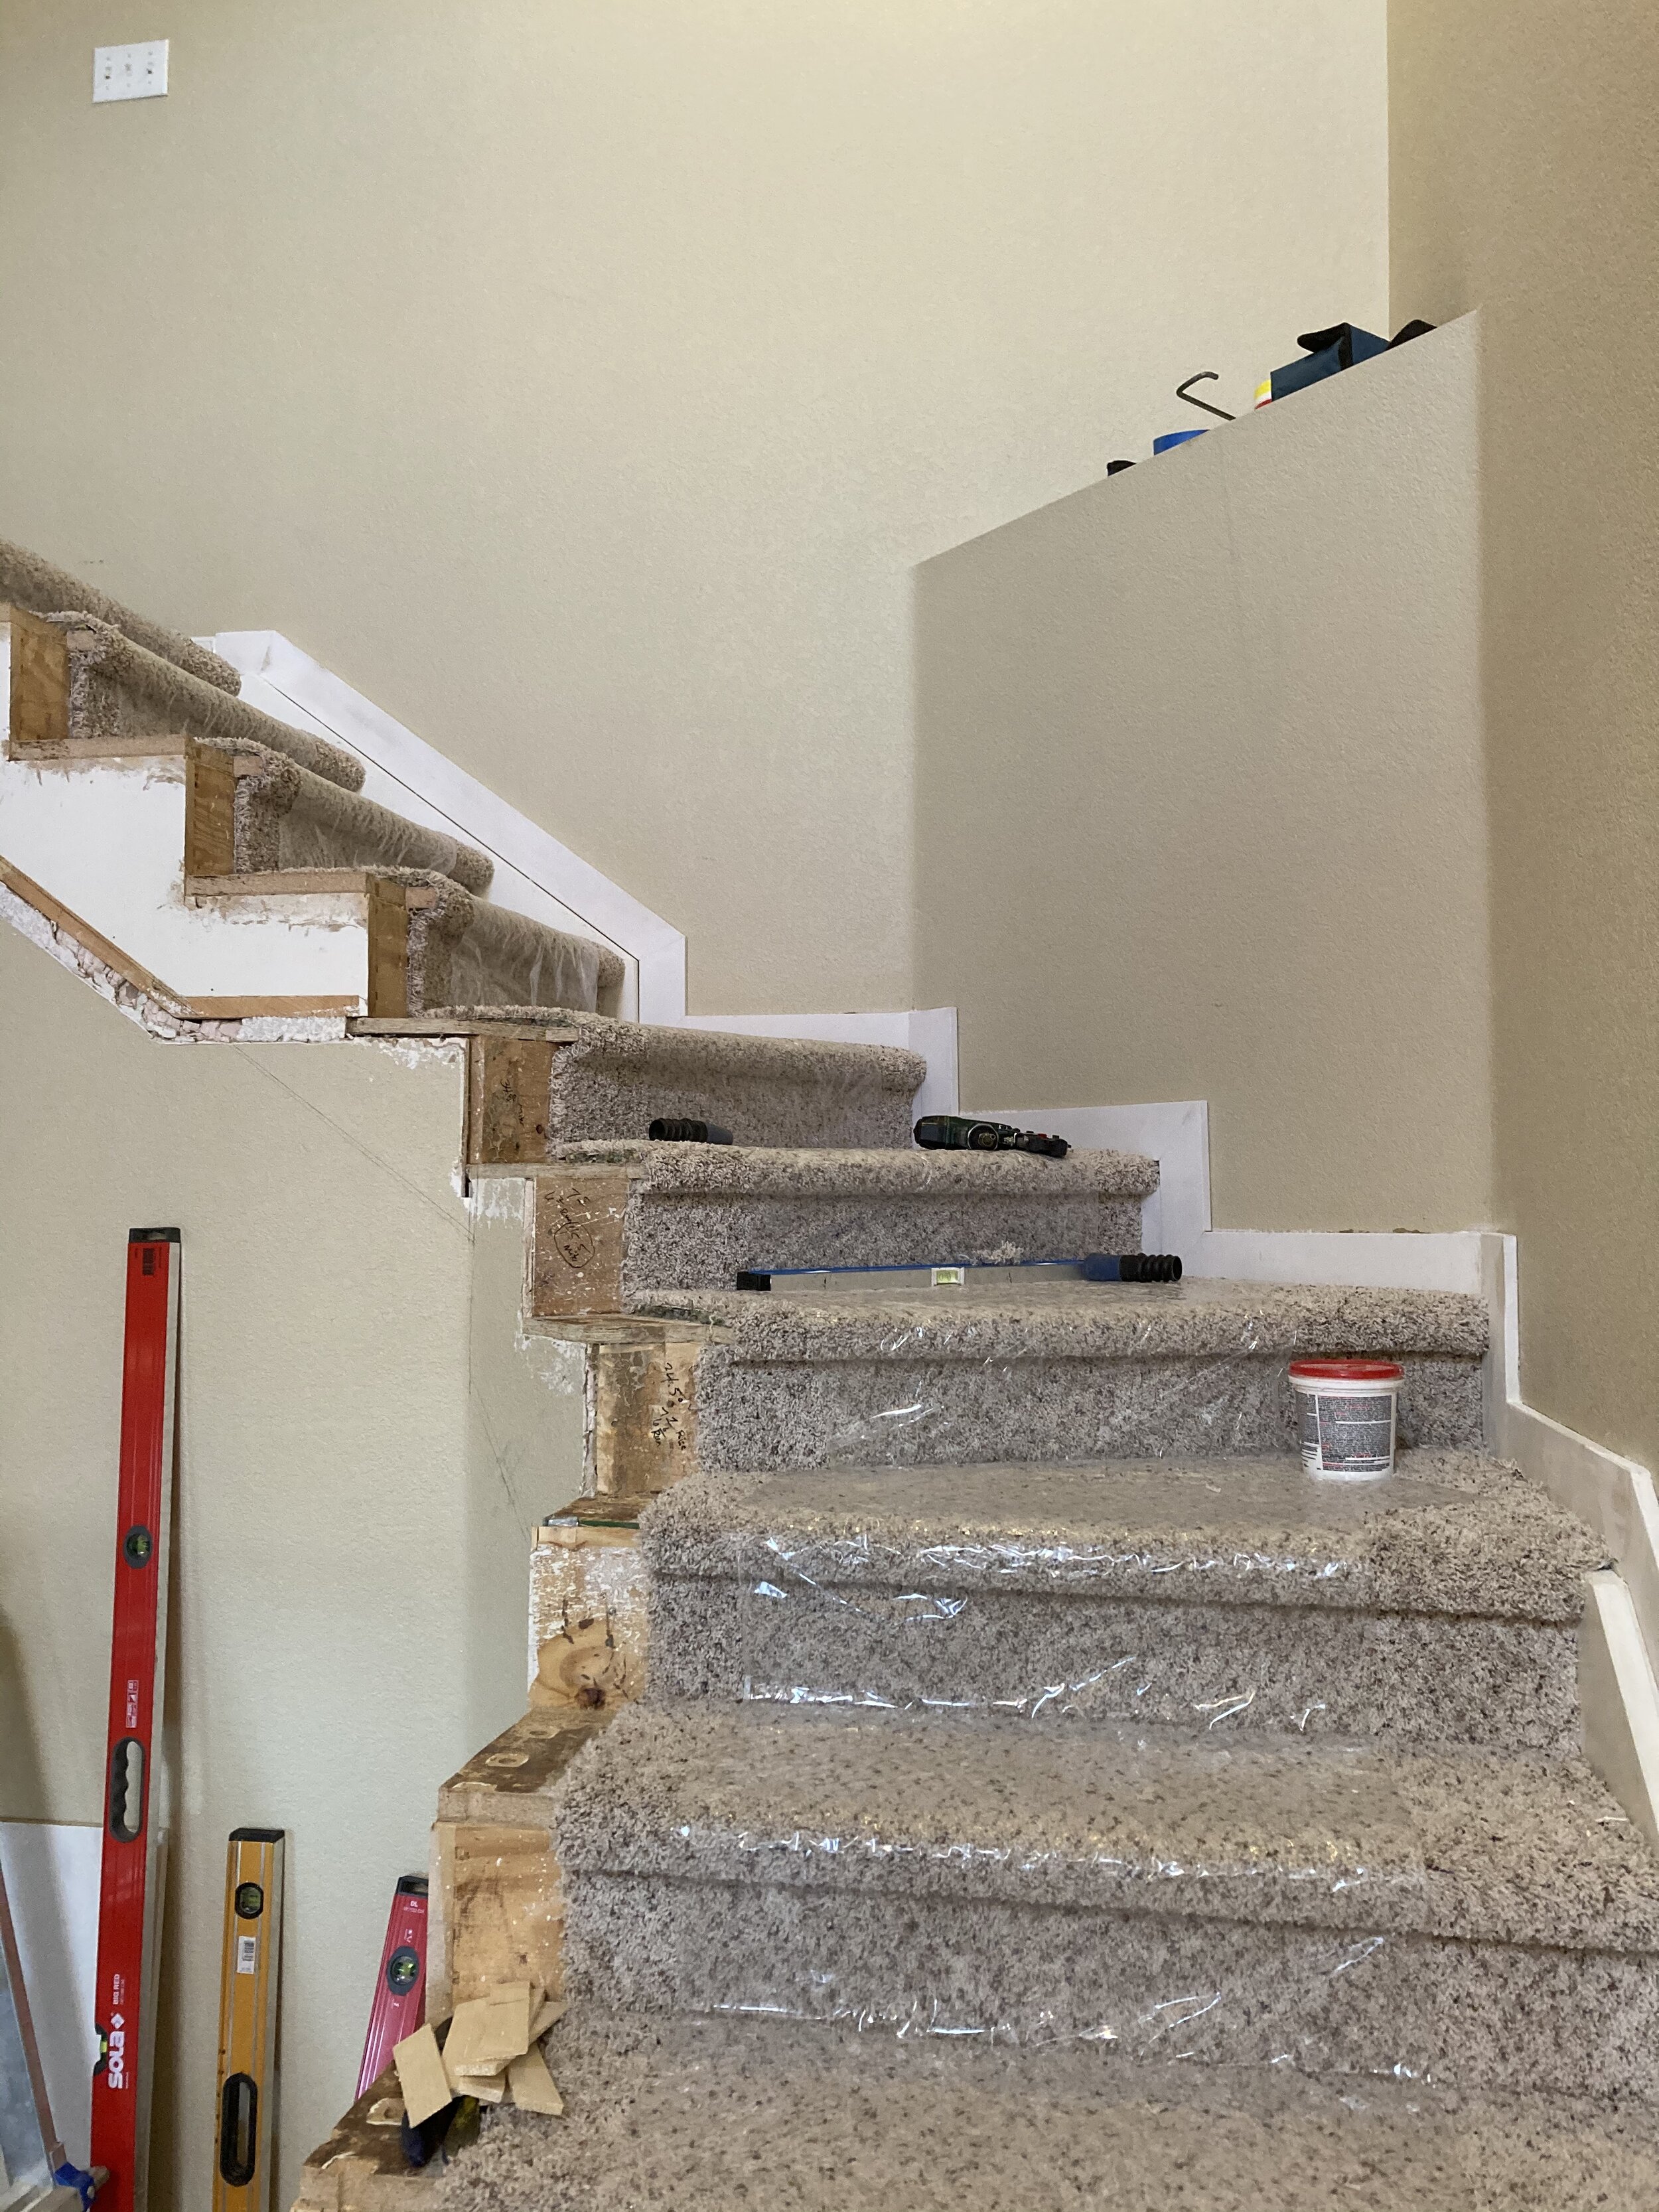
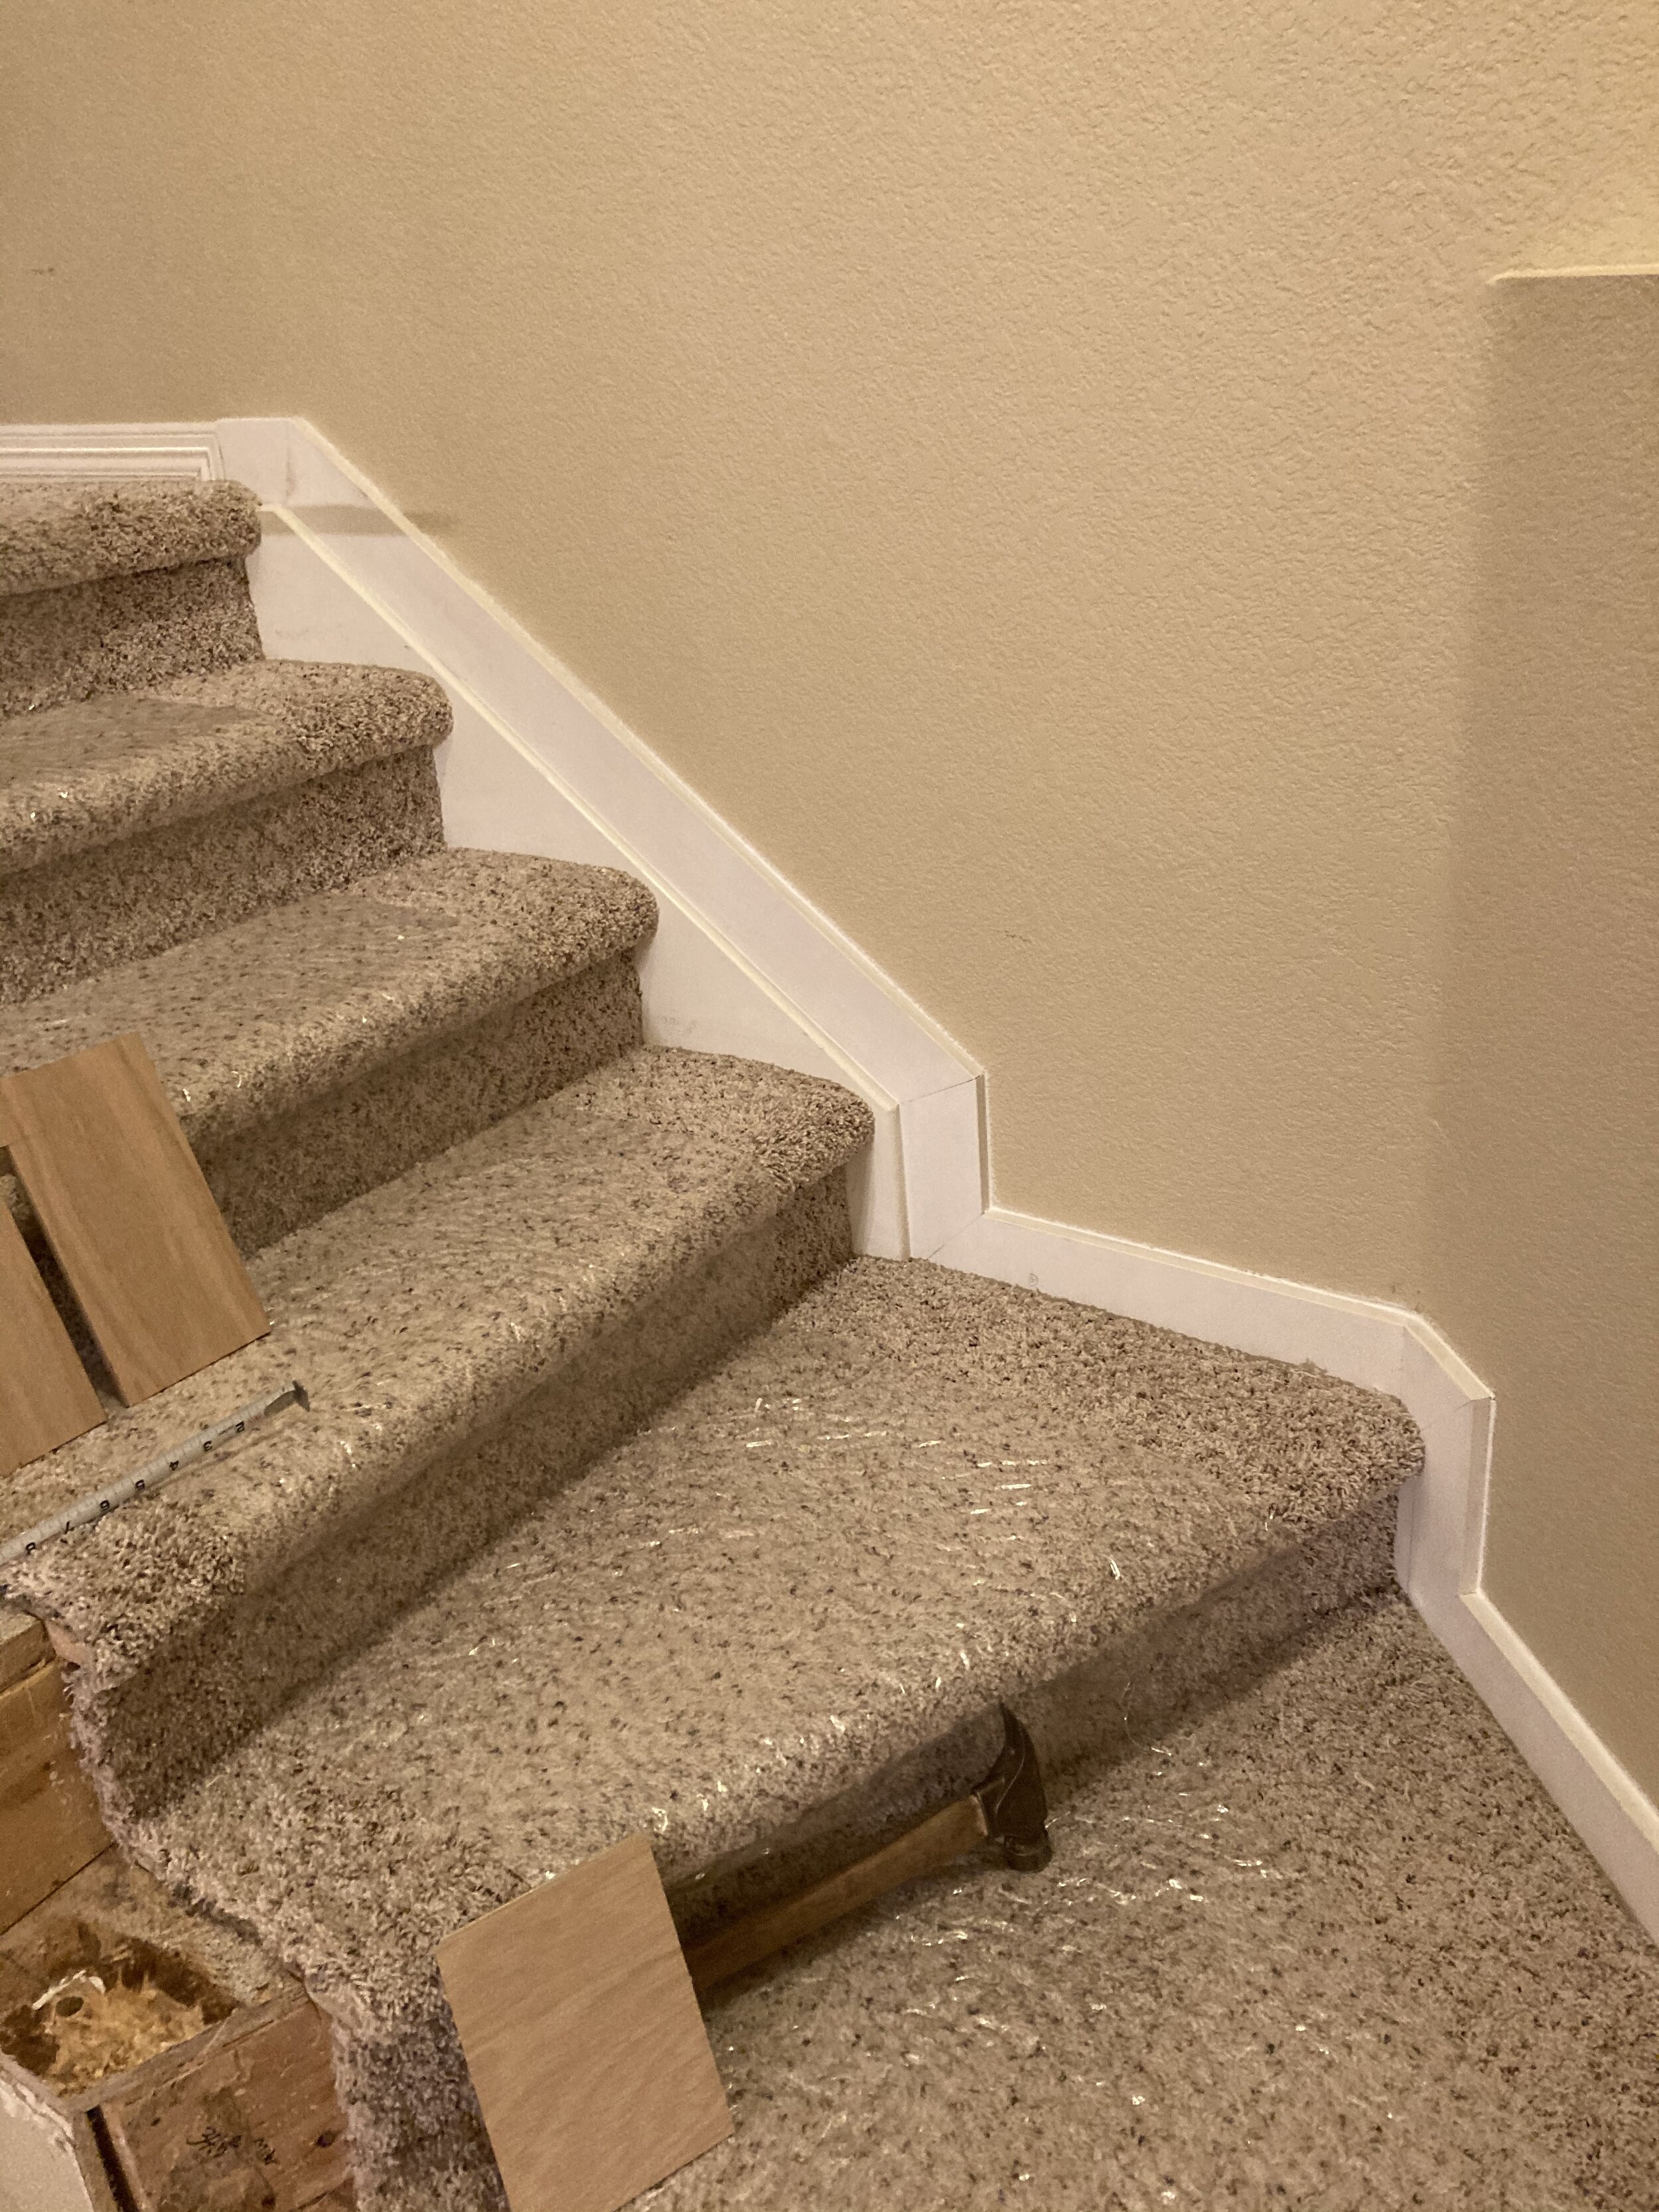
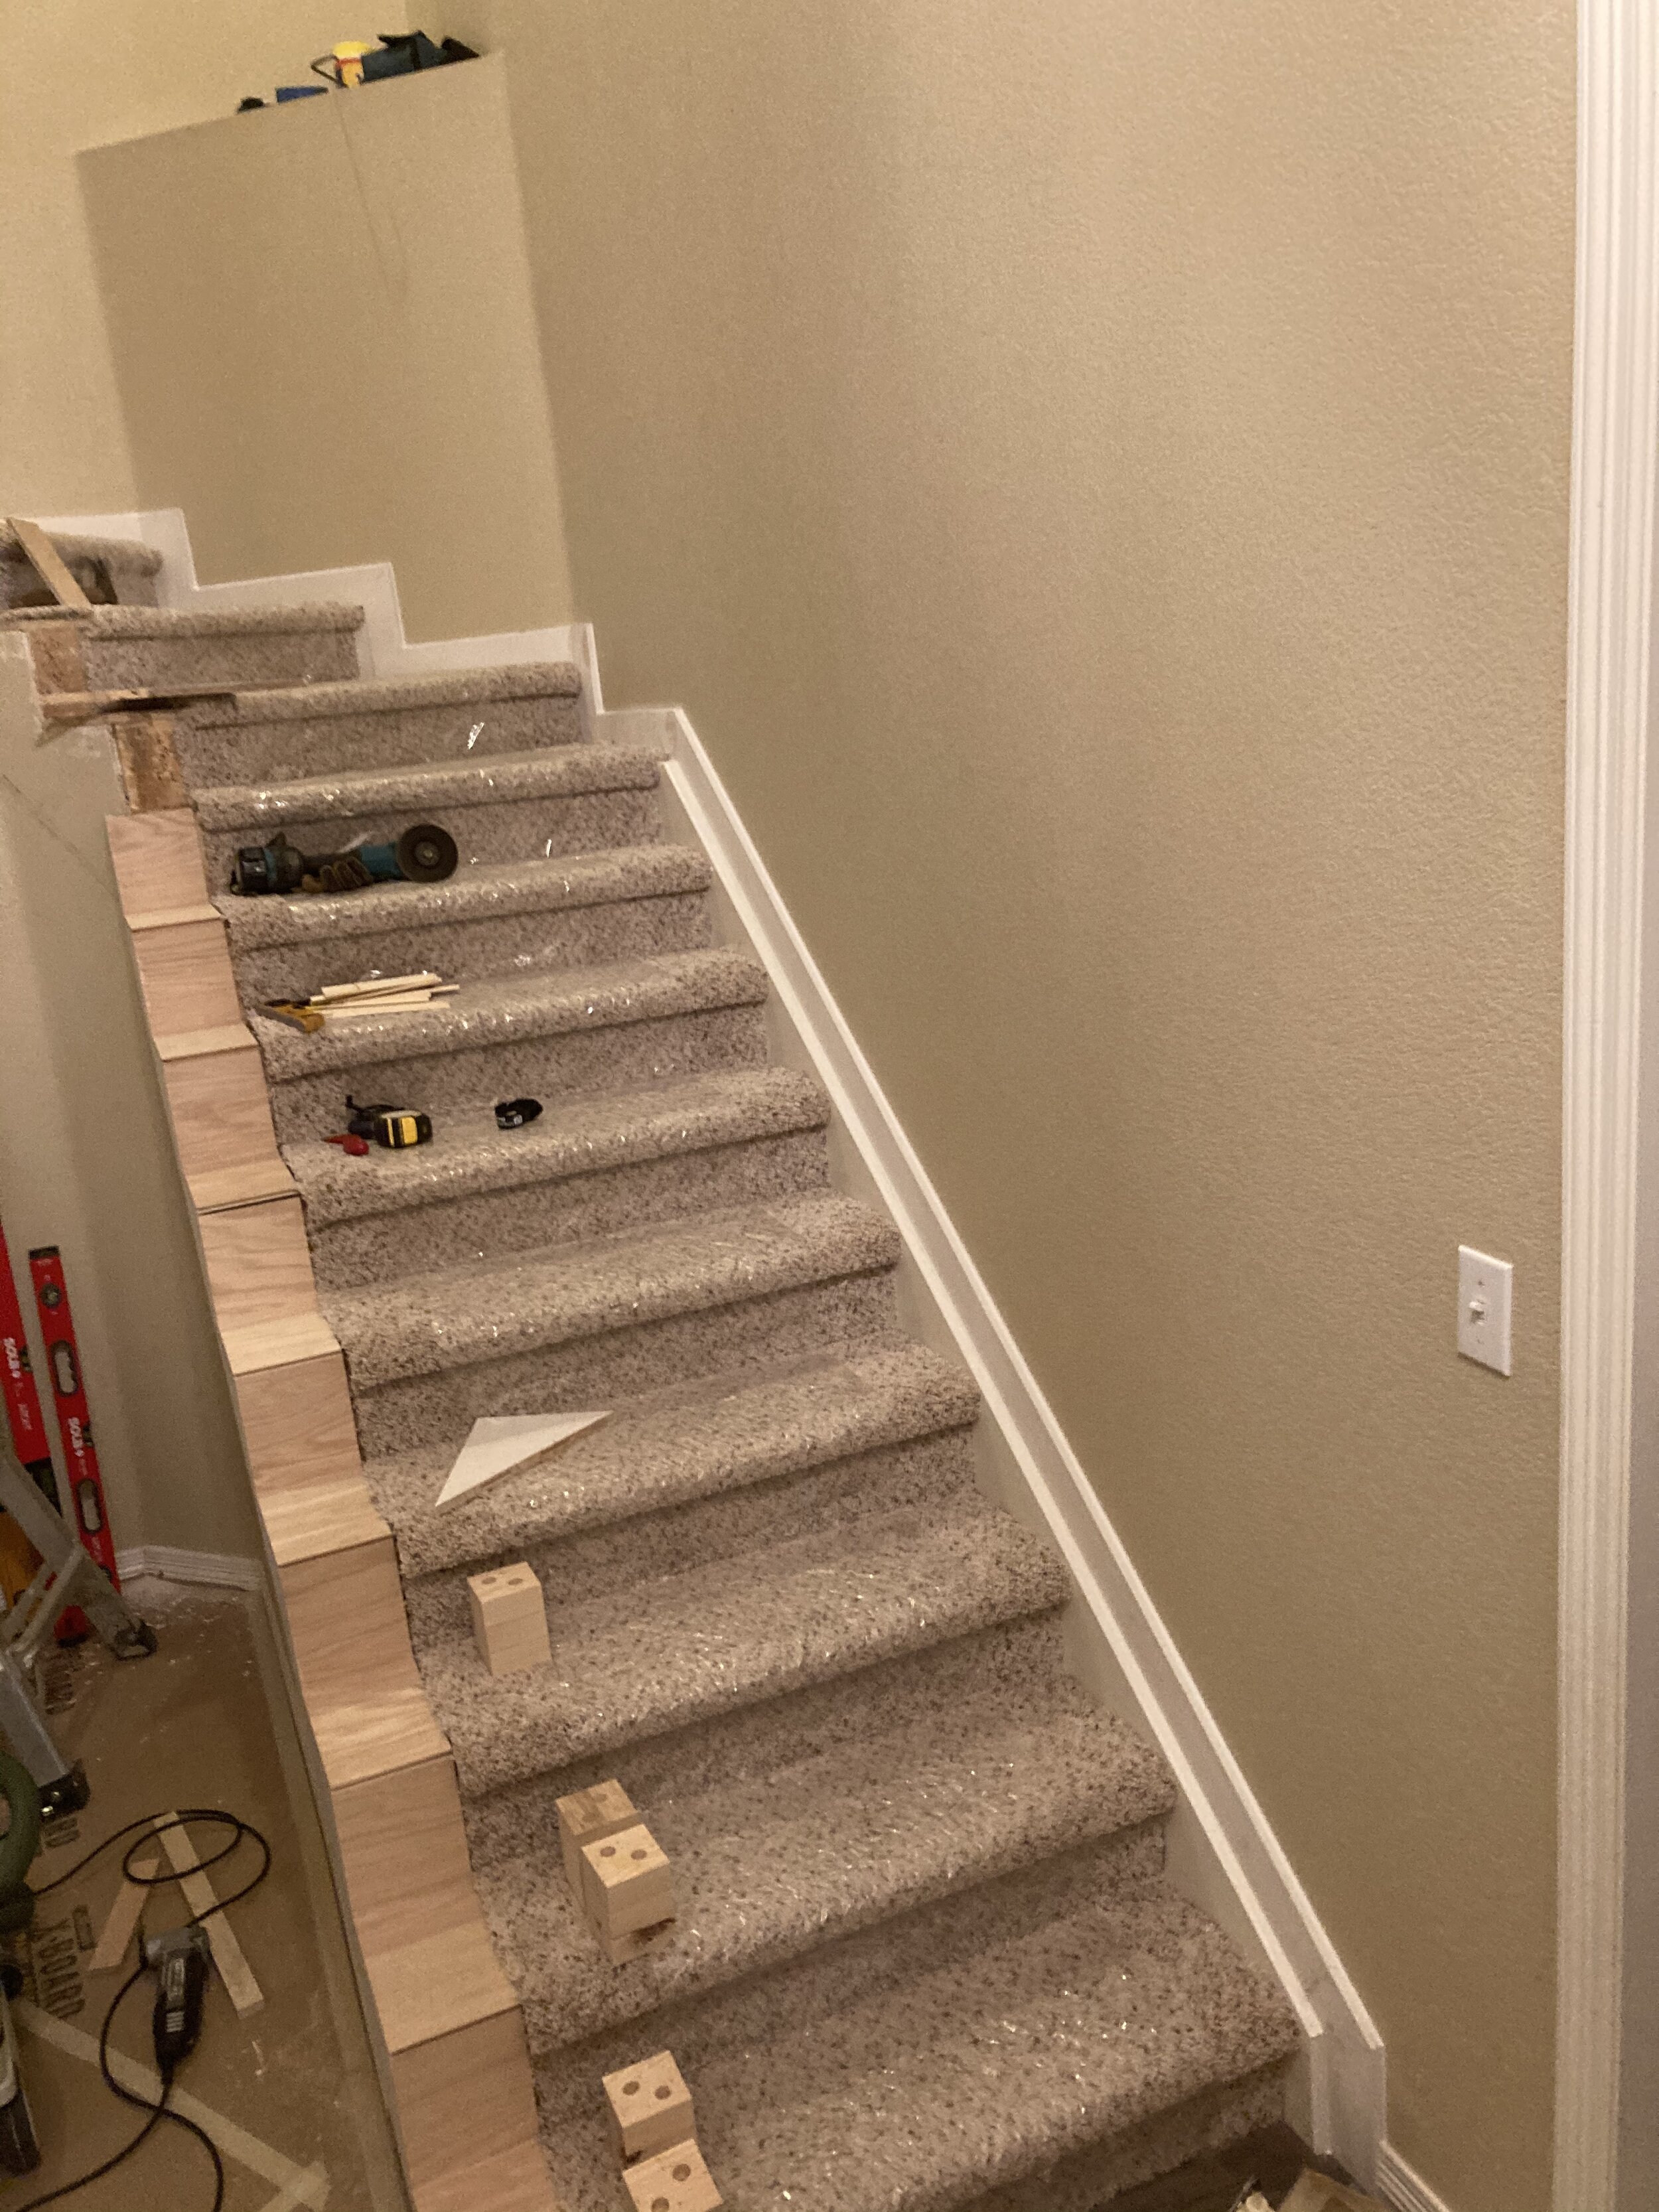
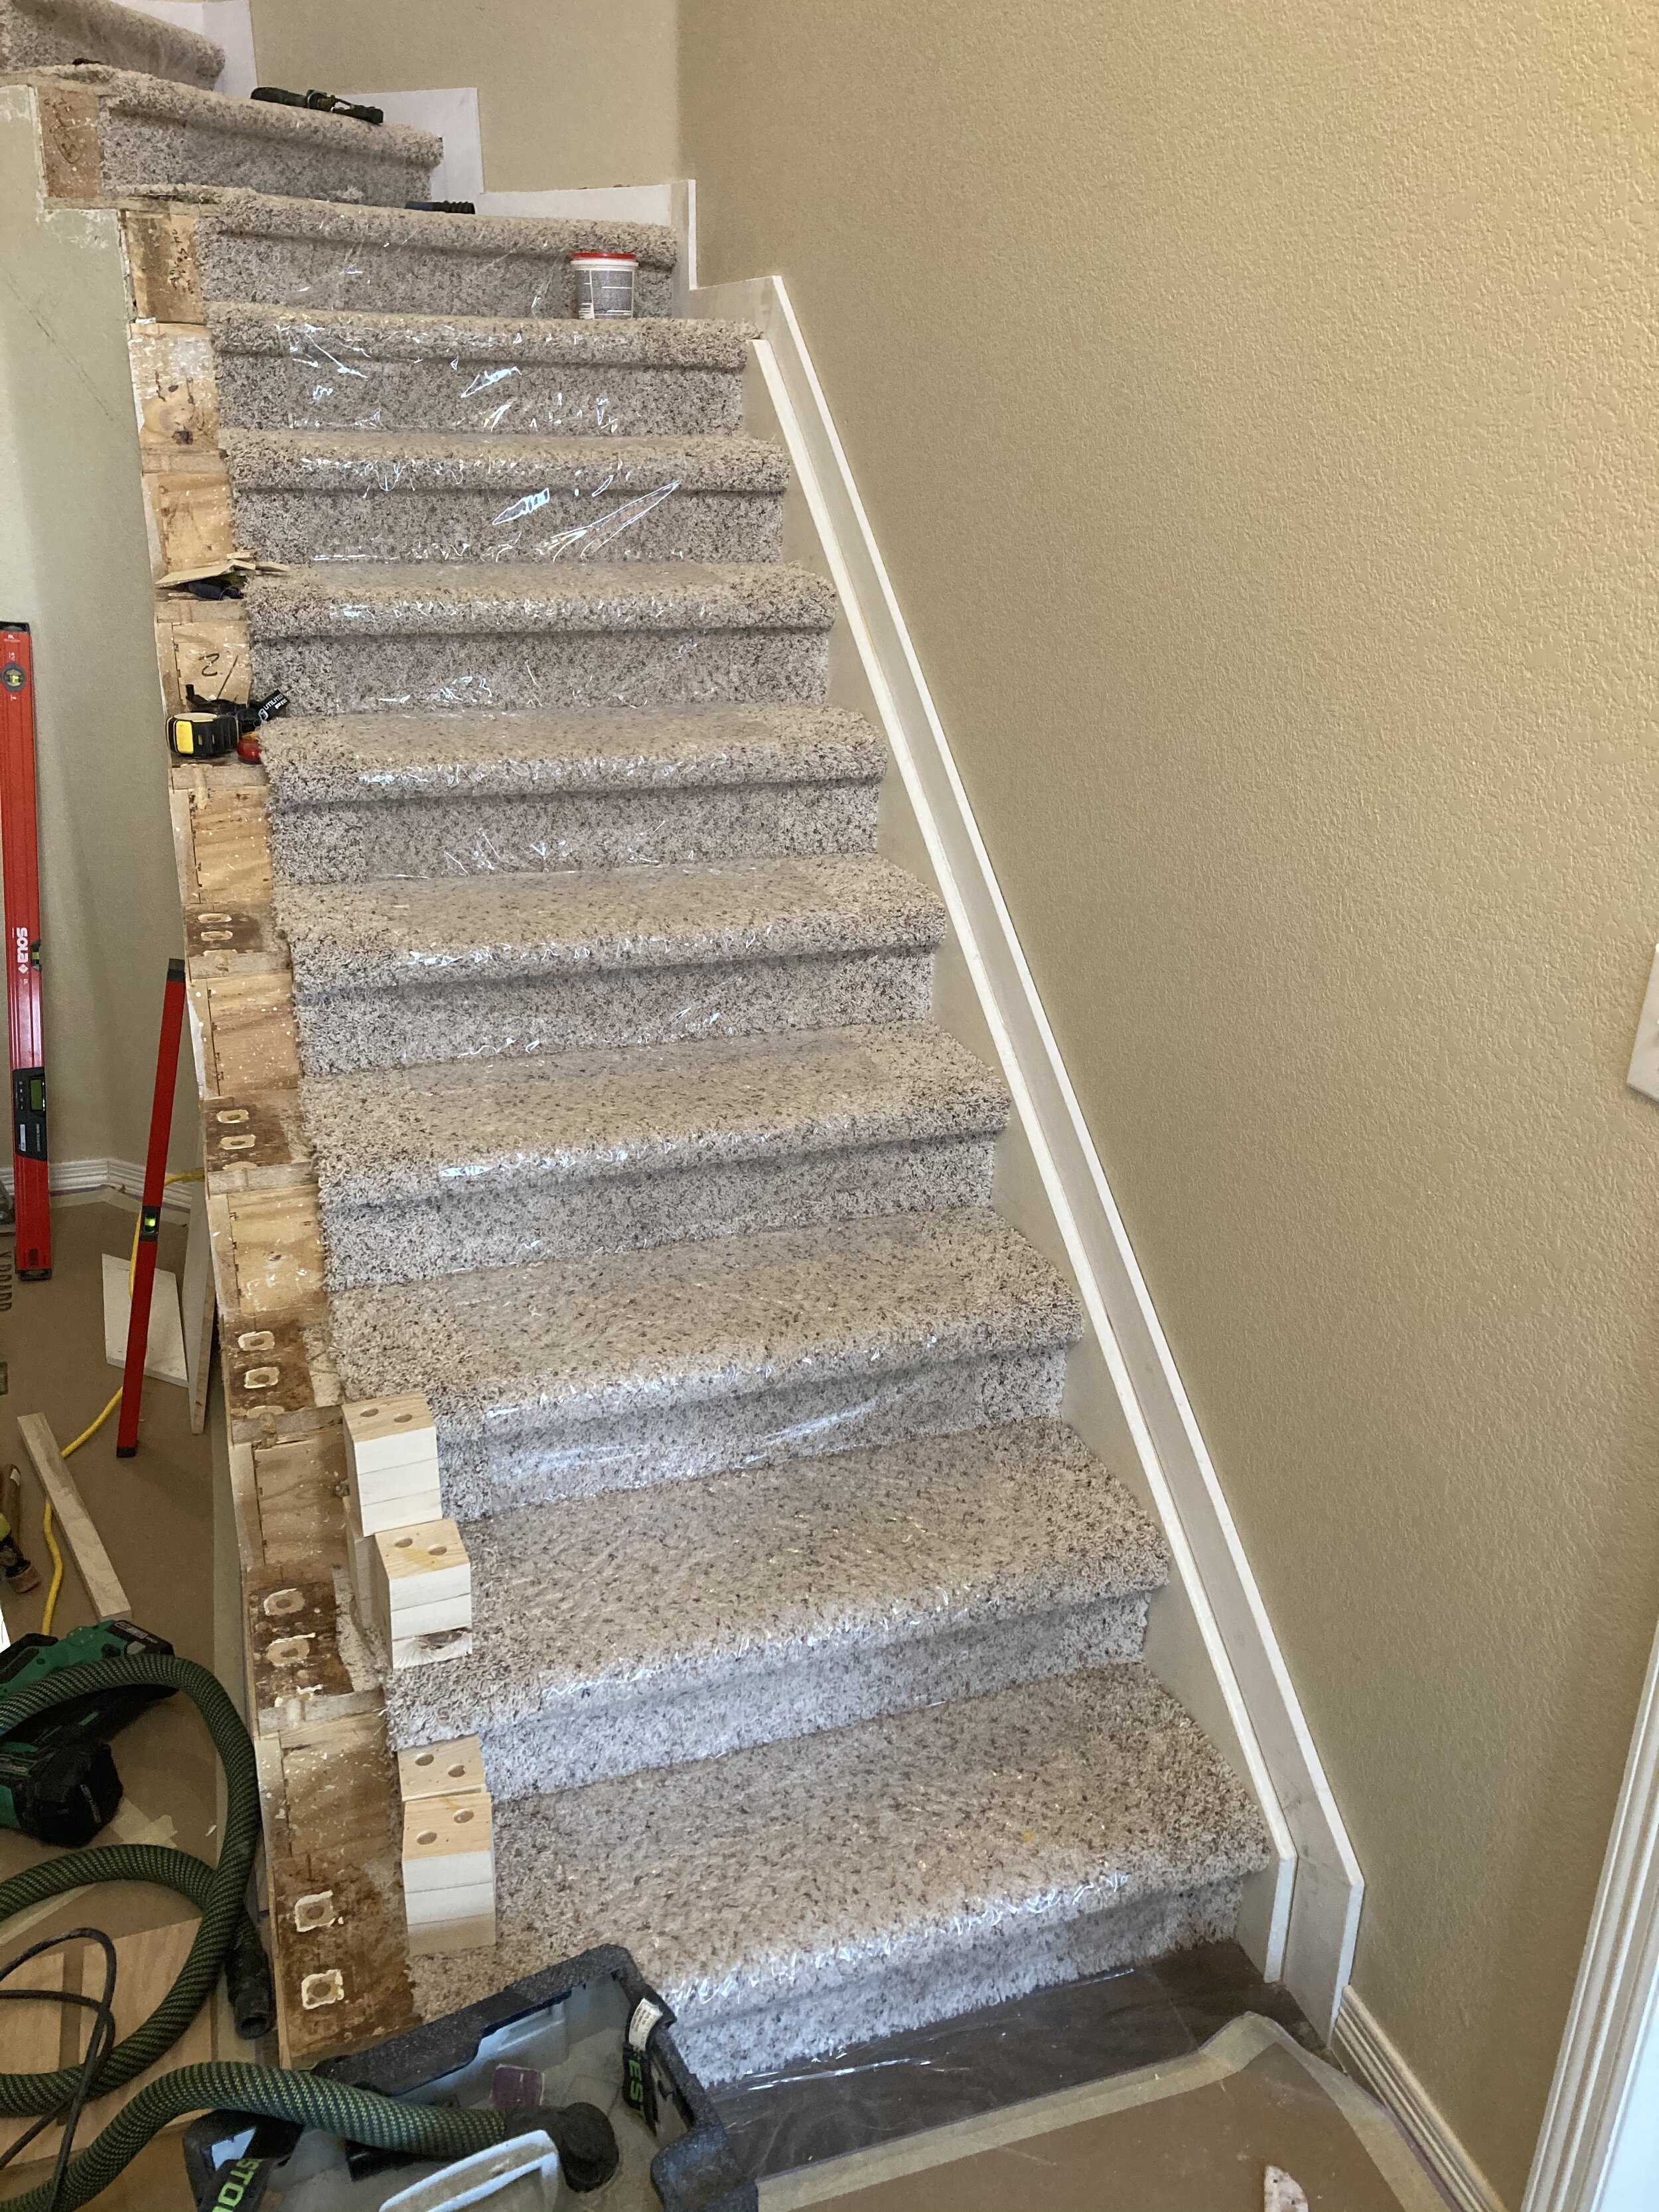
I was helping a friend and fellow stair builder with a handrail that had winder treads in a challenging configuration. It was a 1-story ascent quarter turn stair with 3 winders, blind on one side, and exposed on the other. This was a remodel railing, and part of the job was converting the stair in two key ways. First, the carpeted treads were converted to false tread ends, meaning that the carpet would look more like a runner down the middle with stained treads ends and painted riser ends. It’s a common look in our region. In this case, the risers are mitered to the skirt board for a nice upgraded luxury look which further complicated matters. Second, it was originally an “over the post” railing, which runs continuously from start to finish using curved fittings. The railing is pegged to newels with dowels on their tops, and generally ends with a turn-out or volute. It’s a more traditional style of formal handrail that was popular when this house was built around the early 2000’s. The client wants this new rail built as a post-to-post handrail where the rail is fitted between newels with decorate caps on top. It’s a popular look currently, and a nod to earlier craftsman-style homes.
This is already looking like a complicated project, before you factor in that the winder section mid-way doesn’t turn at 90, but at 45, in keeping with the tradition of the 90’s-2000’s in Colorado of architects playing with the angle tool in AutoCAD to come across as more edgy. That takes a complicated stair and makes it fairly infuriating because it presents a few more issues:
the skirt board is now a compound miter as it carries around that inside corner while also ascending and connecting 3 different rakes.
The miter returned risers are connected to that infuriating central piece and all must be mitered at odd angles to the skirt.
Add to this the further complication of winder treads being at a steep rake at the extreme ends.
A winder tread is especially tricky because while its rise remains constant, its run goes from really short, to really long to be standard rake at the walk line. That changes the rise and run ratio (the rake angle), which means a winder stair must have a really steep rake on the short side and a really shallow rake on the wide side. If you were to try to add a rail to winder treads open on both sides, imagine how wacky that handrail would look!
Here are a few process photos from the planning stages:
This steep angle isn’t too much of an issue until you start considering that stair fittings (goosenecks, upeasings, etc) are not designed for extreme rakes but for standard rakes, so that may not be an option. Newel cap projections don’t account for intersecting the rail at a steep angle, newel cap spacings that we’re used to seeing are closer to the top of handrail than a steep rake will allow (and still have hand clearance for grip). There should generally be a newel at each direction change, so now you’re mortising a tread around a newel at a funky angle. If you’re using a craftsman-style newel, you need the face mould (where the rail intersects the newel for our purposes here) to meet the newel at the spot everywhere, so good luck figuring that out in advance.
He and I worked it out eventually after much frustration. The end result was worth it I suppose. Will I ever do it again though? Not on your life! Want to see the finished product? Check out his company, Millcrafted Carpentry, on instagram for final photos!


