
Flex moulding: Tips and Tricks
/Radius millwork used to be a much more difficult proposition than it is now. It involved gluing up large pieces of hardwood in thin strips, layer by layer, around a form. The wood “springs back” slightly, so you have to build the form at a slightly tighter radius to account for it, and then that piece of wood has to be profiled. It’s an awesome product when it’s done well, but it’s extremely expensive and time consuming.
Today, we usually use a product called Flex Moulding, a urethane rubber trim product that’s cast in 10’ sections and installed like a piece of wooden trip. It sounds great, and it is in some ways, but it’s challenging to work with for a few reasons:
It’s heavy! a 10’ section of a large-ish crown moulding weighs about 60 pounds. Now, imagine holding that over your head to fit it into position and nail in off.
It’s a little unruly. Imagine now that that piece of moulding isn’t just a 60 pound dead load, but it moves more like a python. It’s floppy, droopy, and has “memory” meaning it wants to return to the position in which it was shipped. It ships coiled in a roll and stuffed in a box, so it constantly wants to curl.
Temperature completely changes its working properties. It’s a urethane rubber, so when it’s cold it’s as hard as any hardwood. When it’s hot, it’s like a giant eraser. At room temperature it’s pliable, but difficult to maneuver.
It’s not wood, so a wood glue doesn’t work very well.
When it’s cut, the “dust” looks like a prop shop’s idea of shredded parmesan. It’s not biodegradable. It’s statically charged so it sticks to everything.
It’s expensive. Like really expensive.
When flex crown is pushed into place, it likes to roll up longitudinally and become slightly concave. It’s not noticeable until you try joining a seam. The joints like to gap at top or bottom 1-3 degrees.
When you’re working with this unruly stuff, there are a few tricks that I’ve found make it easier:
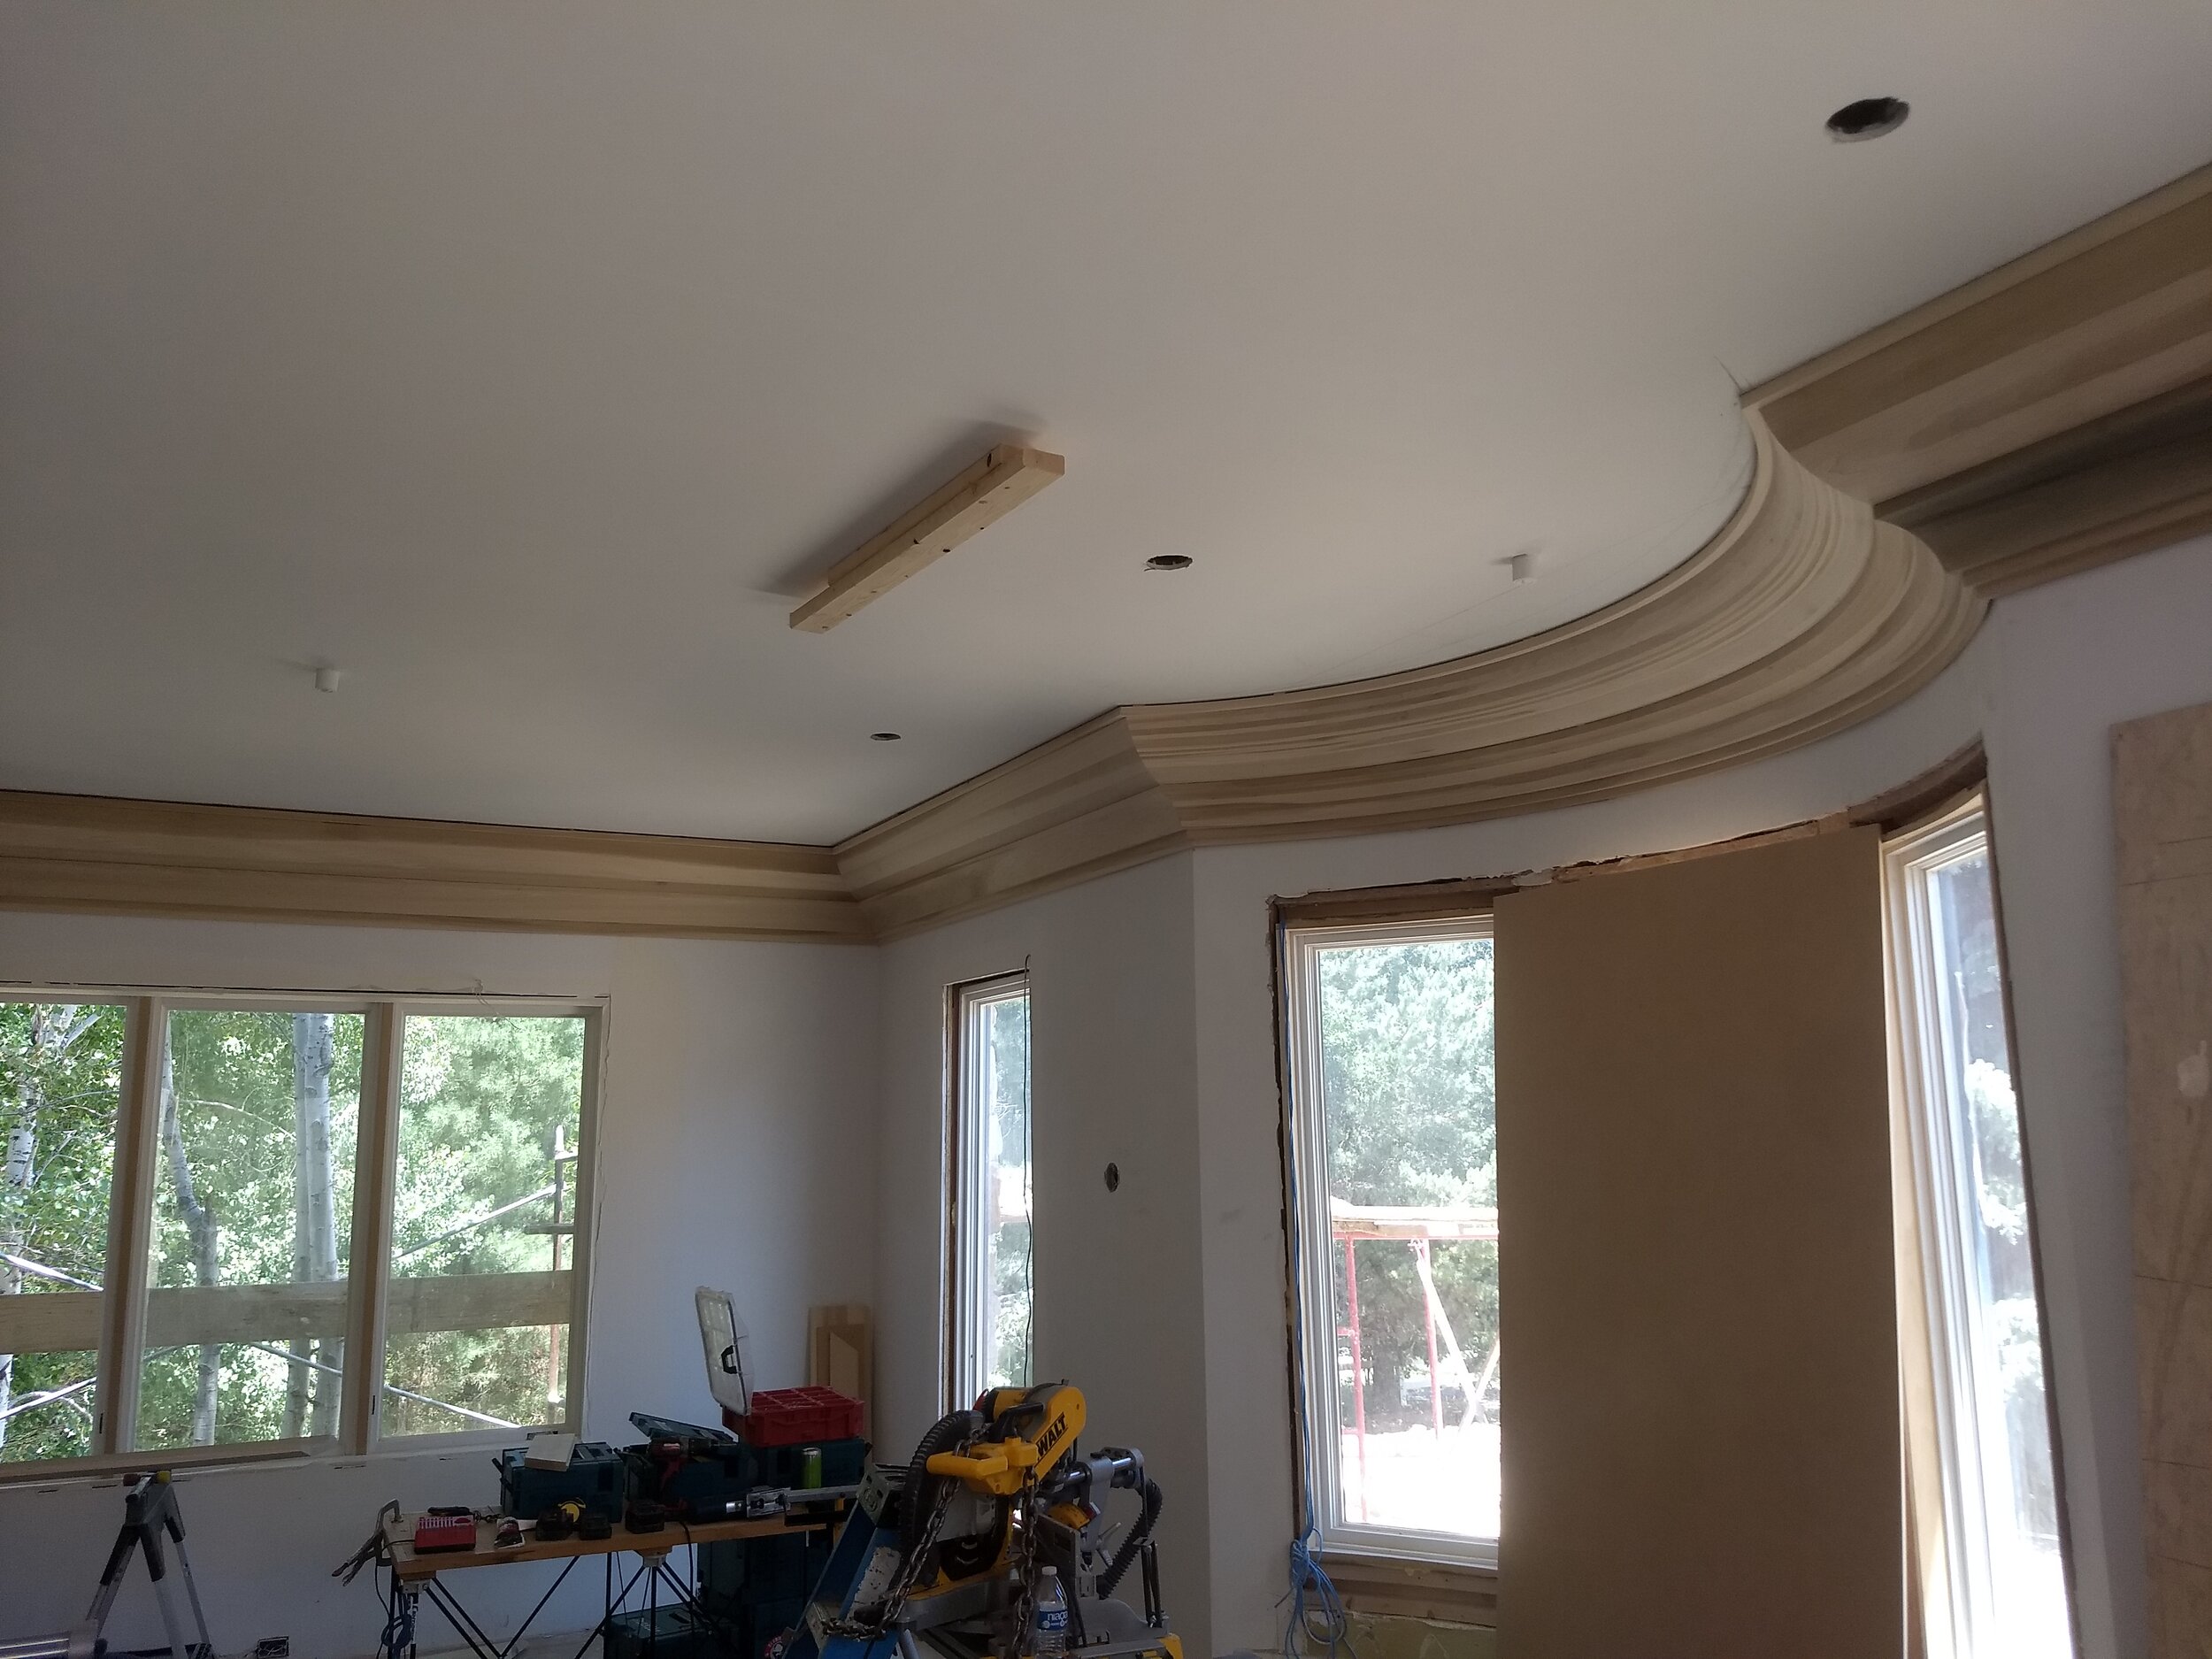
Add blocking before you begin. It’s heavy, so they added structure is good. Plus, this solves the aforementioned rolling issue.
Stick to stock profiles. If you can’t find your crown in flex off-the-shelf, lead times are crazy and cost doubles. Match your flat trim to your flex, not the other way around, if you must do custom.
When you’re cutting, use a vacuum dust extractor, and add a back-stop of easy mask plastic film. That static charge will grab any dust that the extractor misses.
Don’t use conventional wood glue. Use high-temperature hot glue or hi-pur. Don’t use regular nails to stitch your outside miters together; use 22 ga fine wire upholstery staples ideally, or 18 ga narrow crown staples can work. Set and bondo your crowns. You’ll need that grab. Back you outside miters with hot melt and dowels for added stability. For splices, I tried scarf joints with mixed success. I prefer butt joints with a #20 biscuit. Try to splice over your blocking. You can use pinch dogs to stretch the joint tight, but opt for wider pinch dogs if you have them.
Keep a heat gun around to warm up sections and get them to relax. This especially helps before joining a seam to prevent cracking if the material springs back.
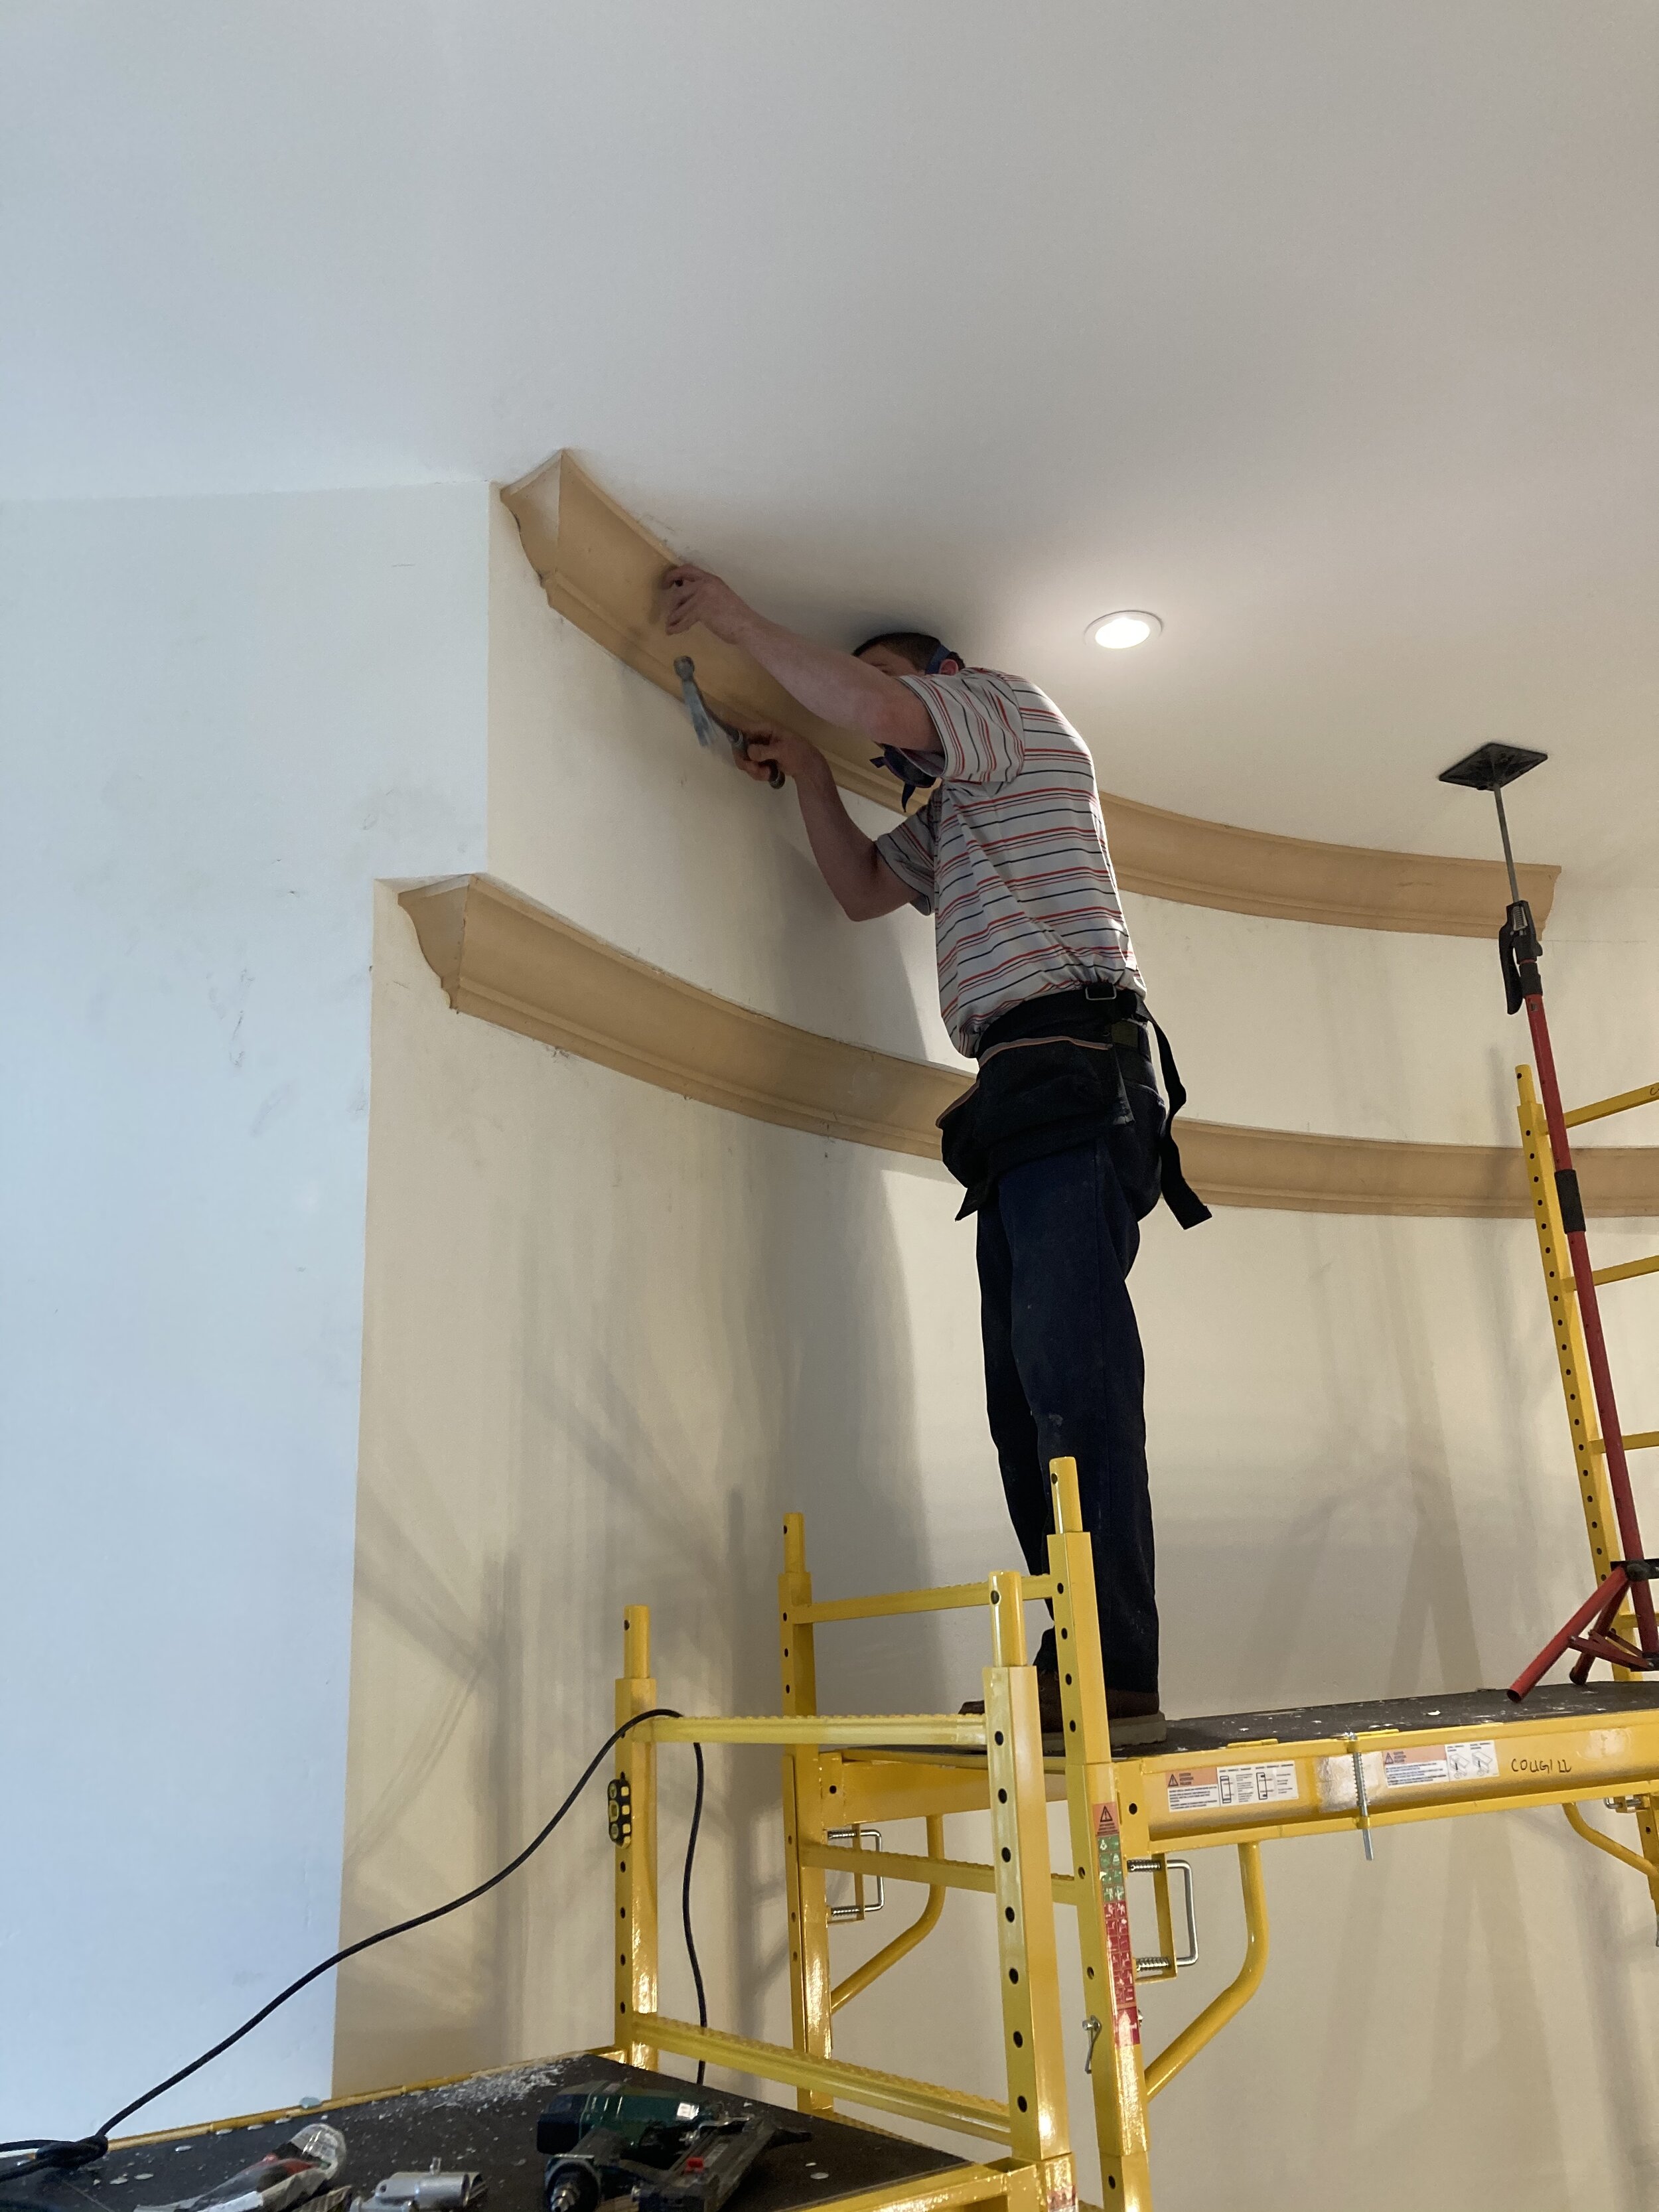
Use crown moulding hooks to set flex crown. Fastcap makes some. Make some better ones from metal flat bar. You’ll need a helper or two to install this stuff.
Add adhesive behind your trim. For flat stock, PL works well. For sprung trim like crown, I had good luck using loctite spray foam adhesive applied after installation through a bore hole that I later fill.
Use Bondo automotive body filler on seams. Use spot and glazing putty on nail holes. It’s virtually inevitable. There will be heavy filling in some areas.
It’s a cool product! Two bonus tips:
keep your off-cuts and cut sections of coves, ogees, rounds, etc. and use them as sanding blocks for future projects.
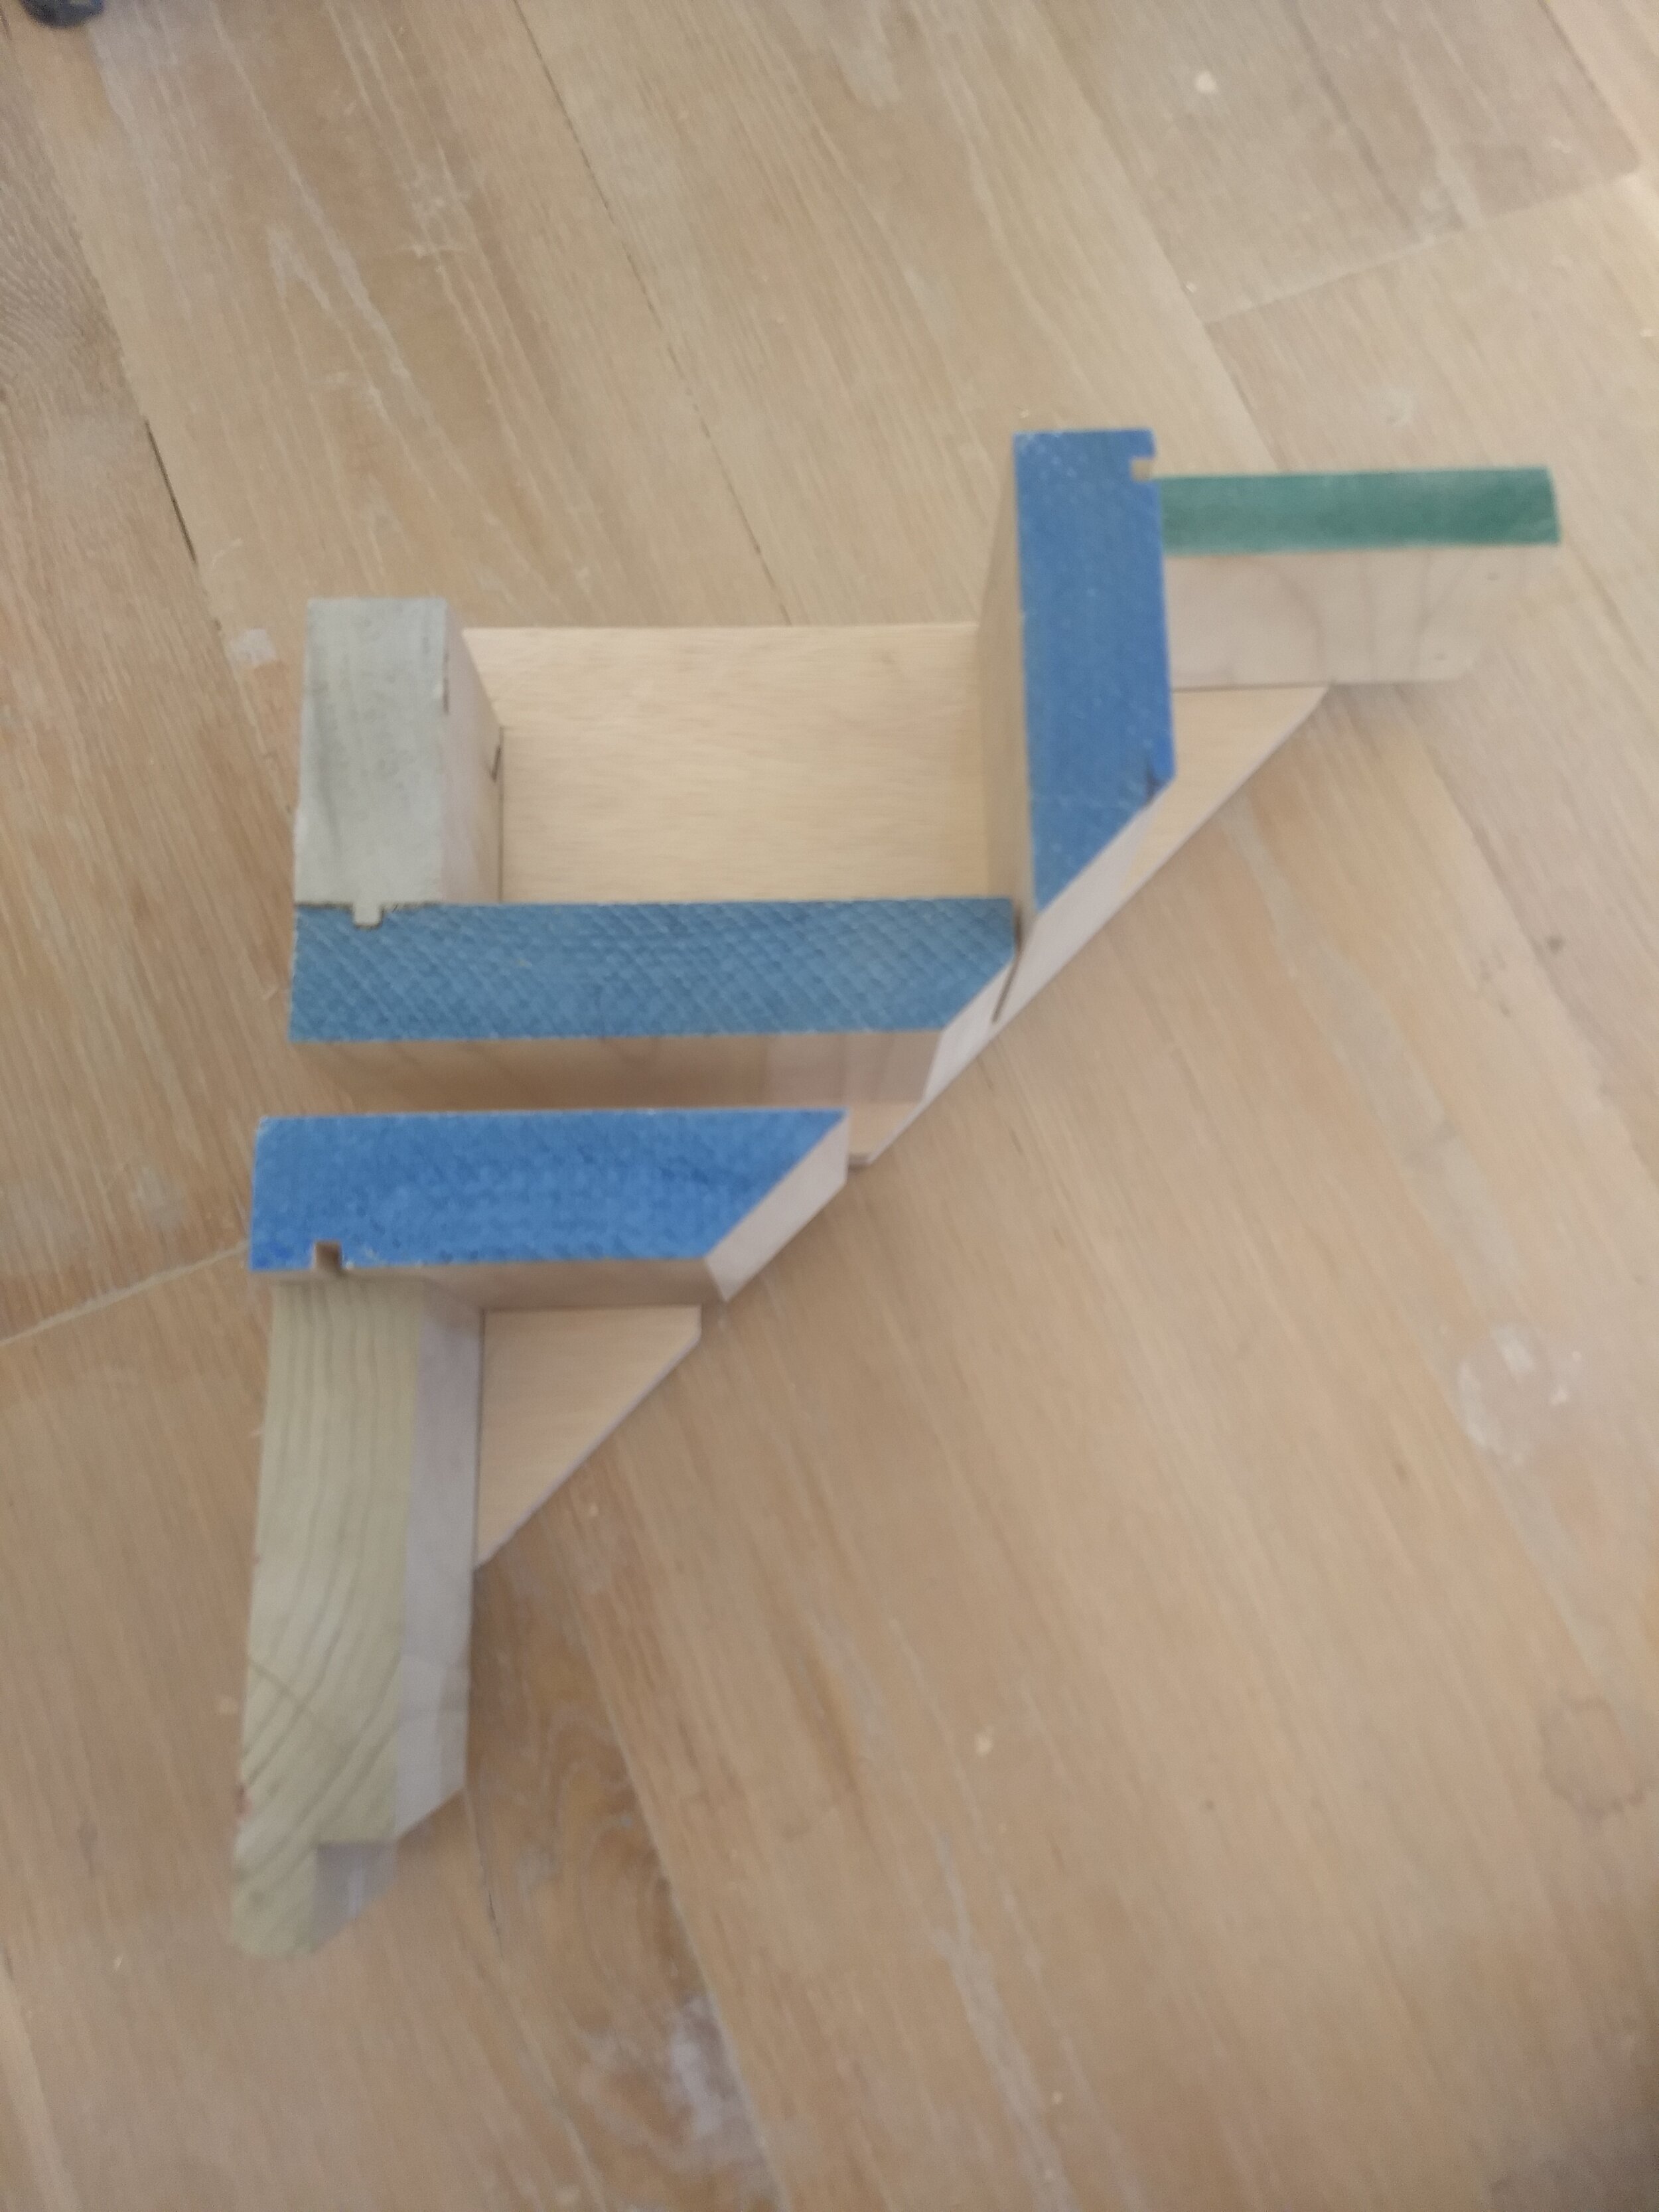
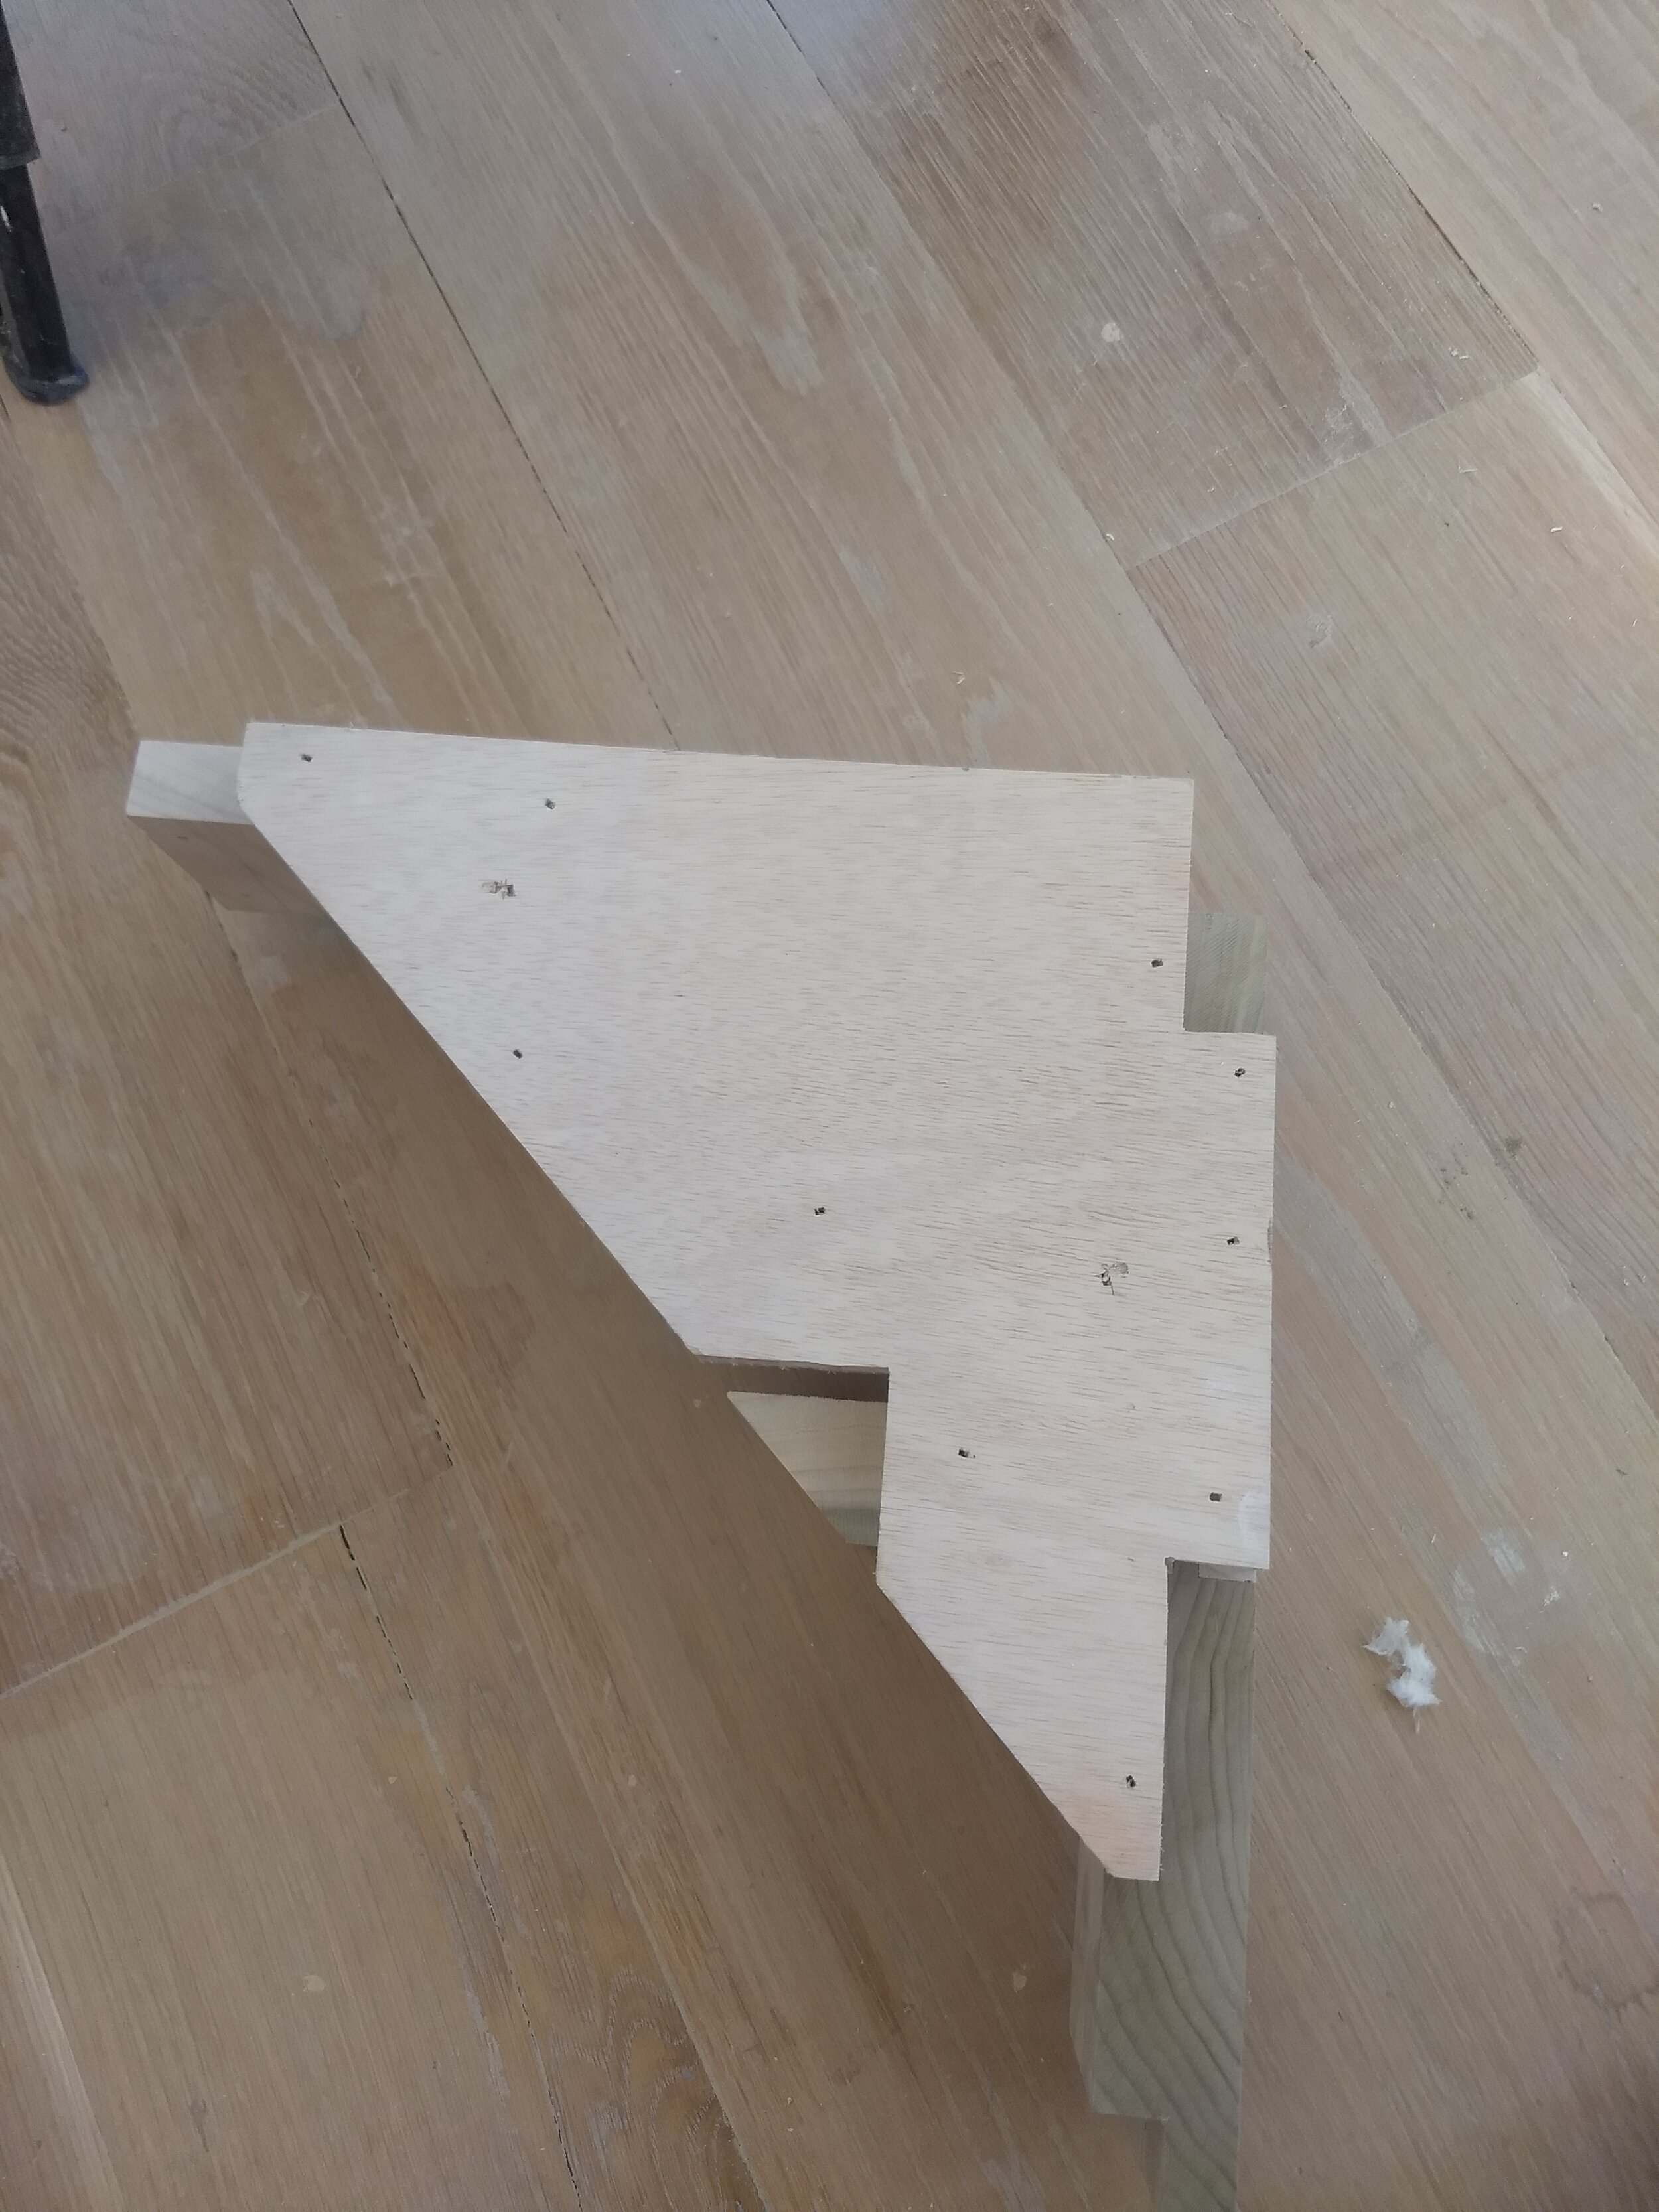
For sanding your joints, make a custom sanding block by sticking blue tape to your face profile and adding a big glob of bondo on top with extra hardener. When it’s try, peel it off and stick sandpaper to it. Boom. Countoured sanding block.
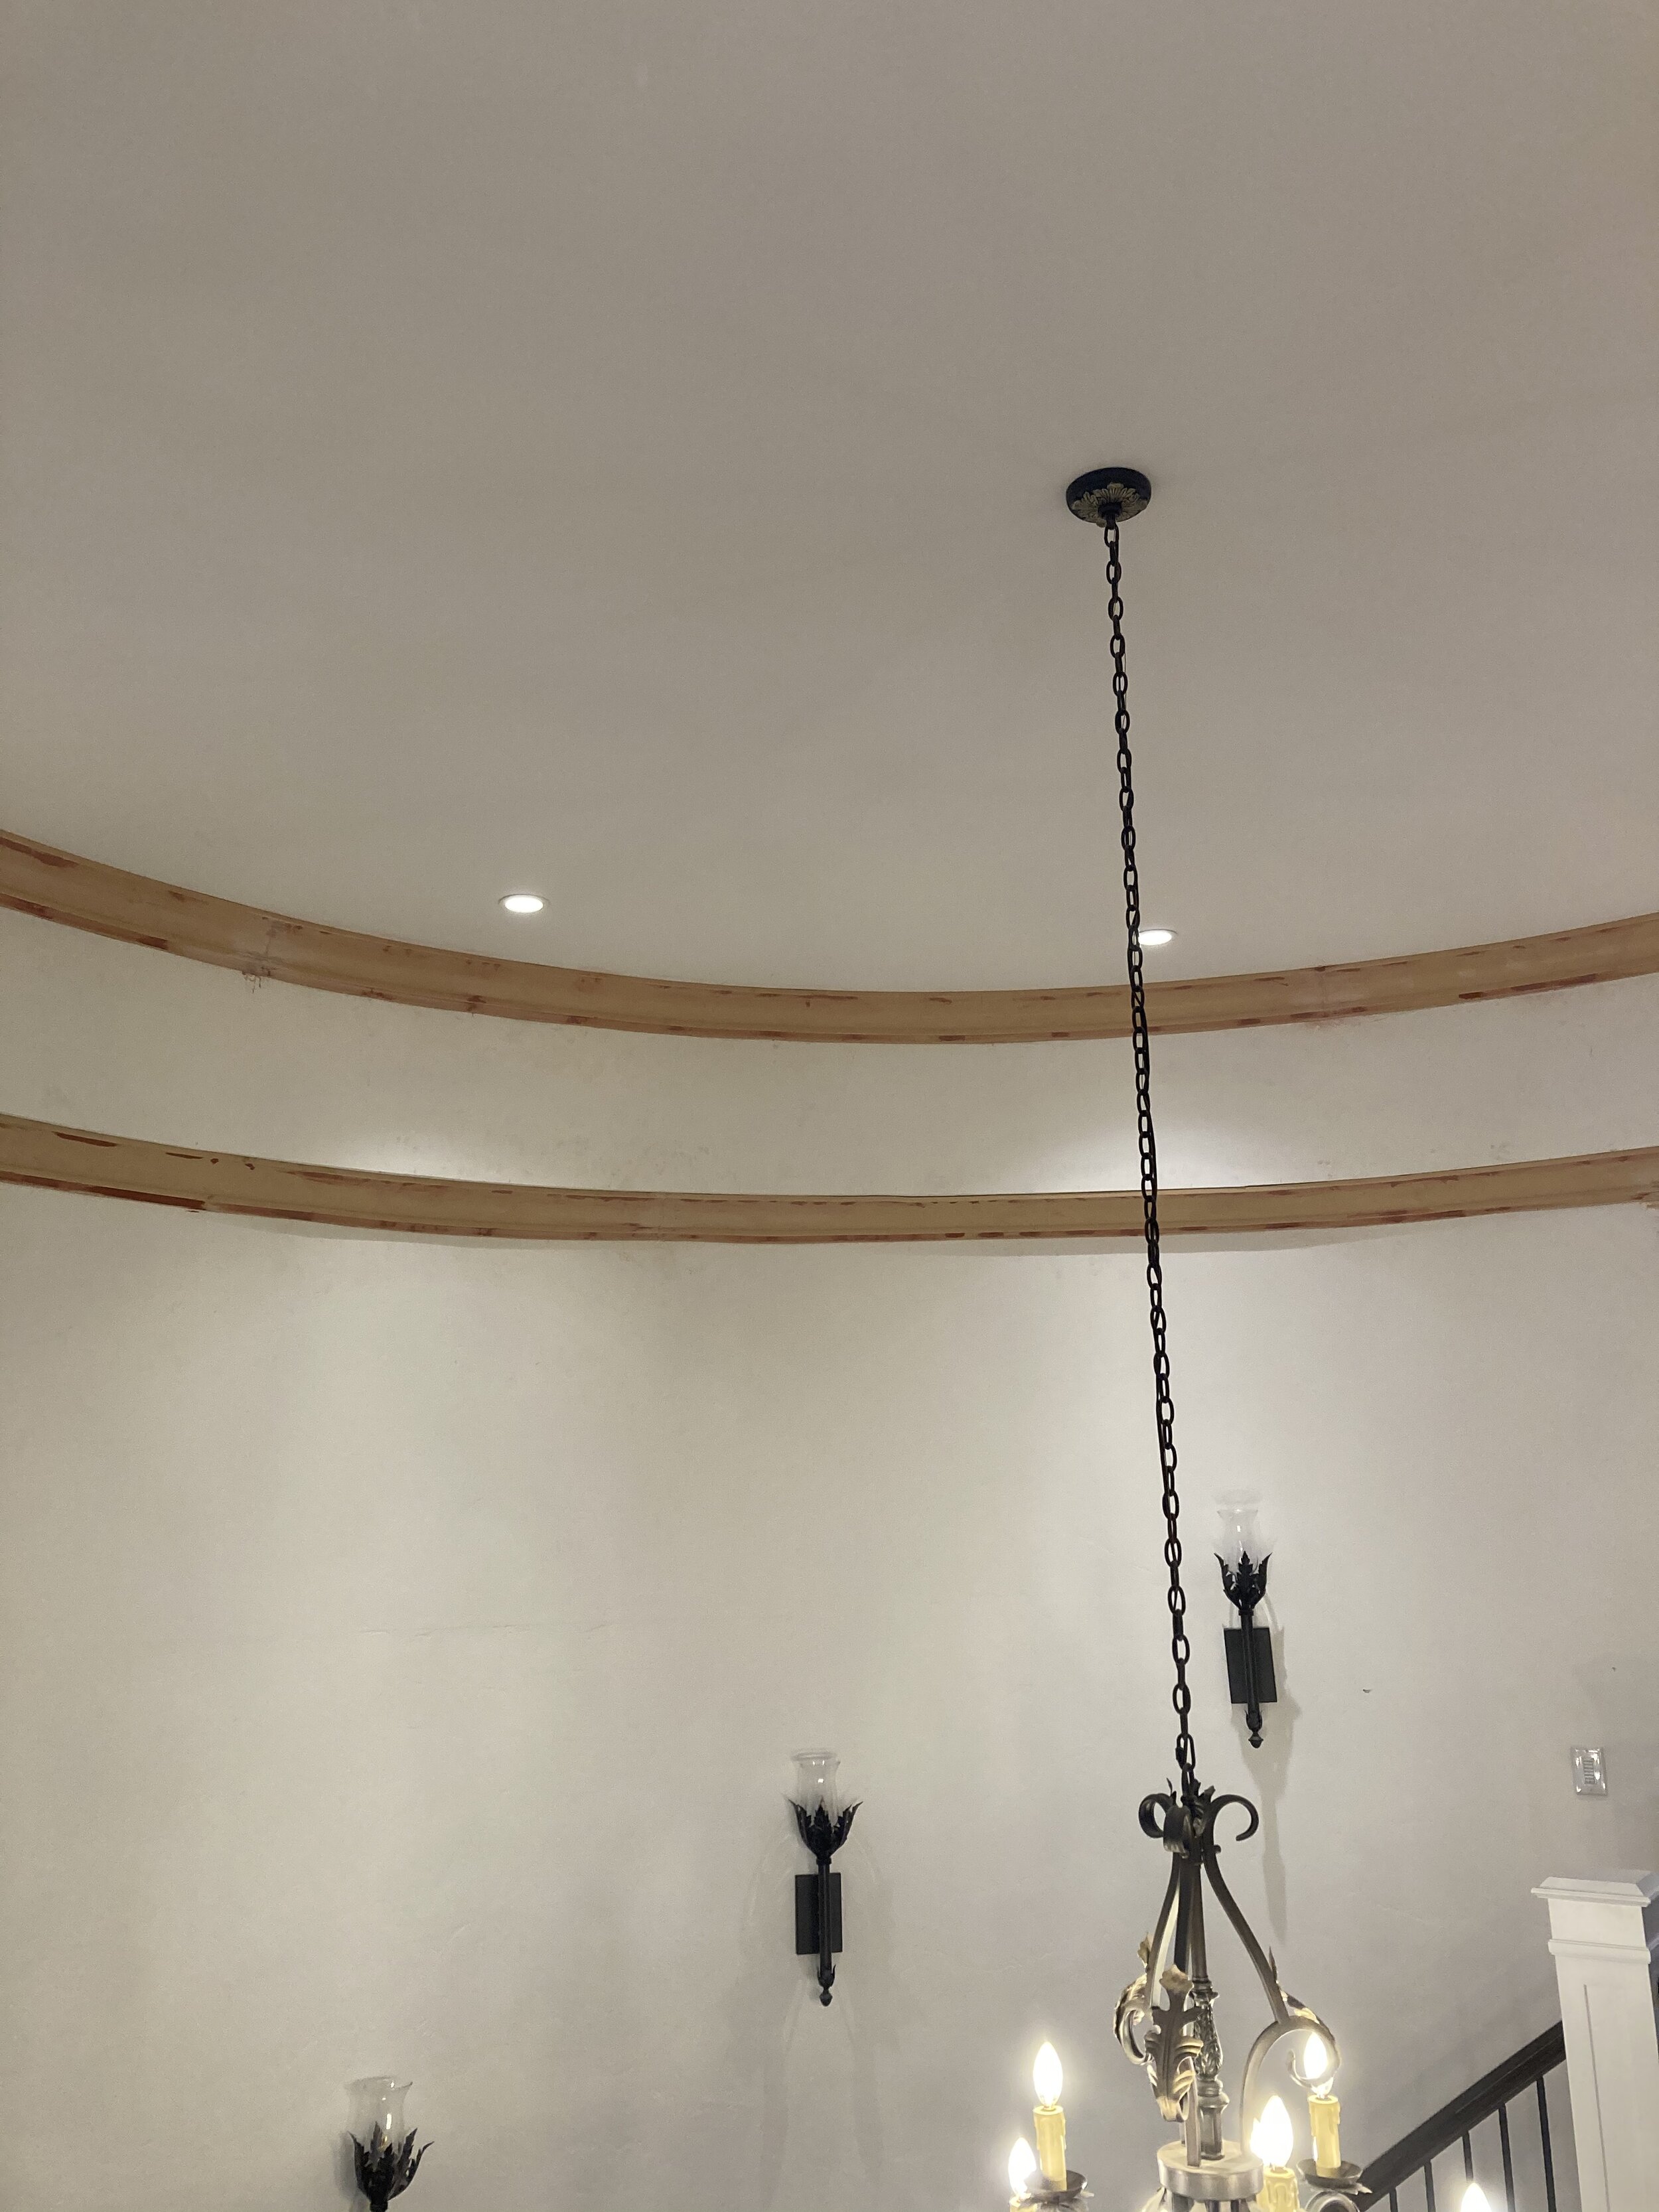
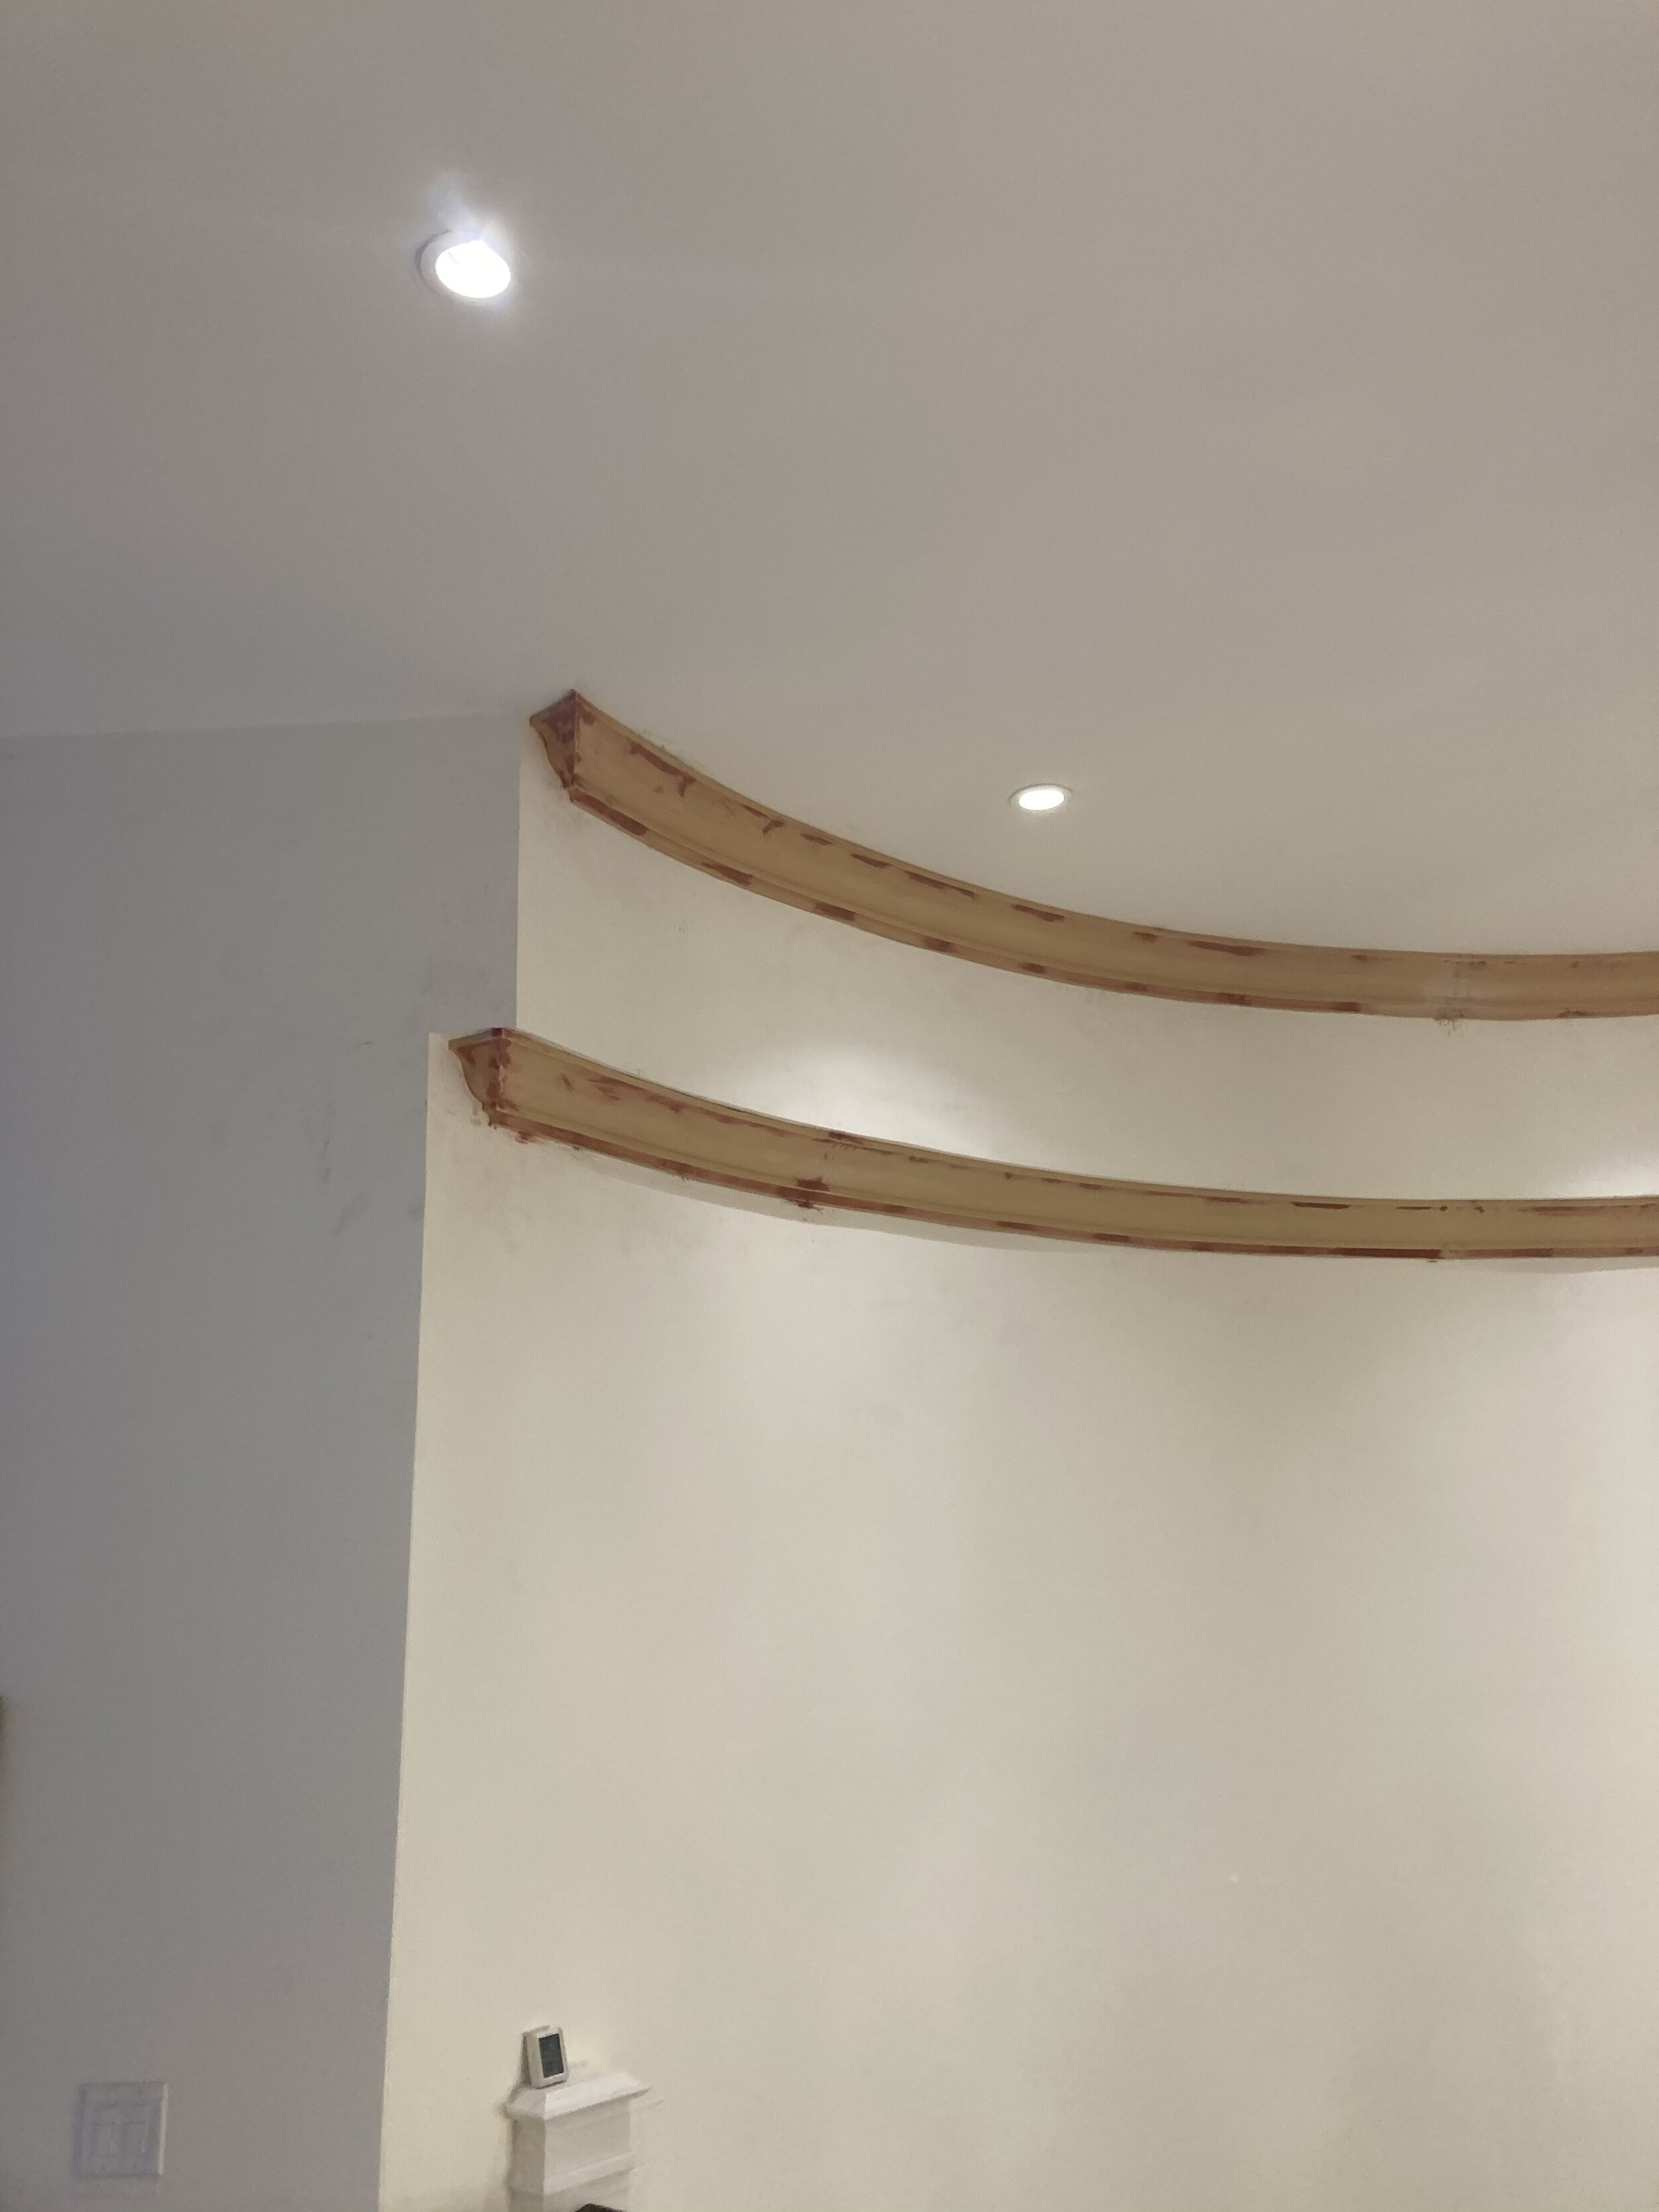
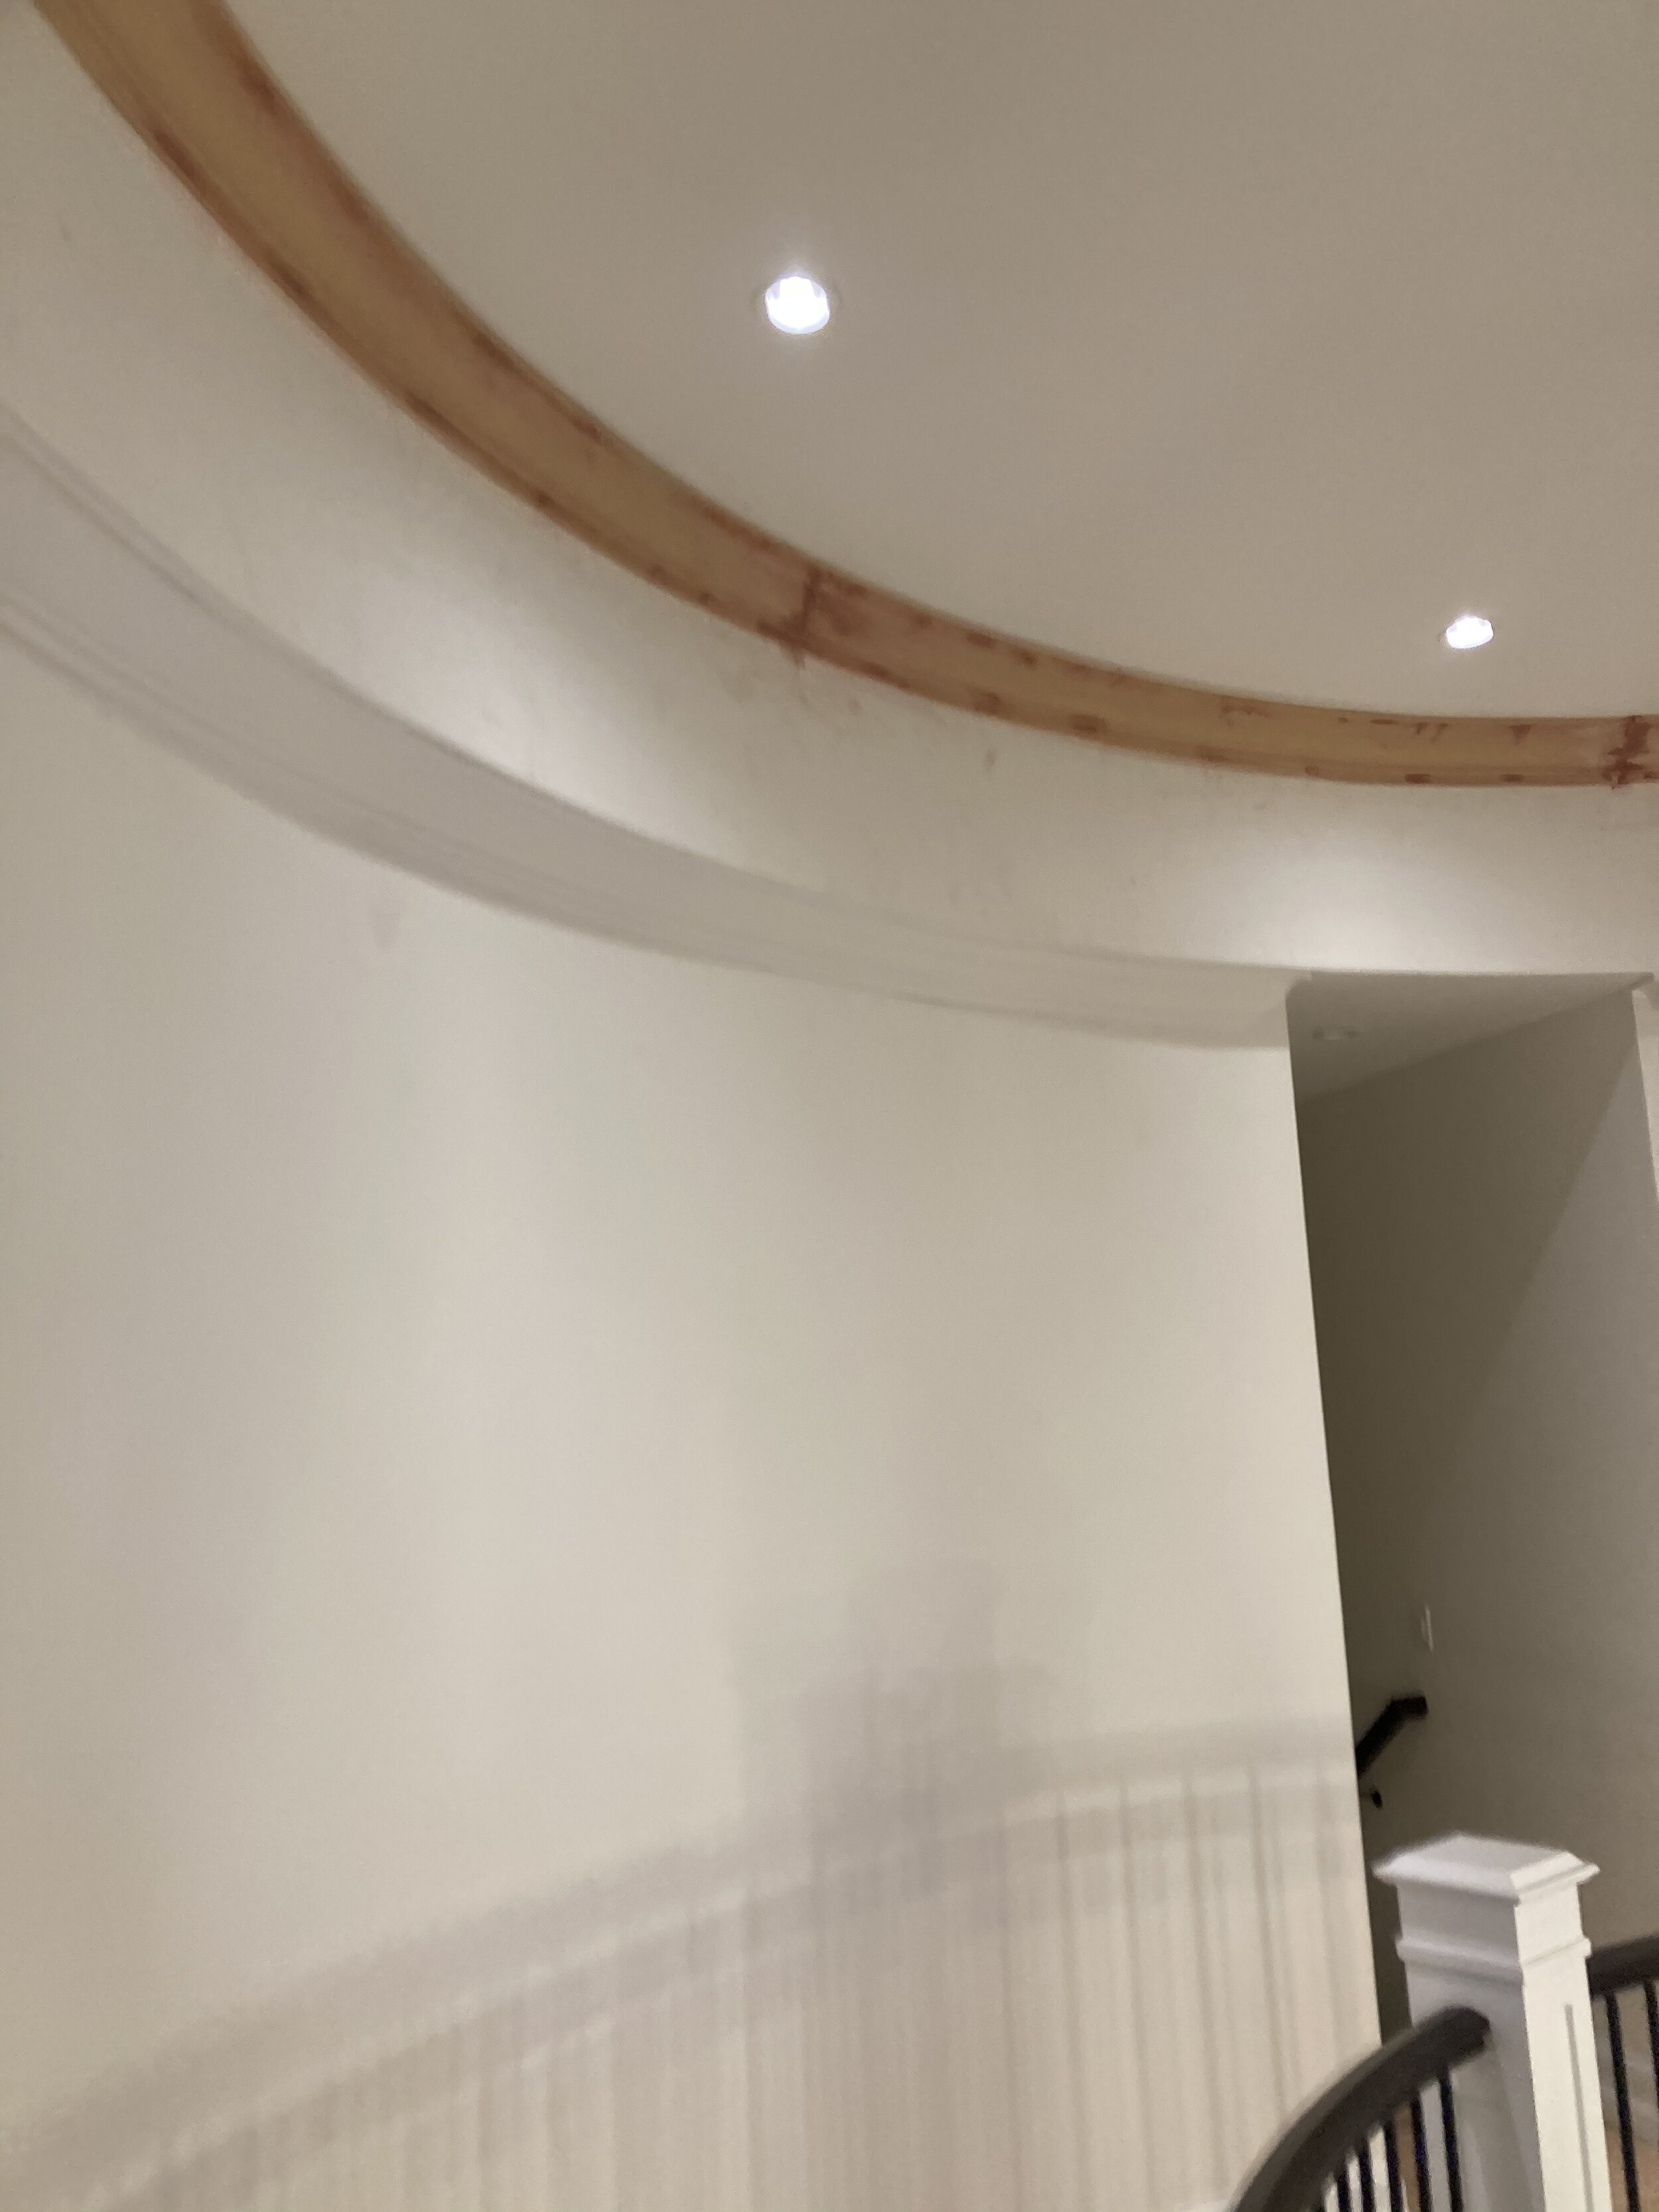
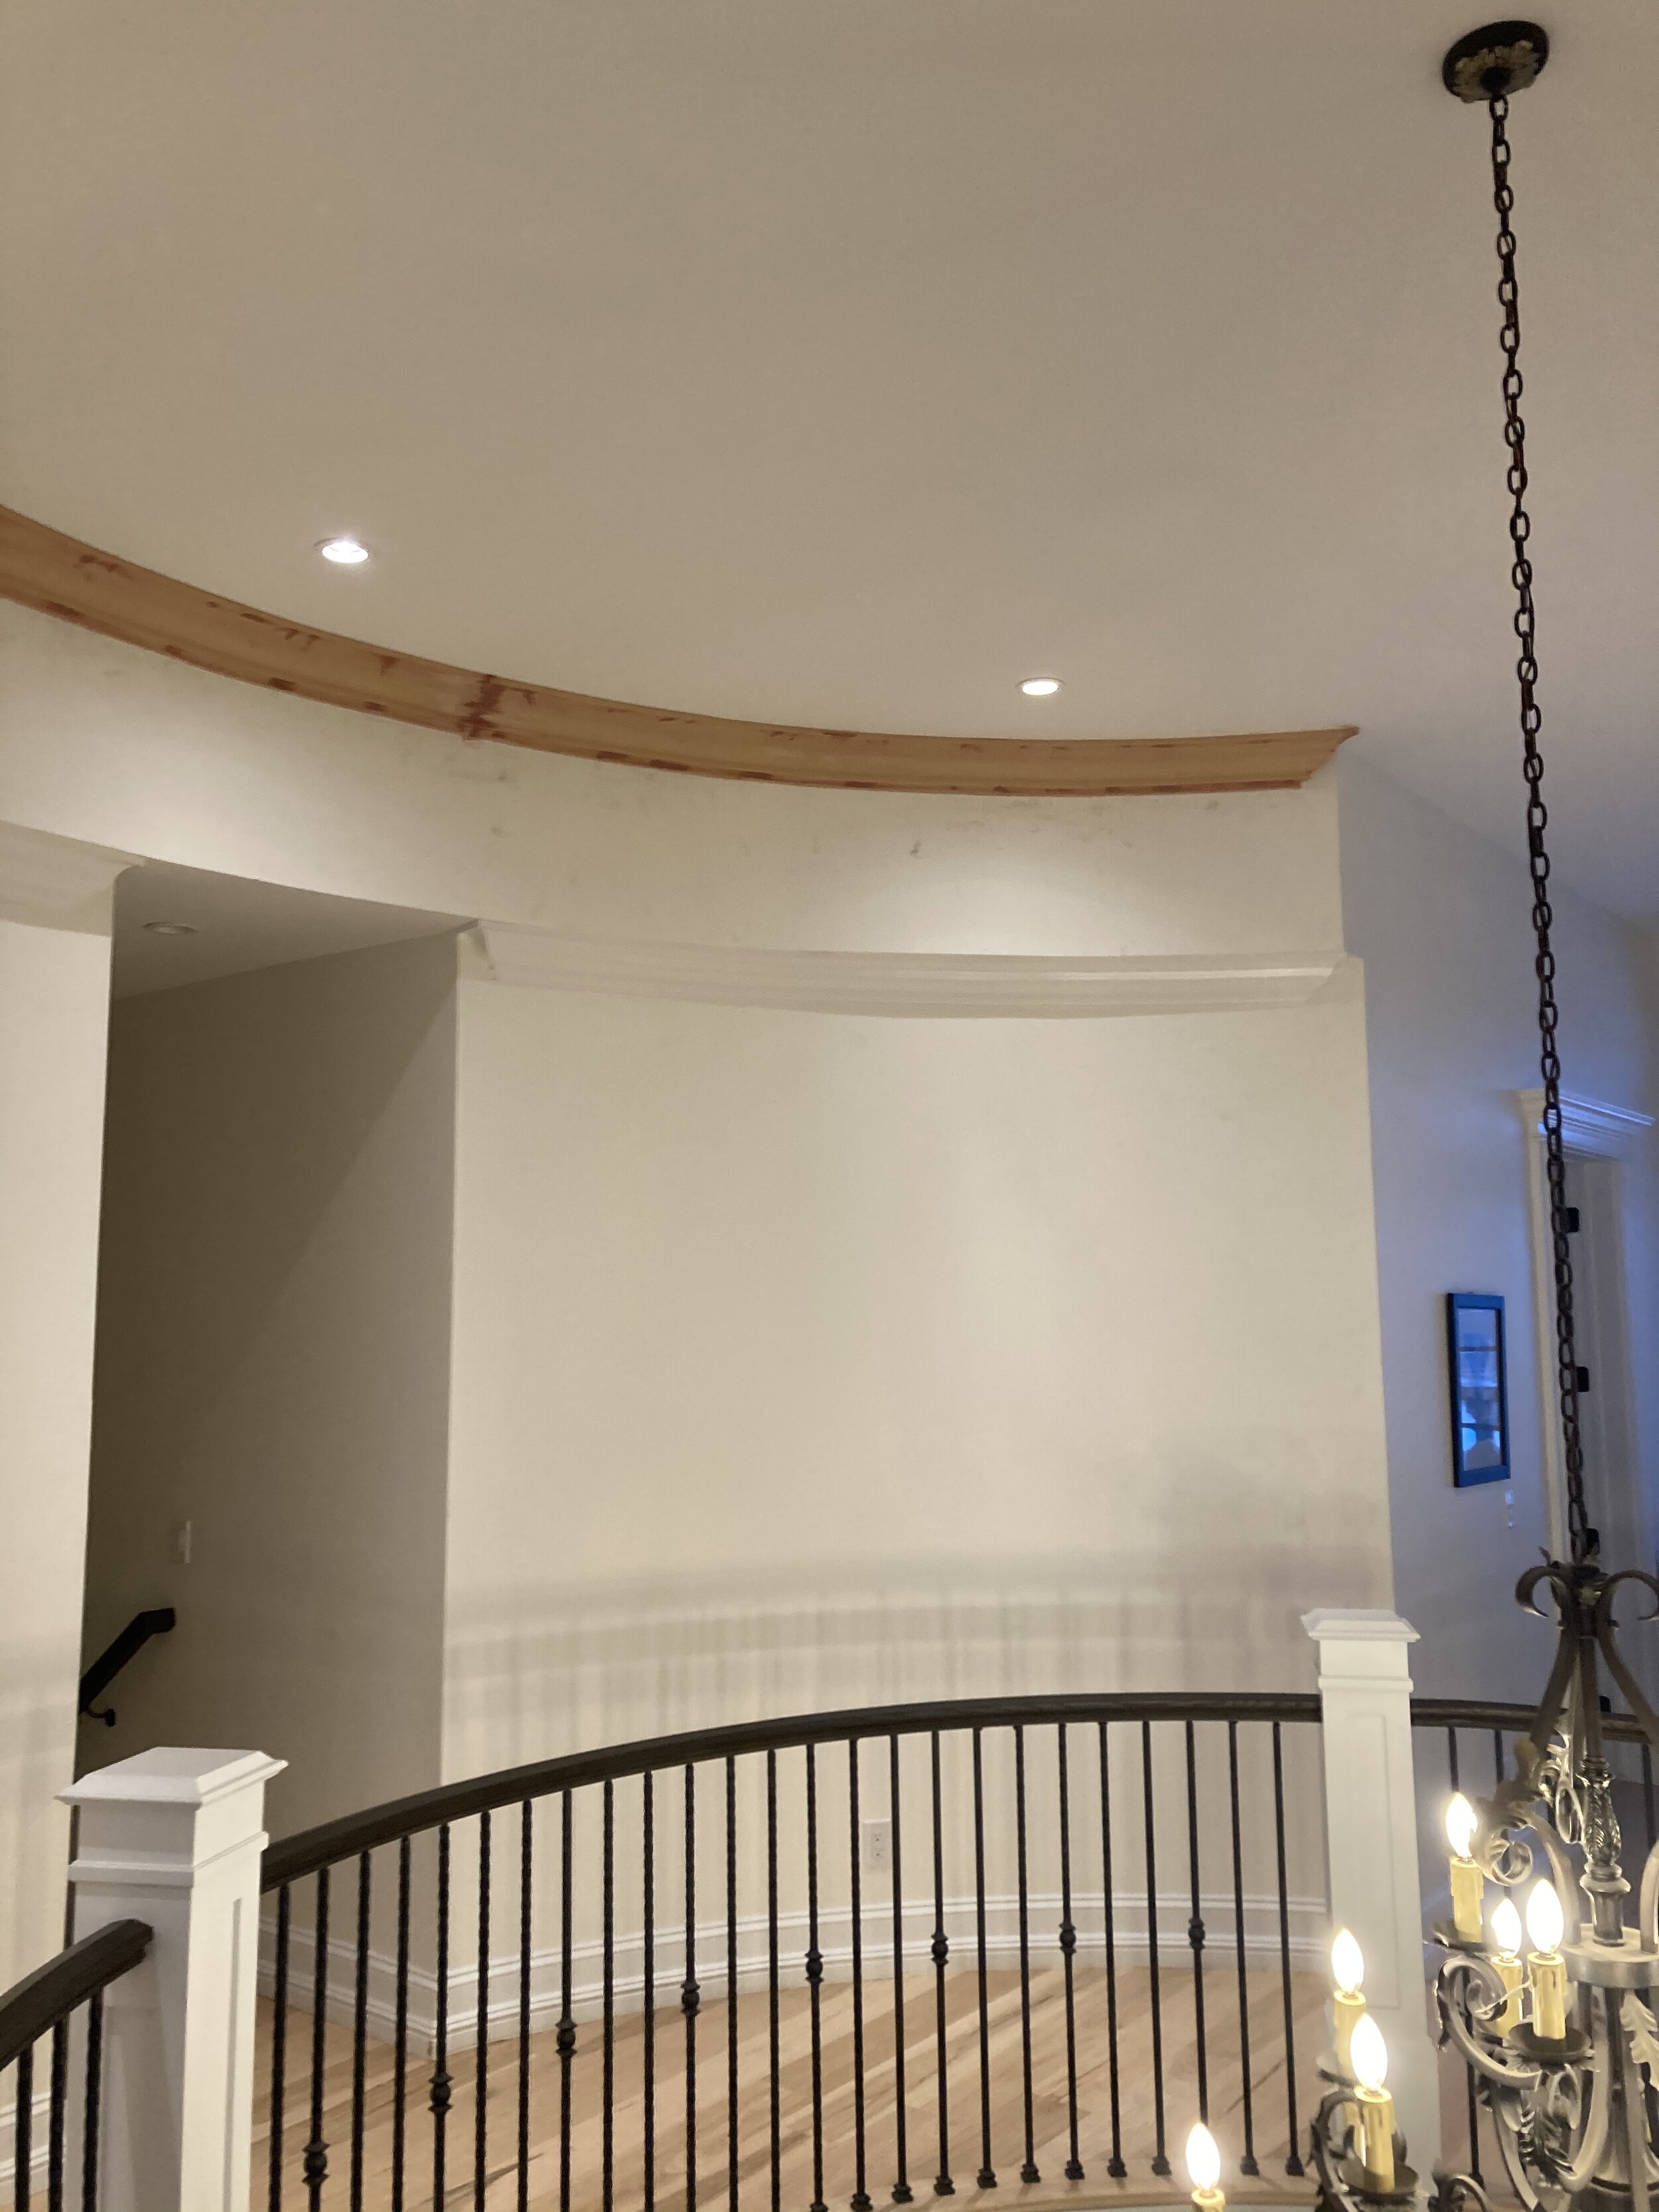
Here are some radius crown moulding jobs I’ve worked on: